How to Make Homemade Maple Syrup
This post may contain affiliate links for products and ingredients I use and recommend. For more information, see my affiliate disclosures.
Making your own homemade maple syrup in your backyard is a somewhat labor-intensive but incredibly rewarding process using sugar maple trees to make your own homemade sweetener.
As the earliest agricultural product of the season, it’s something I always look forward to in late winter and early spring, signaling the arrival of warmer weather.
Maple syrup is one of the earliest agricultural products of North America, with a history dating back to Indigenous people tapping maple trees, long before colonization.
If you love sourdough baking, gardening, natural sweeteners, or homesteading, you’ll love learning how to make maple syrup at home.
👉 Other homemade recipes include How to Make a Sourdough Starter, How to Make Water Kefir, and my homemade Jams and Spreads.
Getting Started
The most important factor to consider before starting maple syruping is if you live in a climate that grows maple trees and can produce large enough quantities of maple sap.
Maple syrup production is limited to Southeastern Canada, some parts of the Midwest, and Northeastern United States, including here in Massachusetts, where I am.
You will need access to maple trees at least 12 inches in diameter and consistent temperatures that drop below freezing at night and above freezing during the day. If you have many maple trees in a concentrated area, you have what’s called a “sugarbush”!
Late winter and early spring from February to early April are when most tap maple trees. You’ll see farmers’ taps, buckets, lines, and sap collection bins scattered among trees here in New England this time of year.
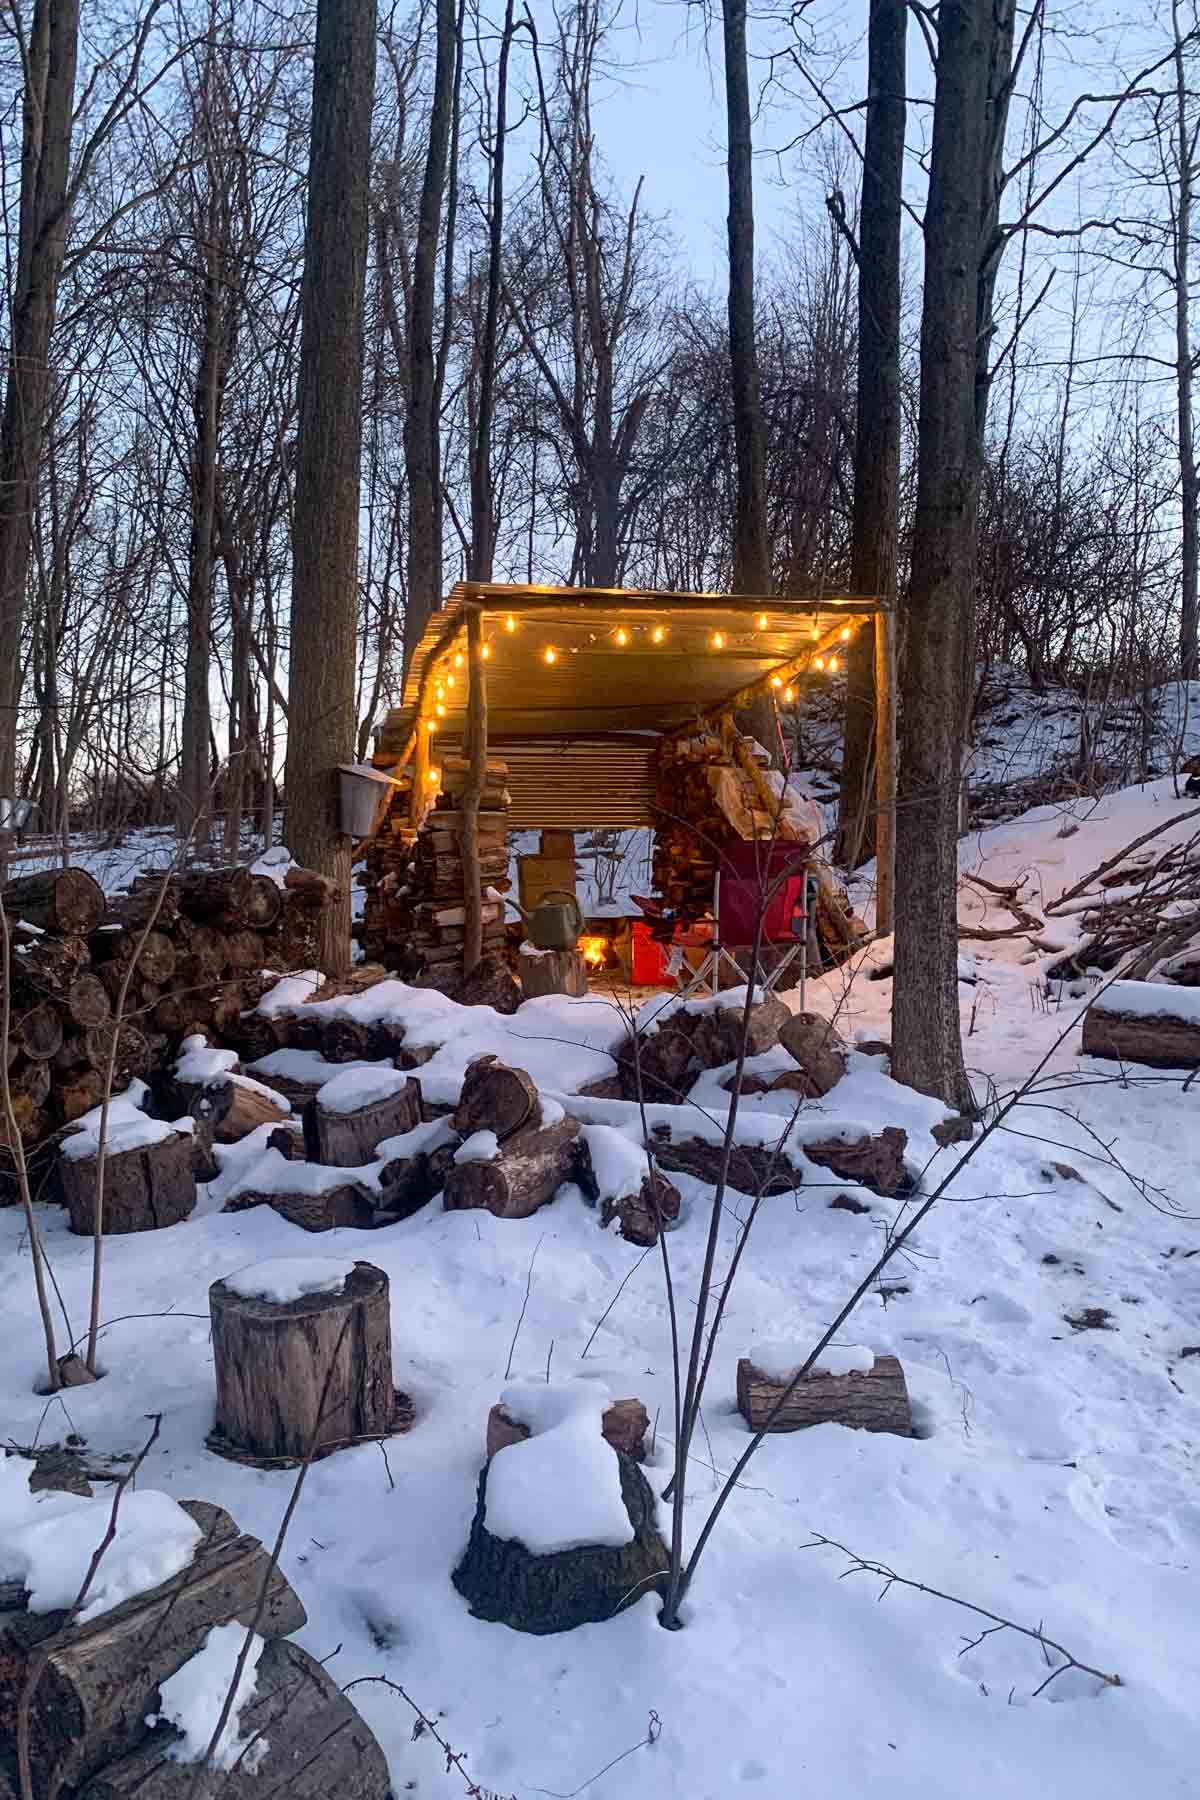
You may even see a sugarhouse or shack in the woods like ours below!
🛠 Tools Needed for Homemade Maple Syrup
As with any dedicated hobby, the tools needed to make homemade maple syrup can range from rudimentary and inexpensive to complex and expensive.
You can find simple maple syrup kits with the basic equipment online or at some hardware stores in the Northeast.
The basic tools you’ll need are:
- Drill for drilling holes into the trees.
- Spiles (or taps) that are inserted into the trees.
- Collection buckets or bags with hooks for collecting sap.
- Large evaporator pans or pots for boiling sap.
- Candy thermometer for measuring syrup temperature.
- Maple syrup filters, for filtering out “sugar sand,” so you get a clear syrup.
- Jars, funnels, and ladles for jarring maple syrup.
Optional but helpful tools for increasing consistency include:
- Hydrometer for measuring sugar density.
- Food-grade storage containers for holding sap during collection.
- Outdoor fire pit or propane boiler for boiling outside.
🍁 How to Make Homemade Maple Syrup
Please note that there are many different ways to collect, boil, and finish homemade maple syrup. These are the instructions I use to make maple syrup at home for personal use as a hobbyist.
Always consult local rules, regulations, and food safety guidelines when making homemade food products, as this guide is intended for informational purposes only.
1. Tap the Maple Trees
Outdoor temperatures should be consistently below freezing at night and above freezing during the day for maple sap to flow. This is typically in February-April here in New England.
Sugar maples are ideal, but red and silver maples work too. To keep trees healthy, only tap those that are at least 10–12 inches in diameter, and limit the number of taps based on size (generally one tap for smaller mature trees, up to two for larger ones).
To keep your trees productive year after year, avoid drilling in the same exact spot each season. Rotate tap locations around the trunk and give previous holes time to fully heal. With mindful tapping and a little stewardship, your maple trees can provide sap—and syrup—for generations.
The Science: Maple sap flows thanks to a natural freeze–thaw cycle. When nights drop below freezing, water inside the tree freezes, creating a vacuum that pulls moisture up from the roots. As daytime temperatures rise above freezing, the ice melts, and pressure builds, pushing sap out through any tap.
Without both freezing nights and warmer days, this natural “pump” doesn’t work—so sap flow slows or stops. That’s why maple syrup season is short and only happens when temperatures swing above and below freezing.
Drill a hole about 1.5–2 inches deep at a slight upward angle, around 3–4 feet off the ground. Choose a spot on the sunny side of the tree if possible.
Gently tap the spile or spout into the hole using a hammer until it’s snug. Don’t overdrive it—you want a tight fit without damaging the tree.
Attach your bucket or container to the spile. If using a lid, secure it to keep out rain, snow, and debris.
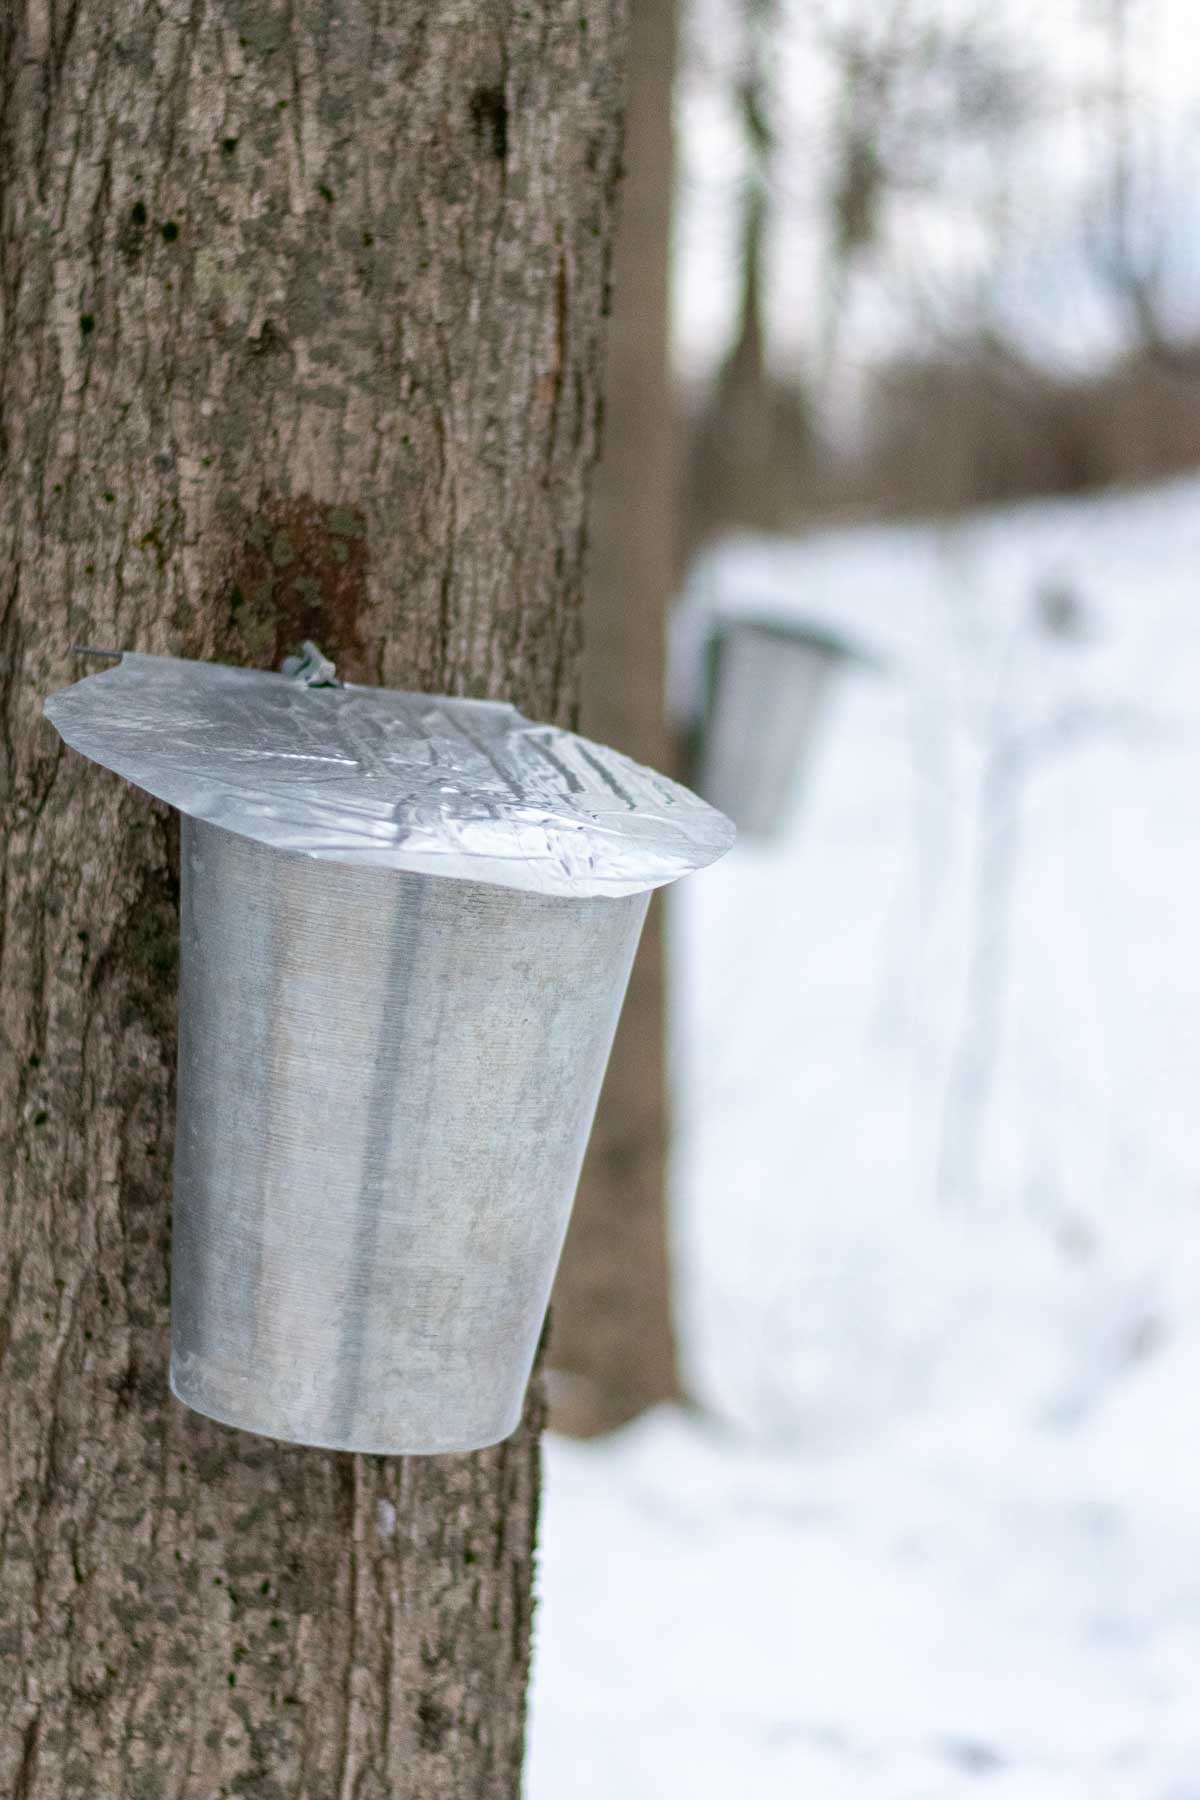
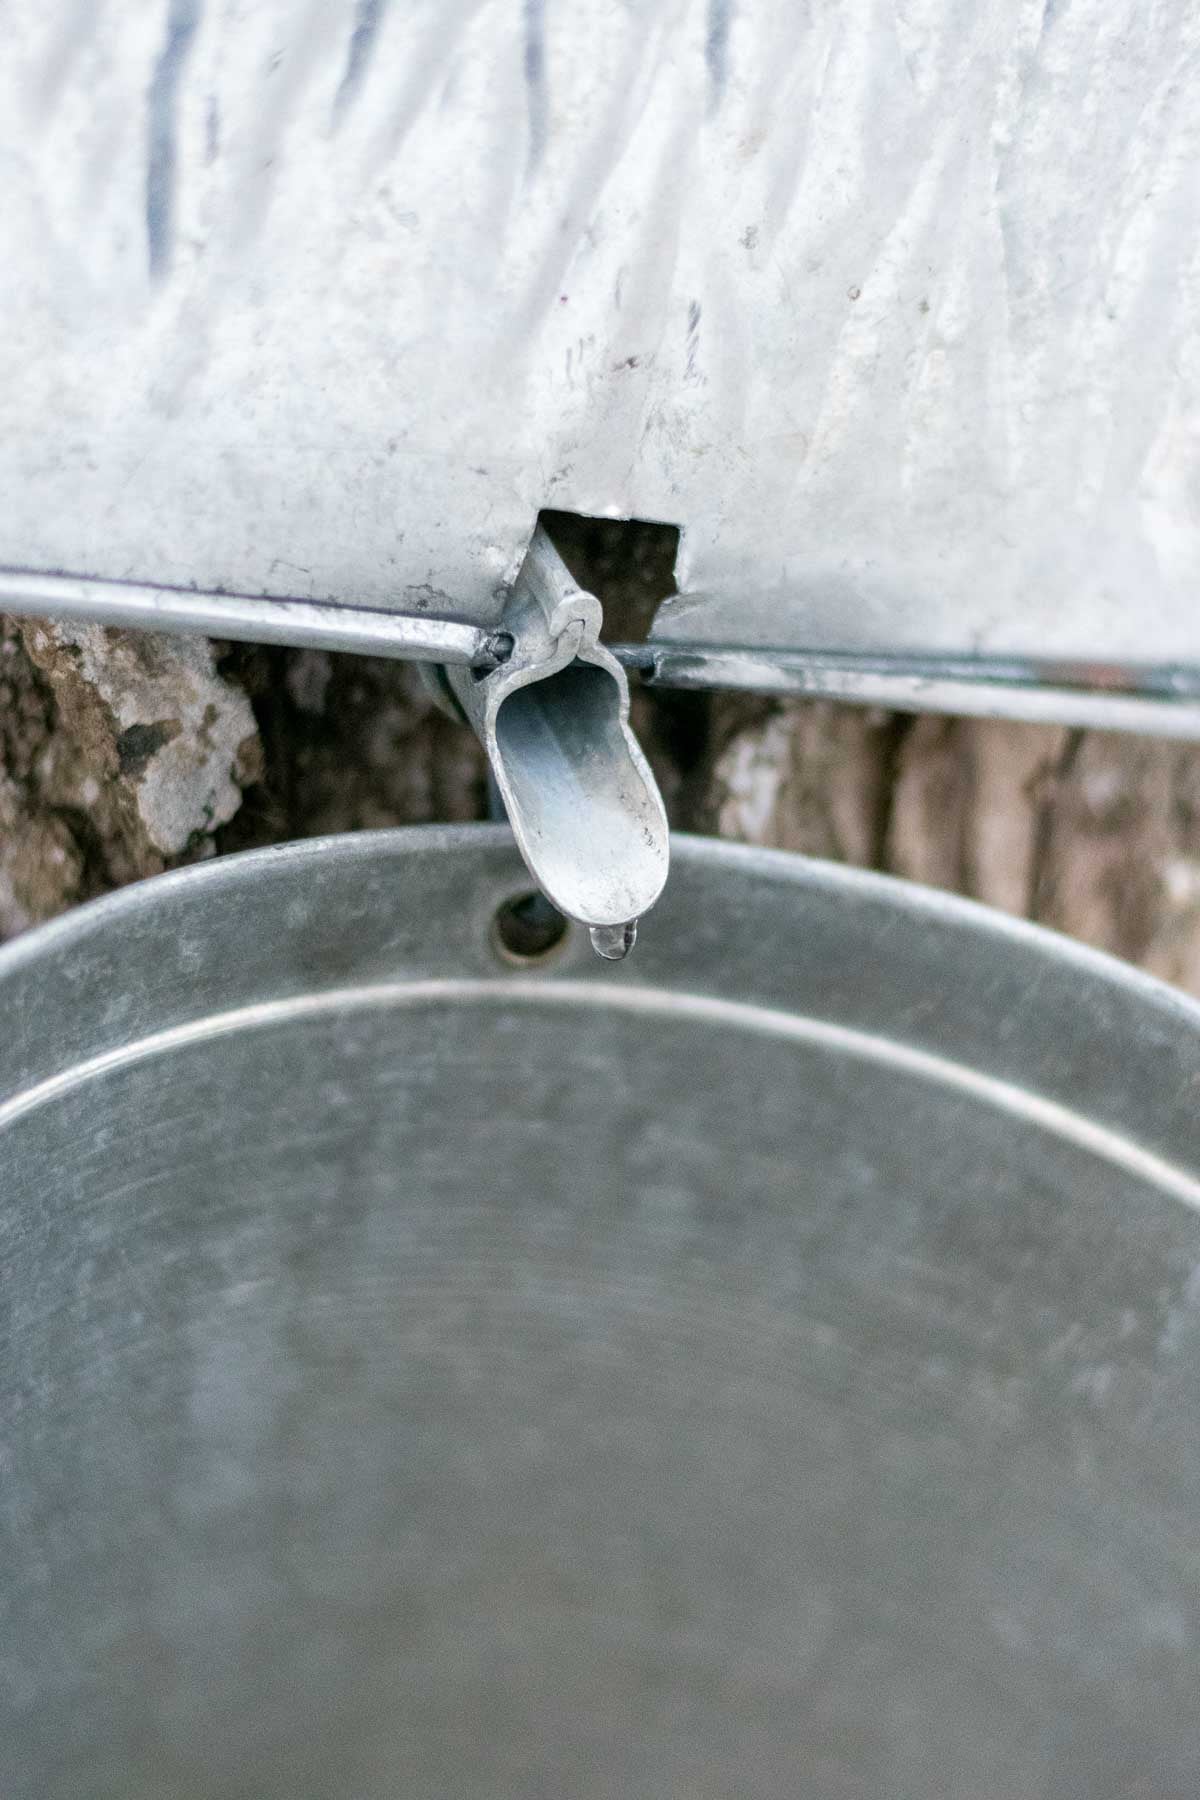
2. Collect Sap
Sap may start dripping right away or within a few hours. Check your buckets daily and transfer sap to a larger storage container.
You may notice various amounts of sap dripping depending on the temperature.
Keep collected sap cold (like you would milk) and boil it within a few days to prevent spoilage. If it starts to look cloudy or develops an off smell, it’s best to discard it.
You can freeze sap if you don’t think you’ll be able to boil it within a few days or keep it refrigerated or packed in snow.
3. How to Boil Maple Sap
Maple syrup is expensive because it requires a limited time frame, climate, and a lot of energy to produce syrup.
In fact, the sap to syrup ratio is 40:1! As you’re collecting sap, remember that you will need to boil most of it before you have syrup and 40 gallons of sap will only make 1 gallon of syrup.
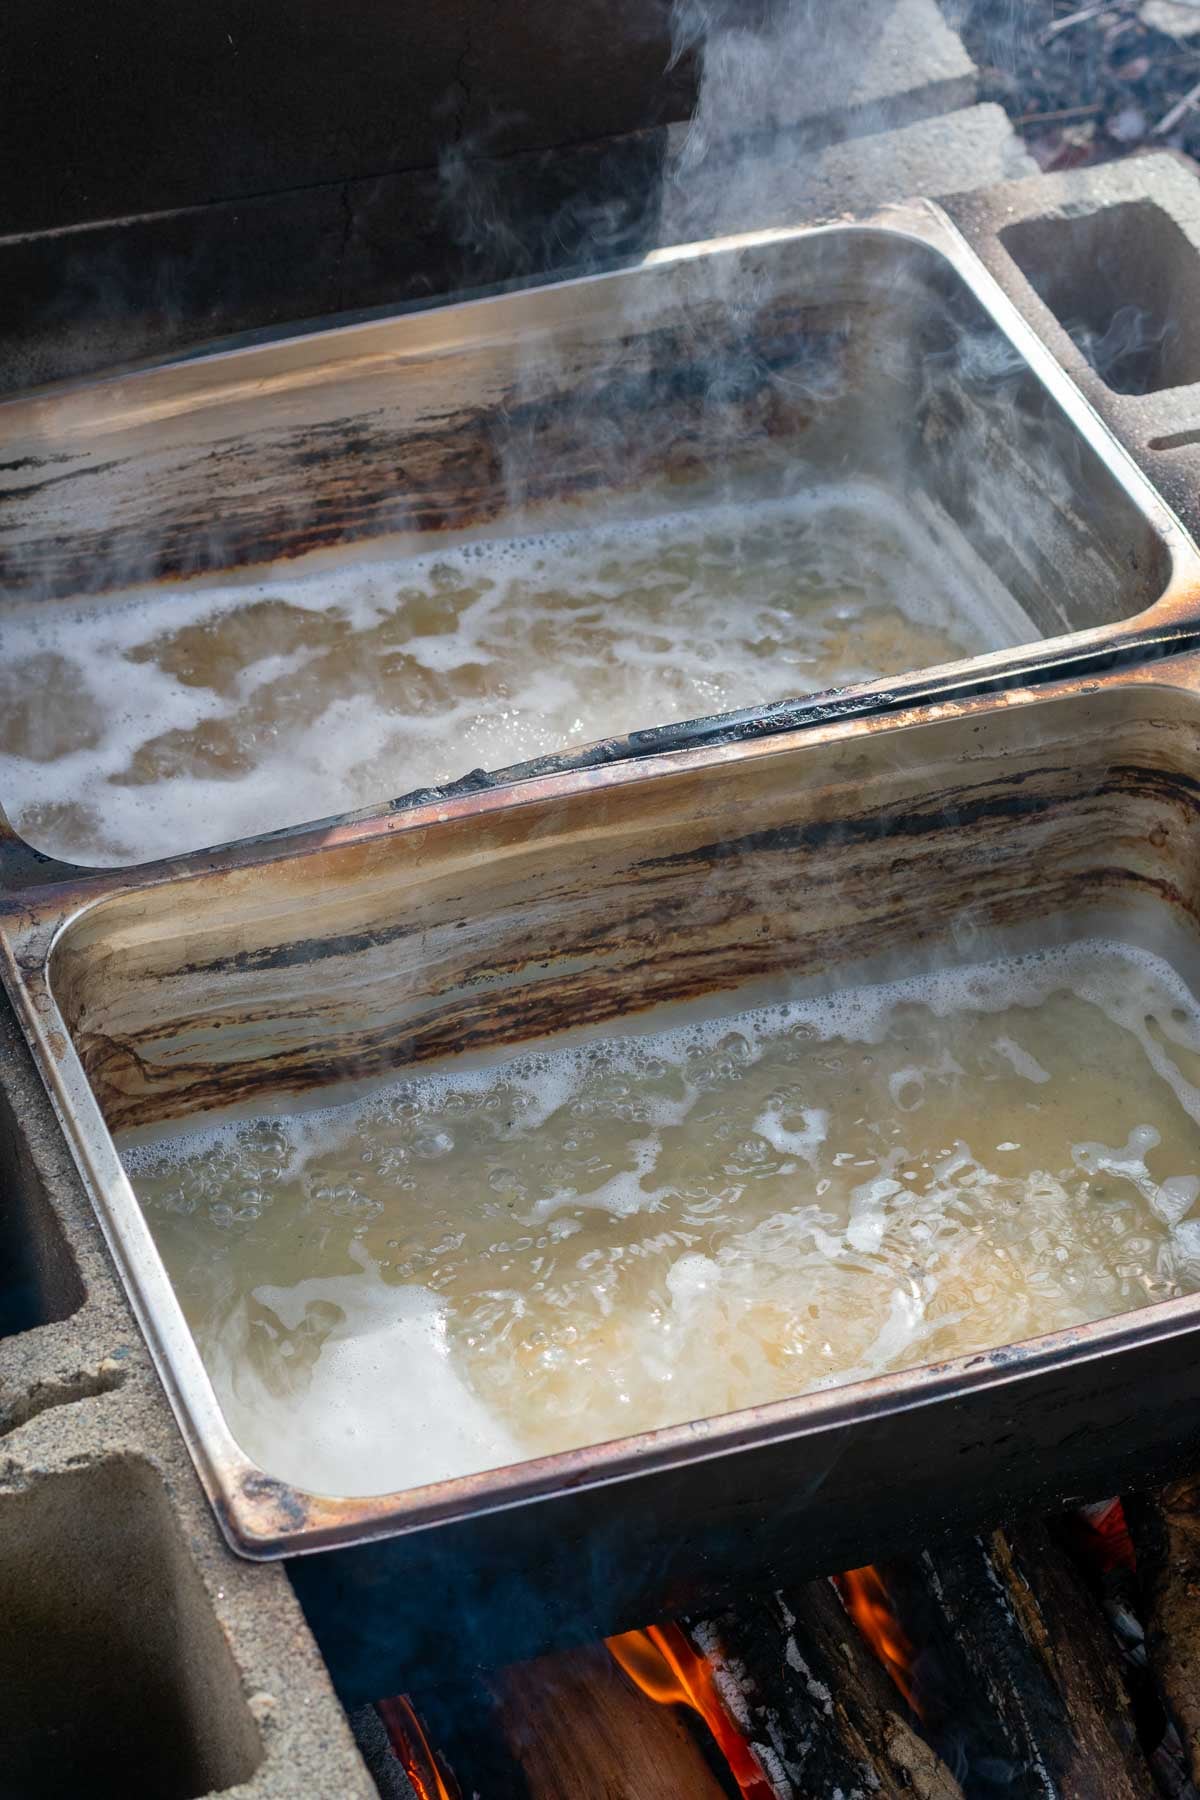
Pour your collected sap into a large, shallow pan and begin boiling it down.
This is best done outdoors, as it creates a lot of steam. Increasing the surface area with larger pans will help it boil faster.
Keep the sap at a steady boil, adding more as it reduces. It can take a long time—expect several hours, depending on how much sap you have. We usually do a sap boil on a weekend day after collecting it over the week, and expect the entire day to be spent boiling the sap.
Setups for boiling outside can range from a propane heater to fire pits to expensive reverse osmosis machines. We boil outside with a rudimentary cinder block setup, a basic chimney for wood smoke, and catering pans to boil the sap.
As the sap boils, skim off any foam and discard it to remove impurities.
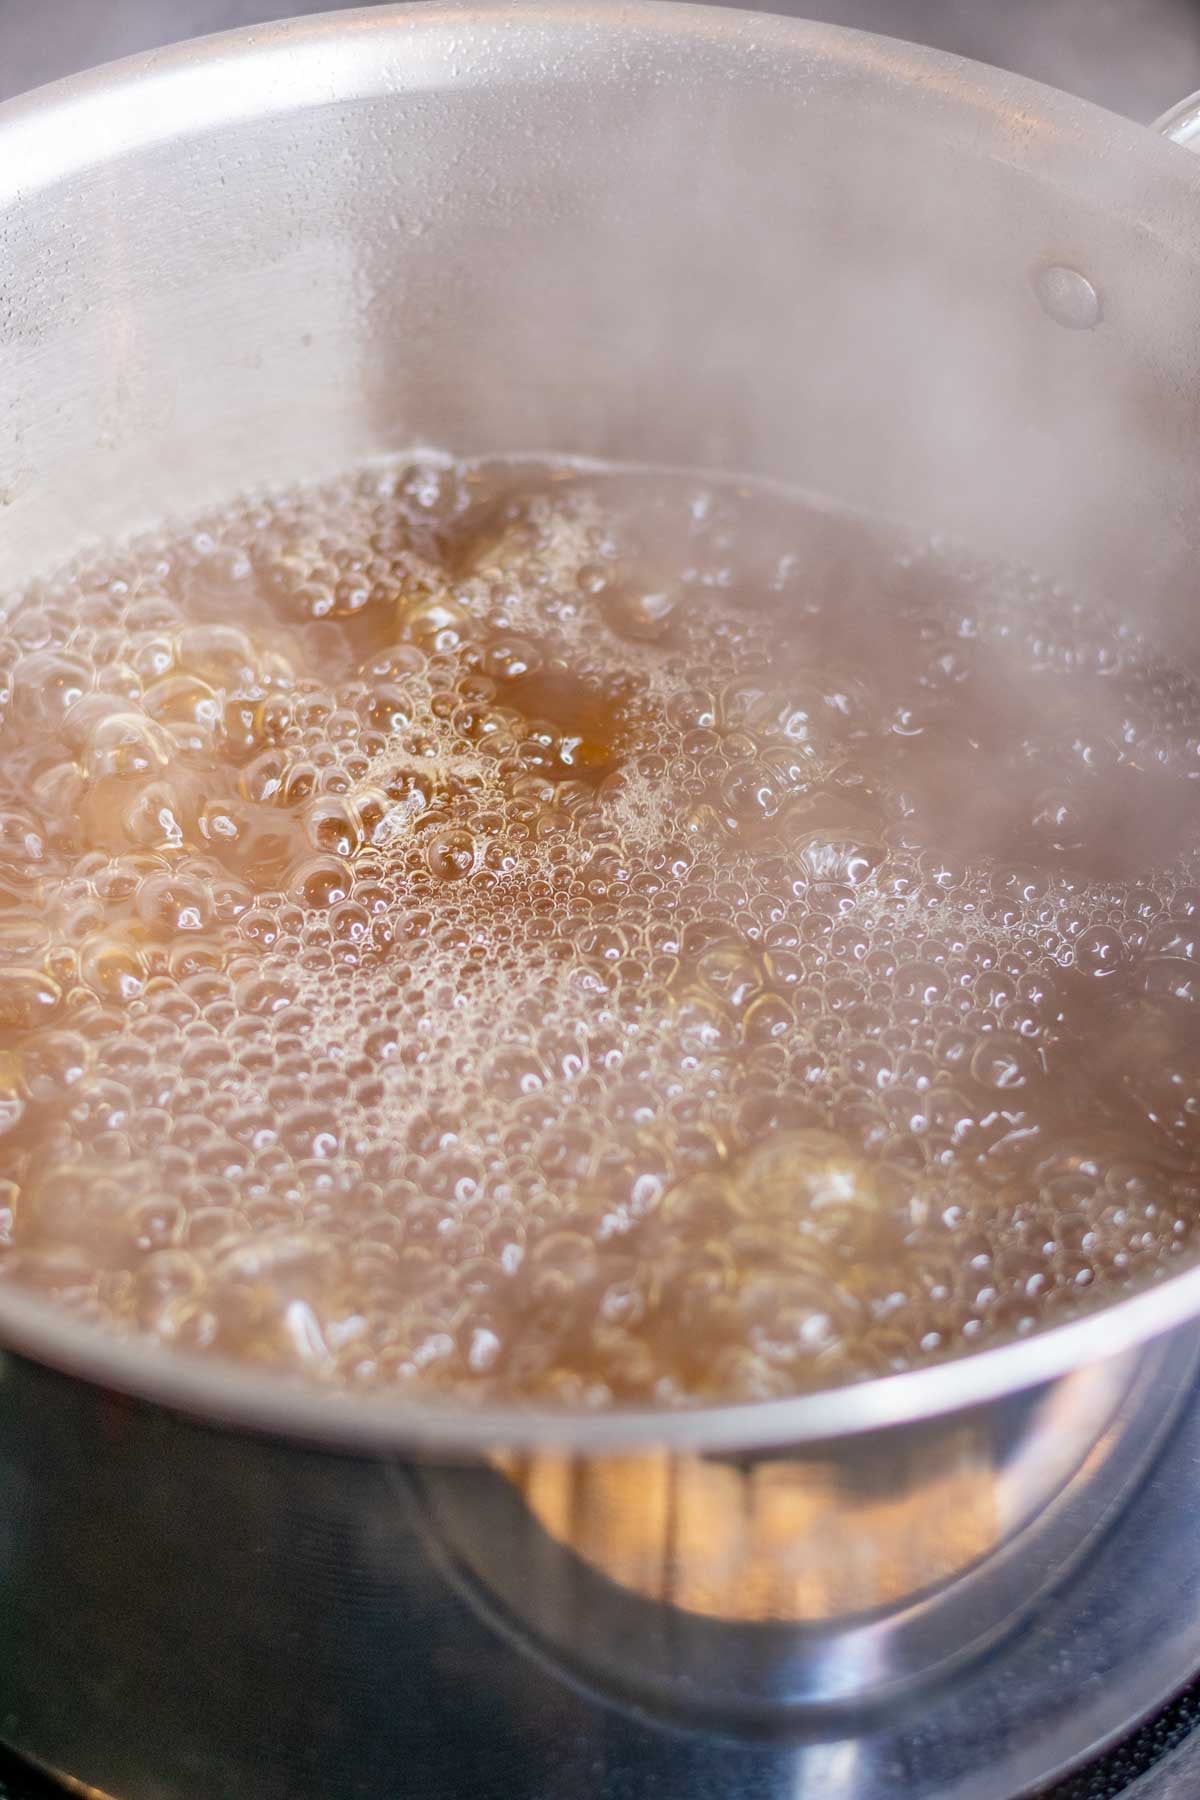
4. Finish on the Stovetop
When your sap has boiled for several hours, and you’re at a point where it can fit in one or two stovetop pans, you can finish boiling it indoors on the stove.
Finishing sap indoors makes it easier to control the final temperature, so you don’t overcook the syrup.
As the sap thickens and darkens, keep a closer eye on it to prevent scorching. Syrup is finished when it reaches about 219°F (7°F above the boiling point of water) at sea level, as measured with a candy thermometer. At higher elevations, the finishing temperature decreases.
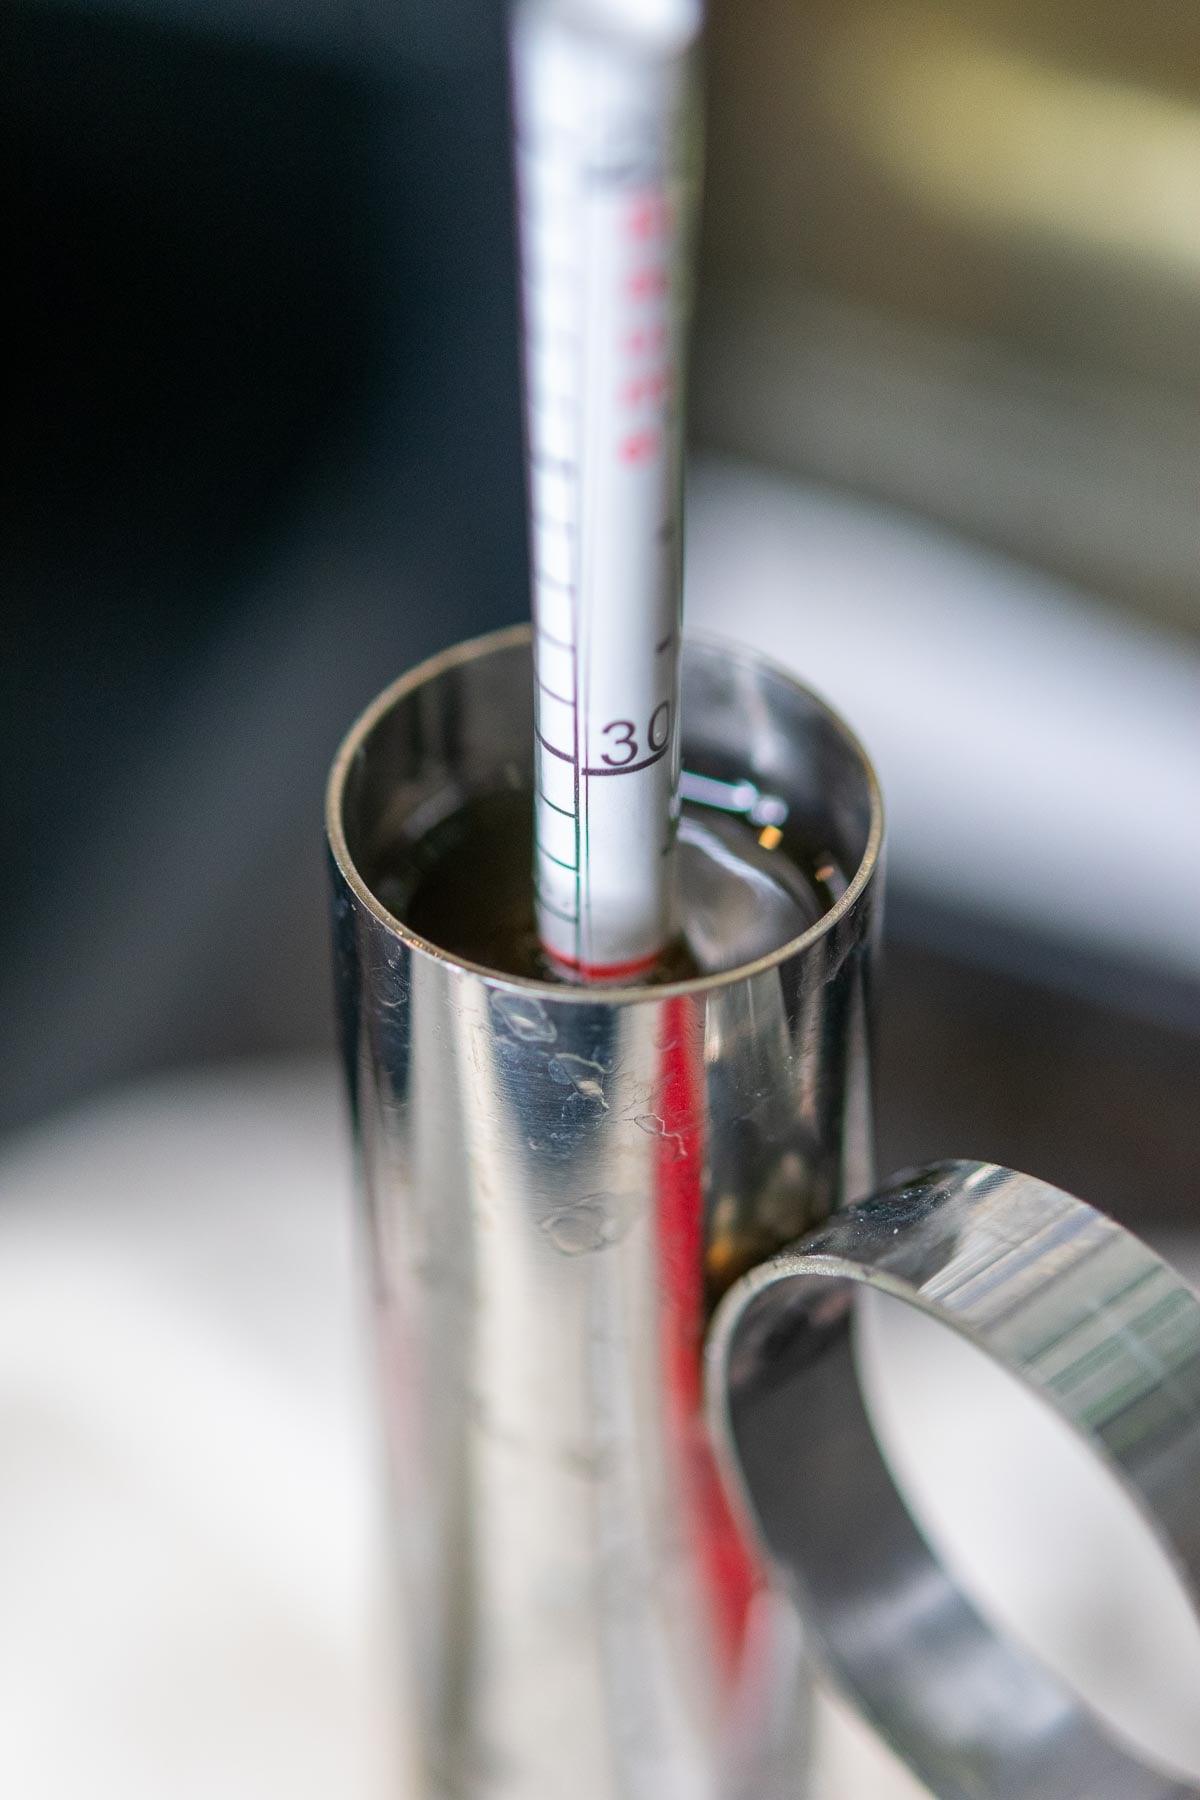
At this stage, it should have a rich amber color. The ideal sugar content is 66-67% sugar (or 66-67 Brix).
For Best Results: Use a hydrometer to measure the syrup’s specific gravity to achieve the perfect finished product.
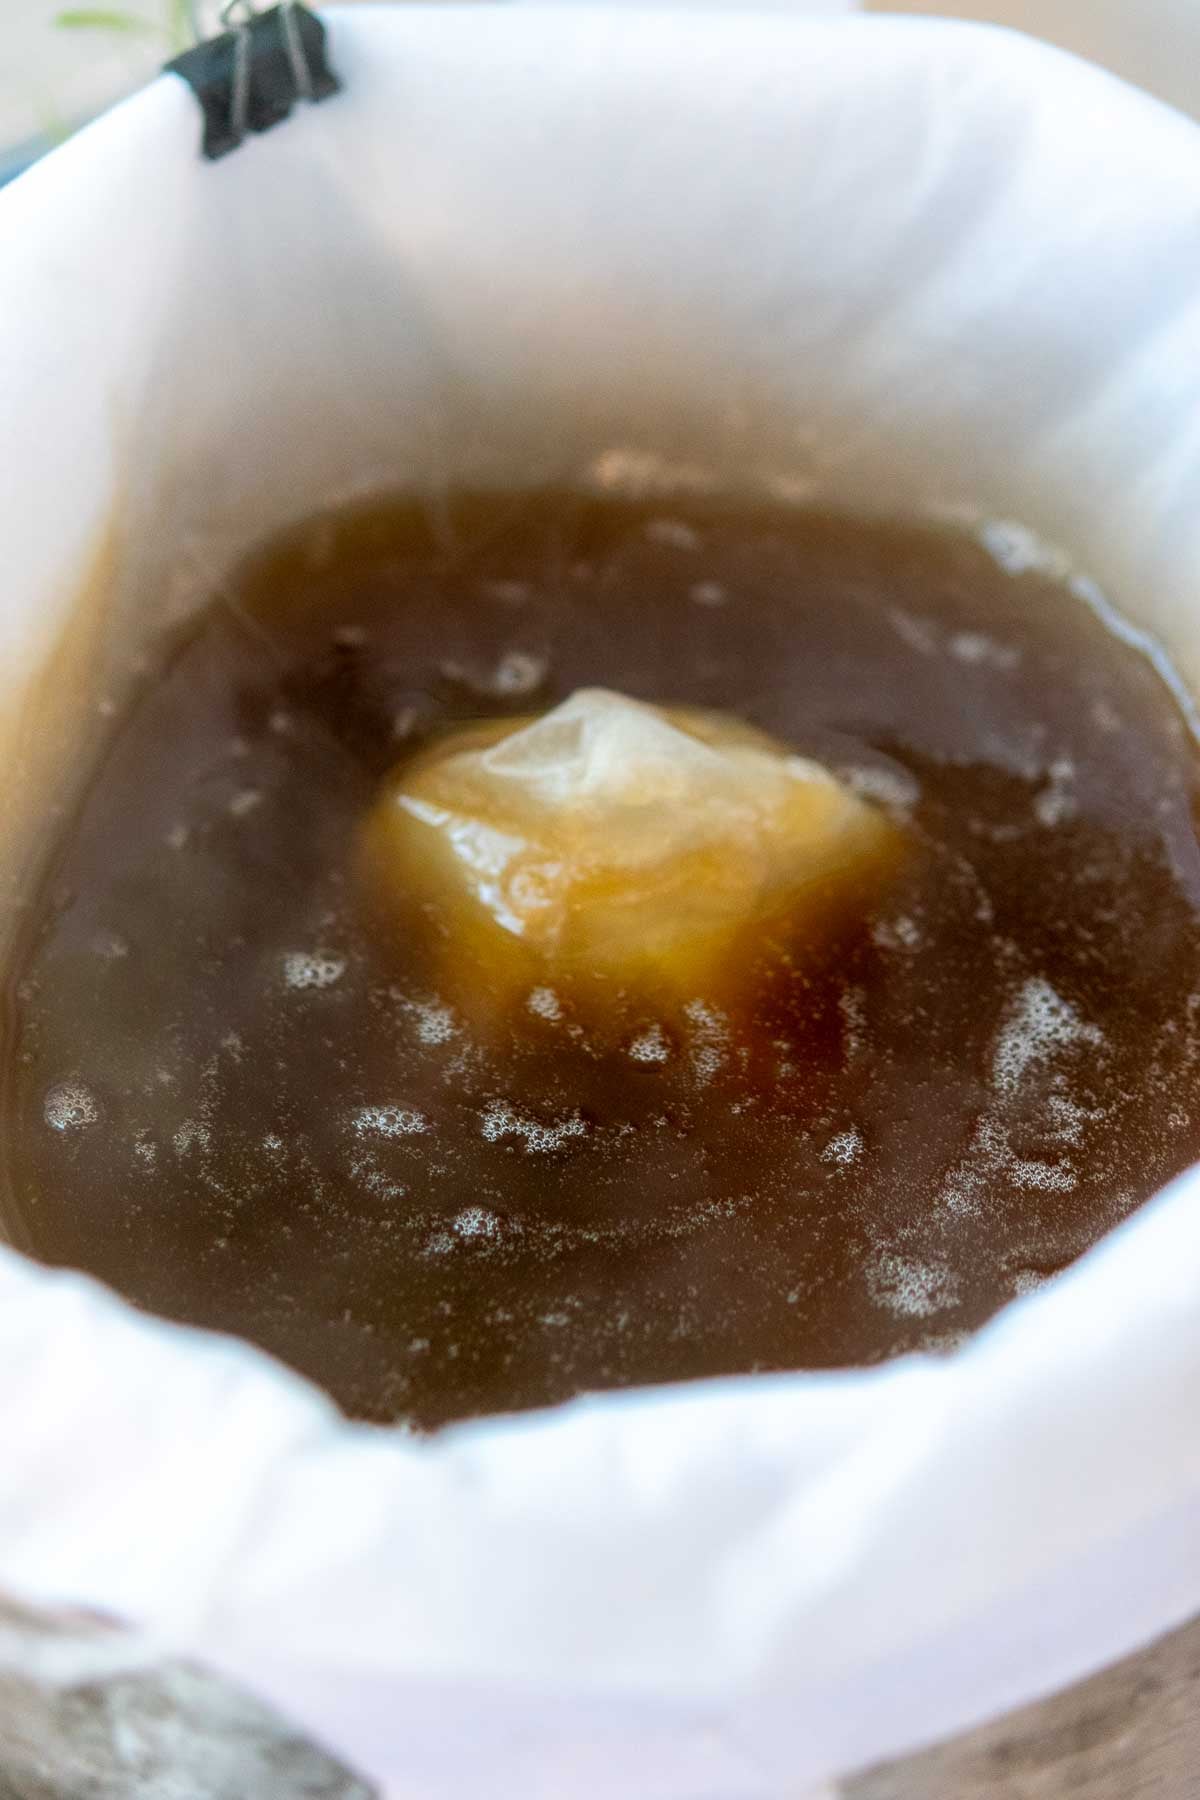
5. Filter the Syrup
Boiled maple syrup is extremely hot, so always use caution and wear liquid-safe heat gloves when handling.
Remove the completed syrup from the heat and filter the syrup over a large pot. You can use cheesecloth or coffee filters for filtering, but I’ve found the best filters are made specifically for maple syruping to reduce “sugar sand” or sediment.
Filters usually come with pre-filters that you filter the syrup through once or twice, followed by a finer finishing filter to remove the tiniest sediments.
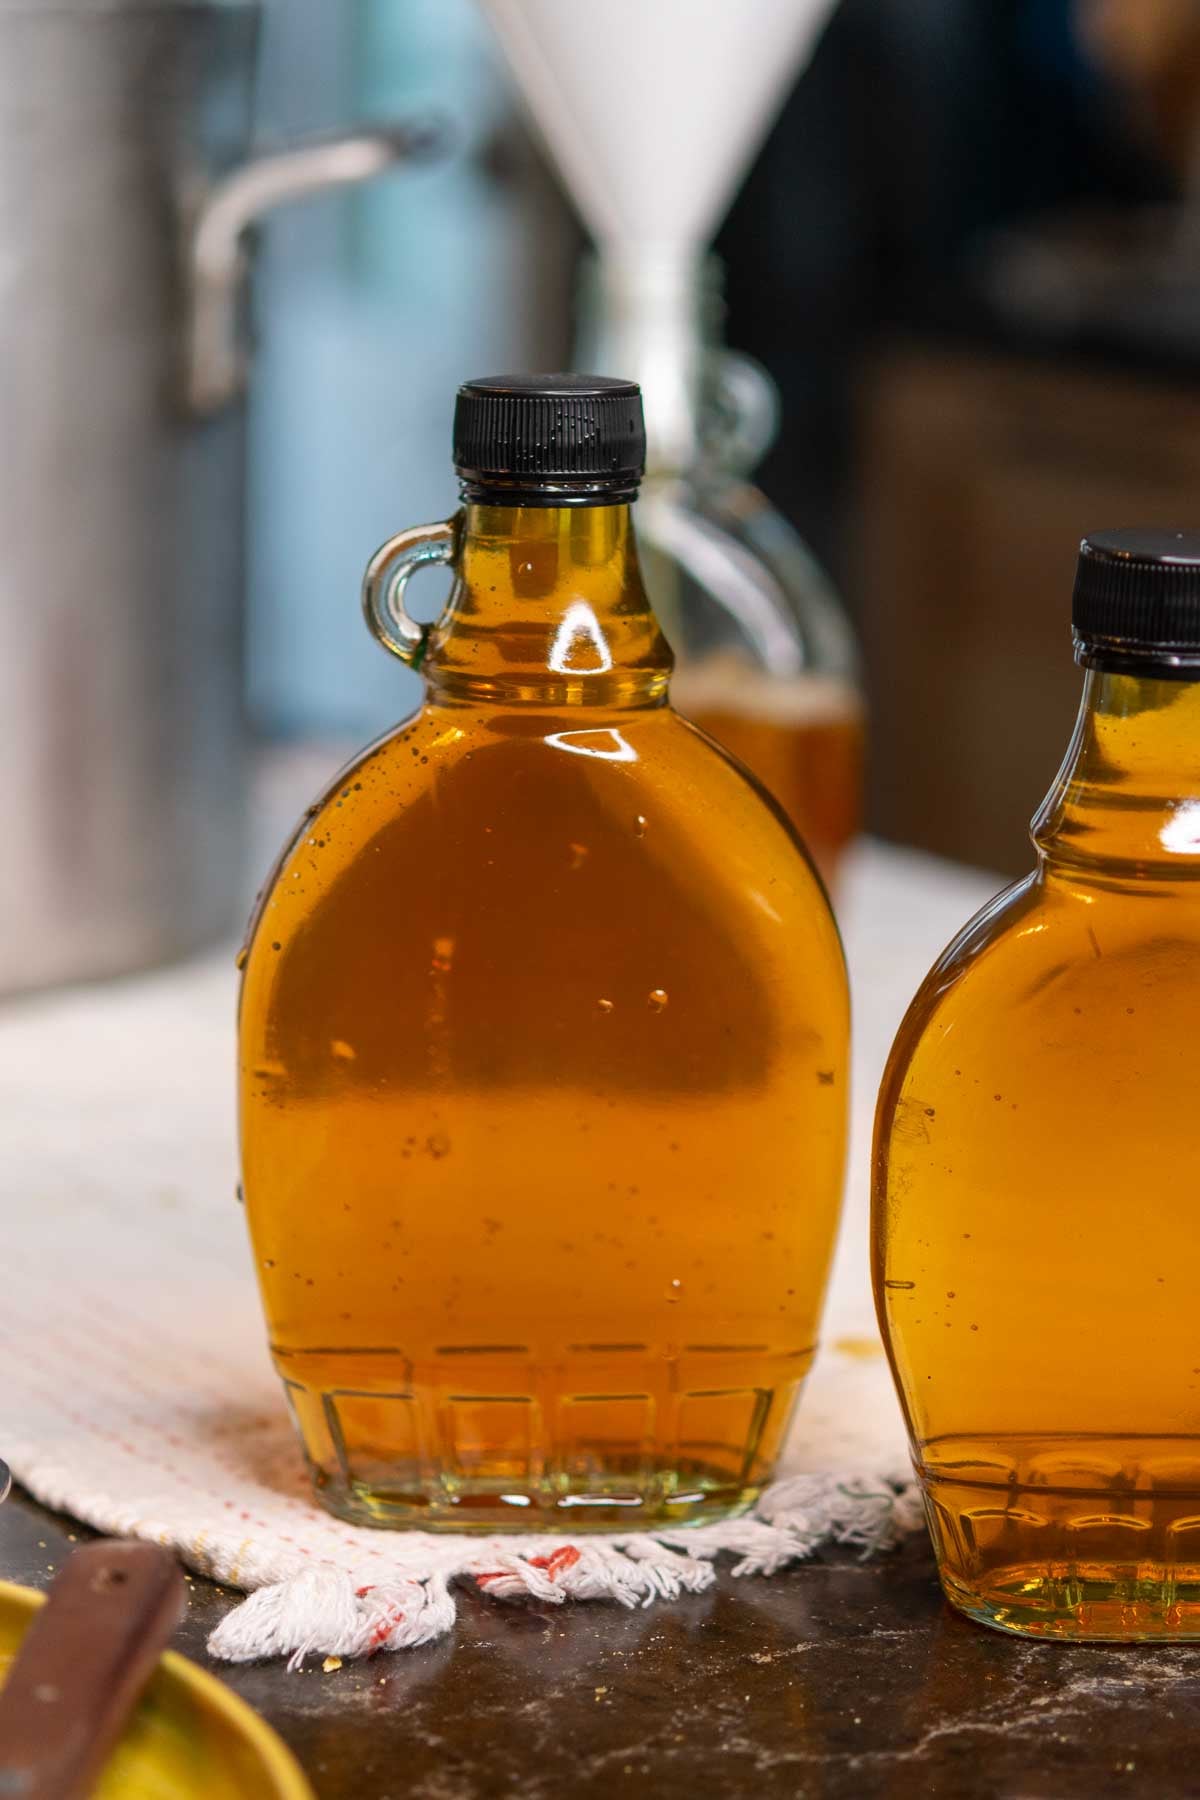
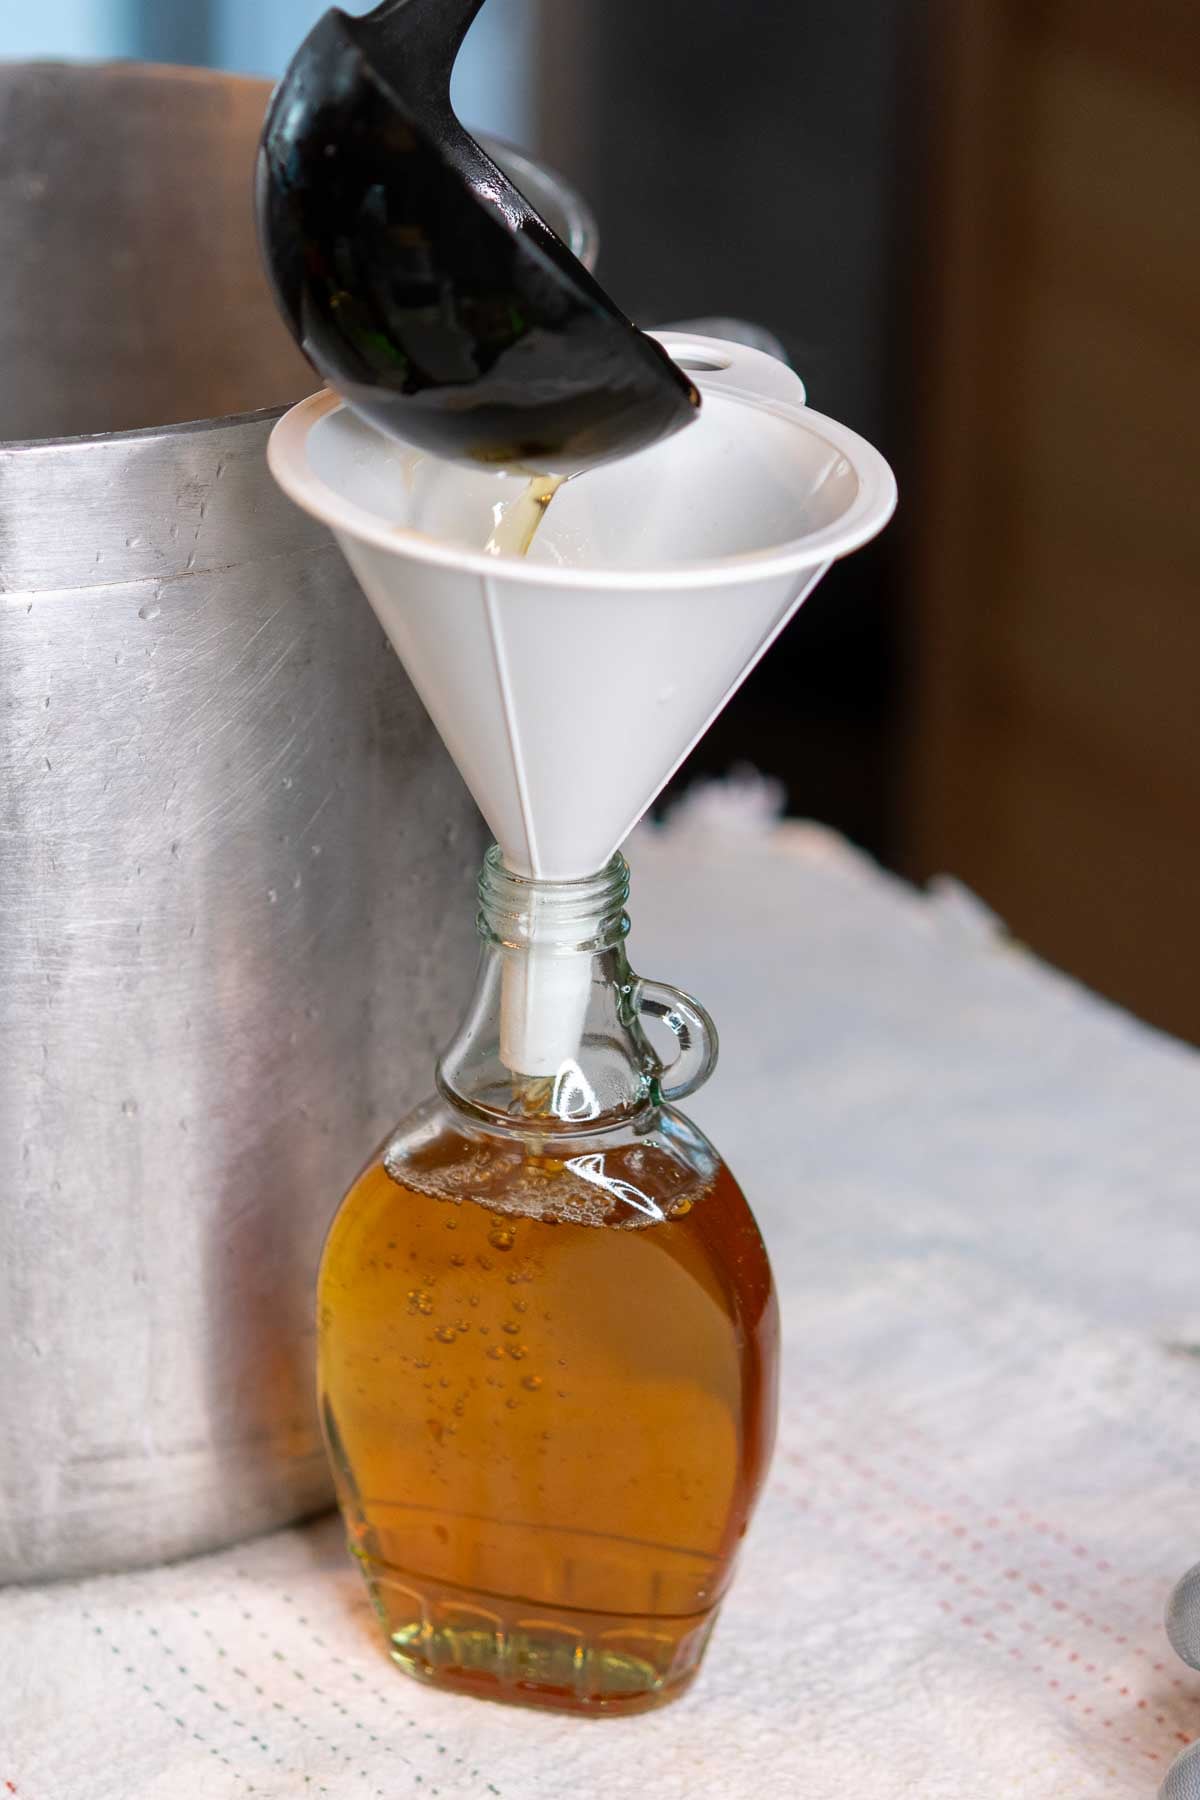
6. Bottle the Maple Syrup
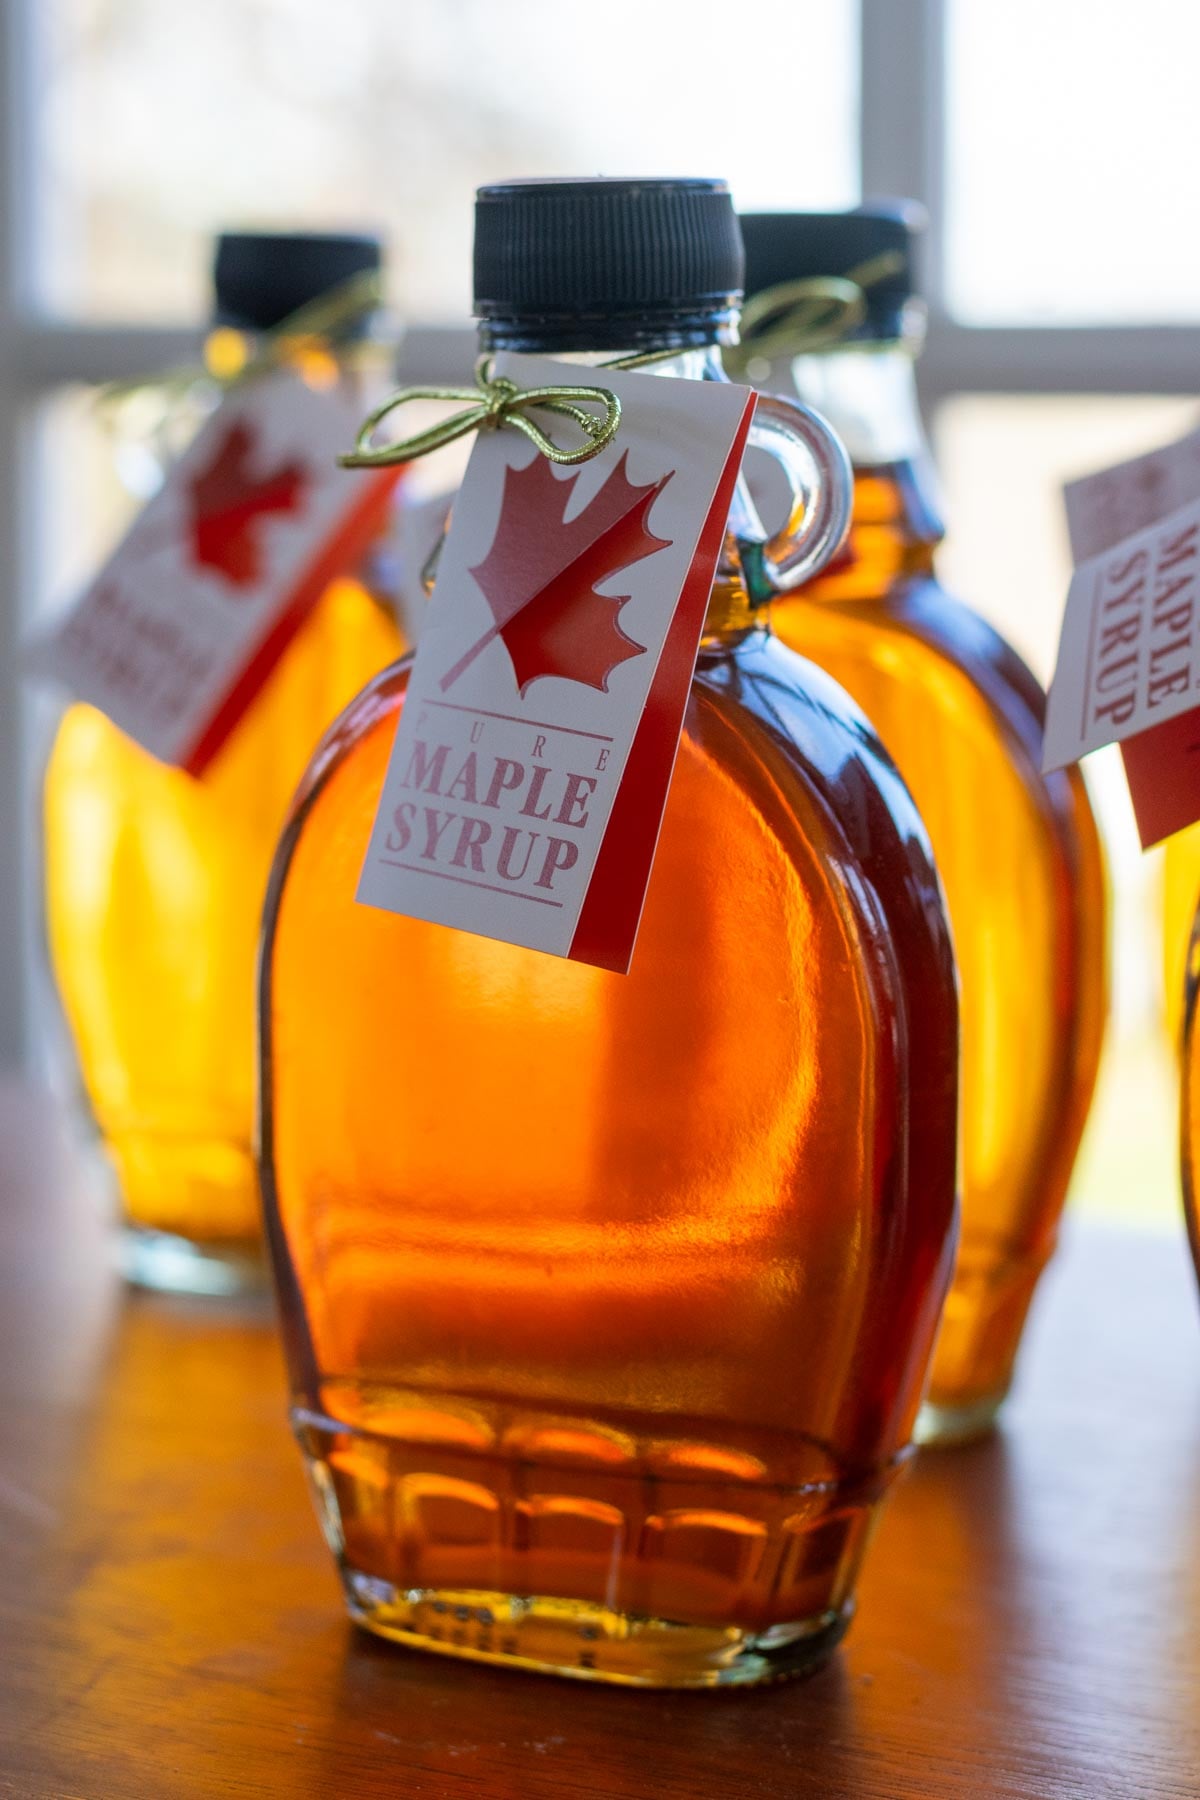
While still hot, pour the filtered syrup into clean and sanitized, heat-safe bottles or jars and seal them. You can use Mason jars, but I prefer real maple syrup containers for easier pouring and for great homemade gifts.
Store in the refrigerator for best freshness after opening. Properly sealed syrup can last for months, but always check for signs of spoilage before using.
With a little patience, you’ll turn simple sap into rich, homemade maple syrup—completely from your own backyard.
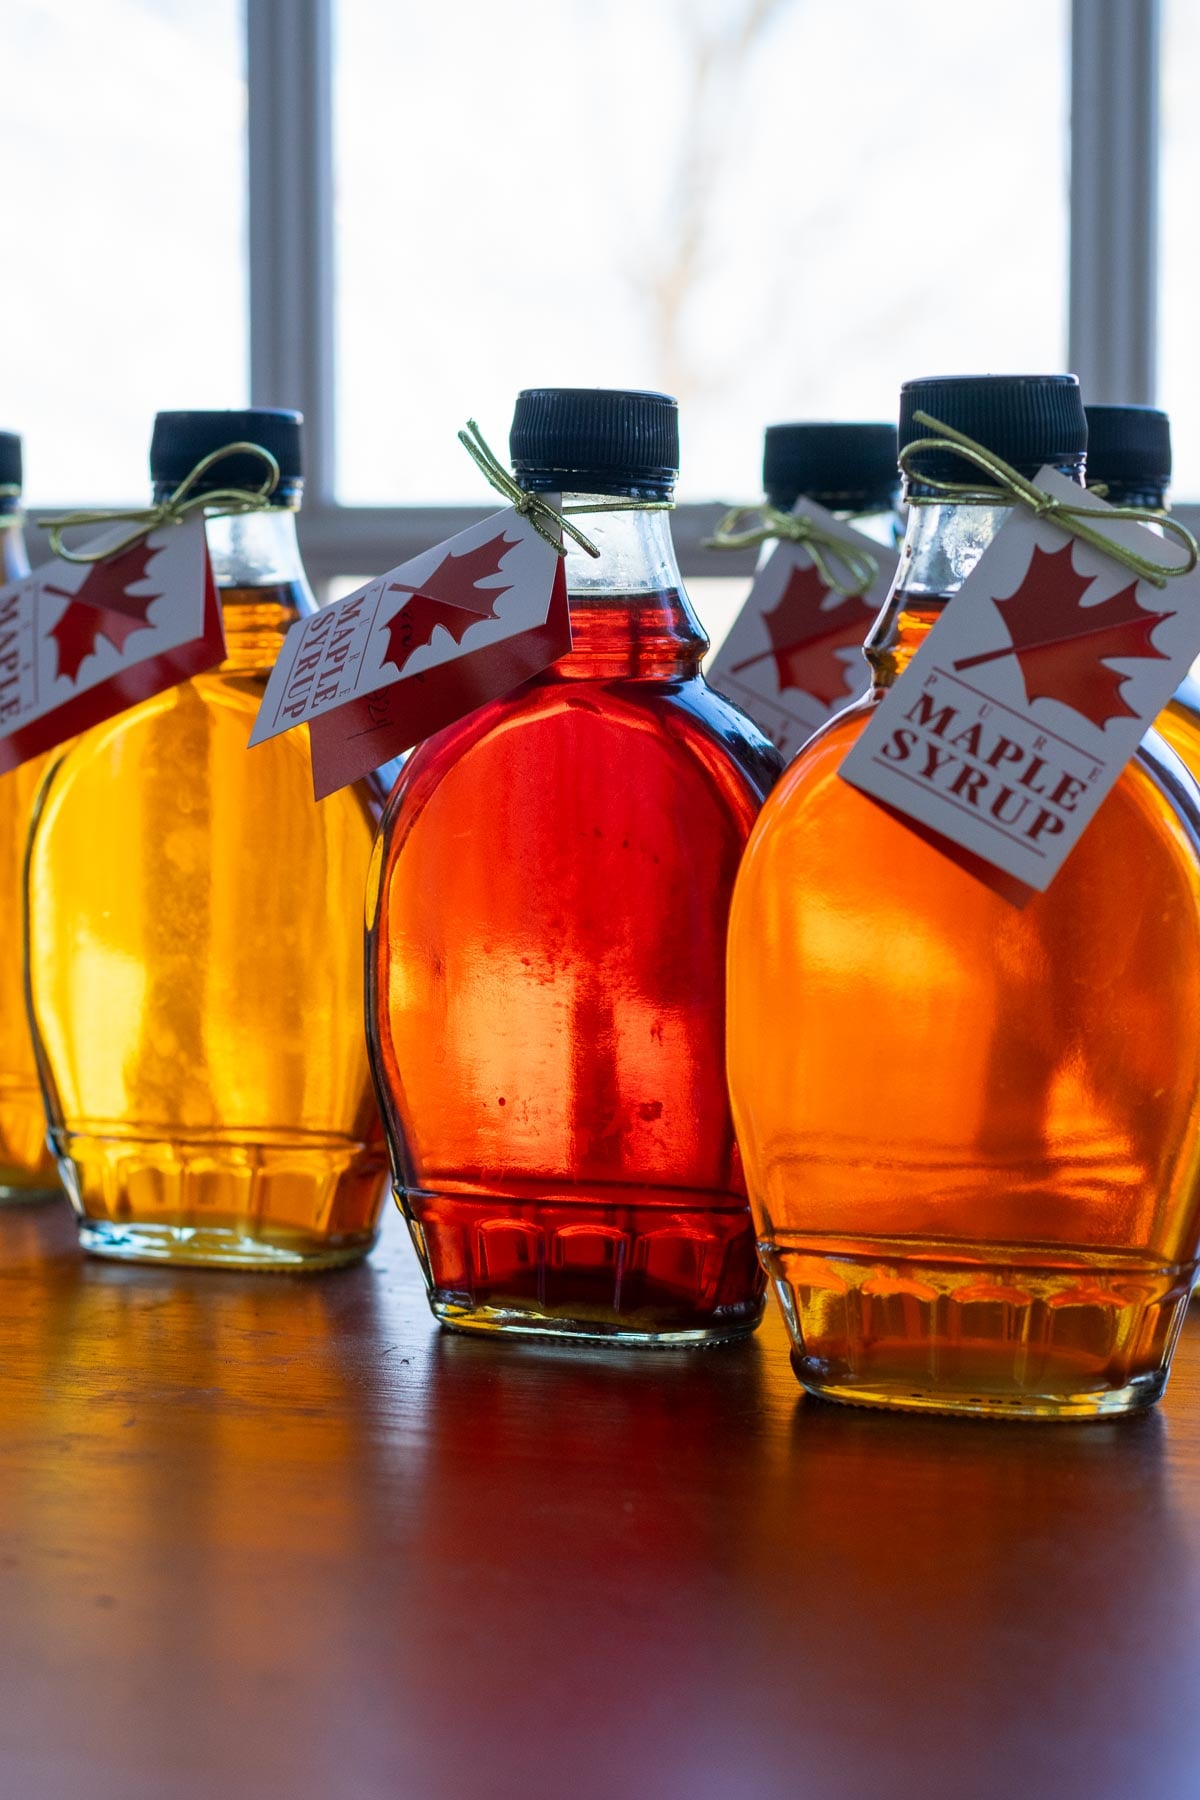
What’s with the different colors?
Every batch of maple syrup may come out differently based on the season and trees. Earlier-season sap tends to produce lighter syrup, whereas later-season sap will produce a darker, more robust maple syrup.
How to Serve
Maple syrup is such an incredibly versatile sweetener with more warm complexity and toffee/caramel tones than granulated sugar. It also works in savory dishes like my Einkorn Salad with Radicchio & Oranges.
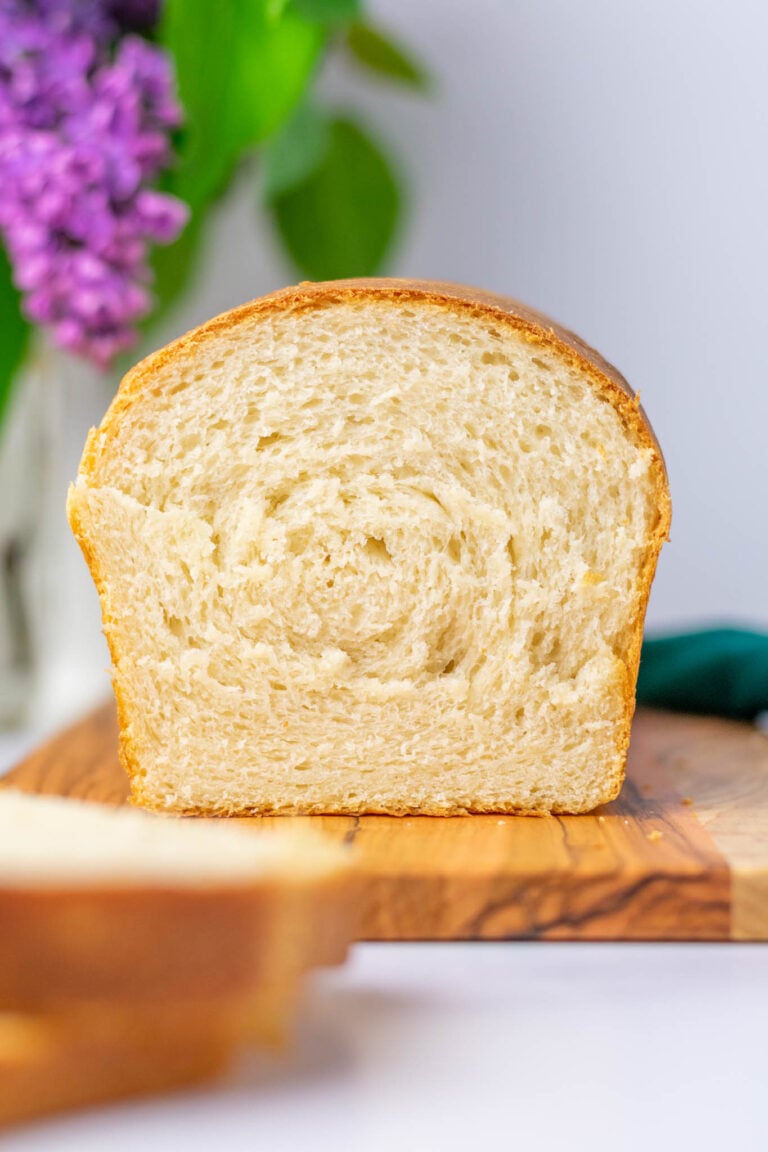
I use maple syrup in breads such as my Seeded Whole Wheat Sourdough Sandwich Bread as a natural sweetener.
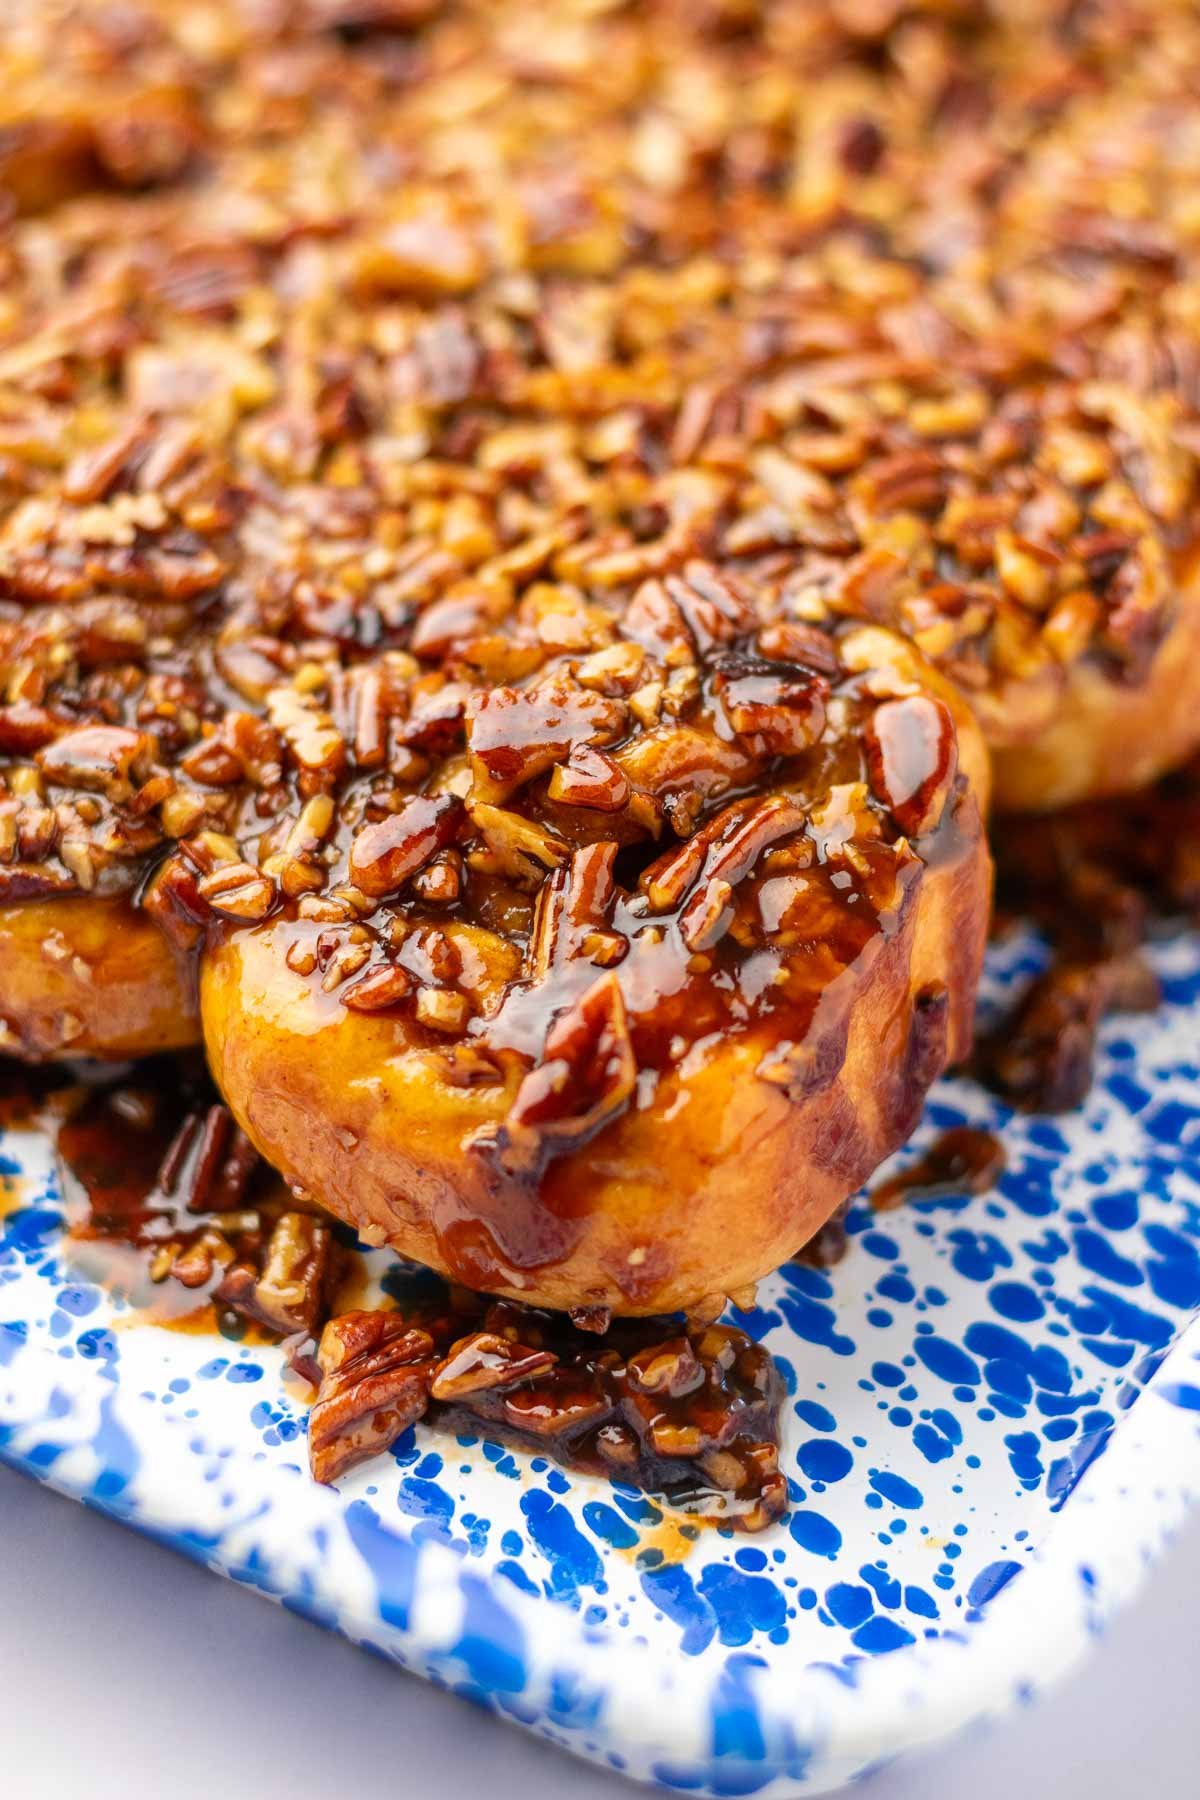
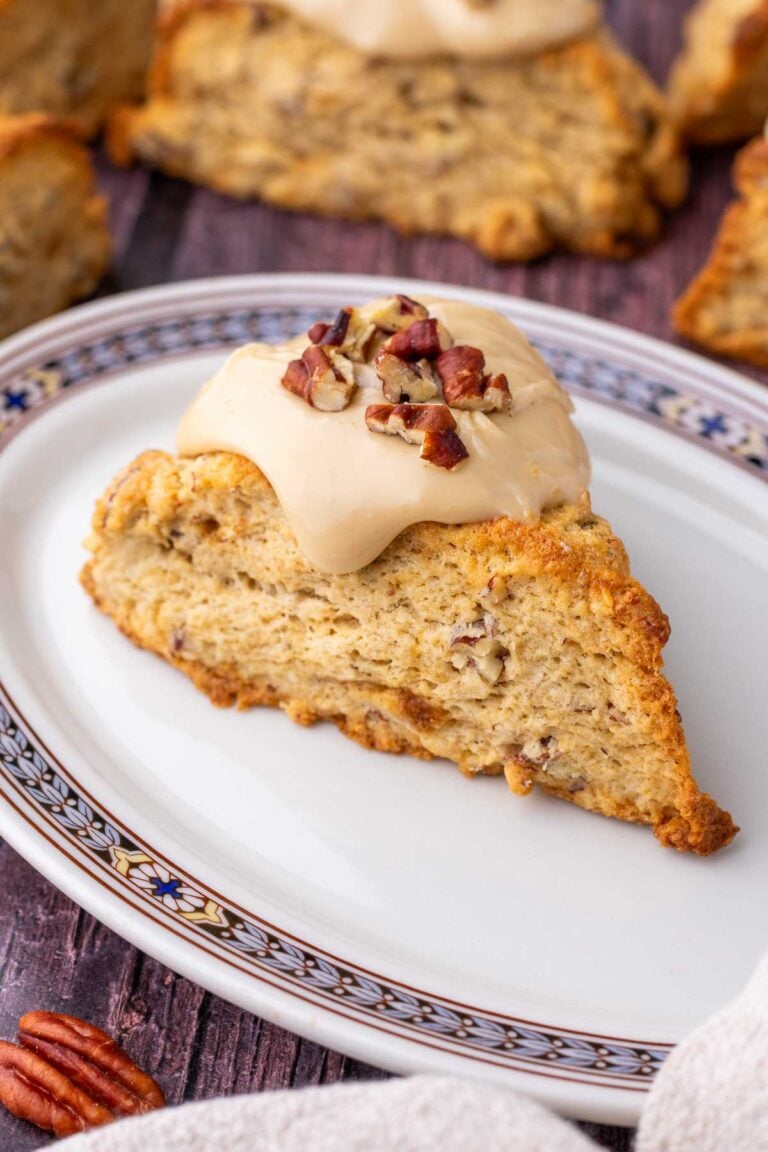
You can also use maple syrup in desserts, such as these Sourdough Maple Pecan Sticky Buns, Sourdough Pumpkin Maple Cookies, or Sourdough Maple Pecan Scones.
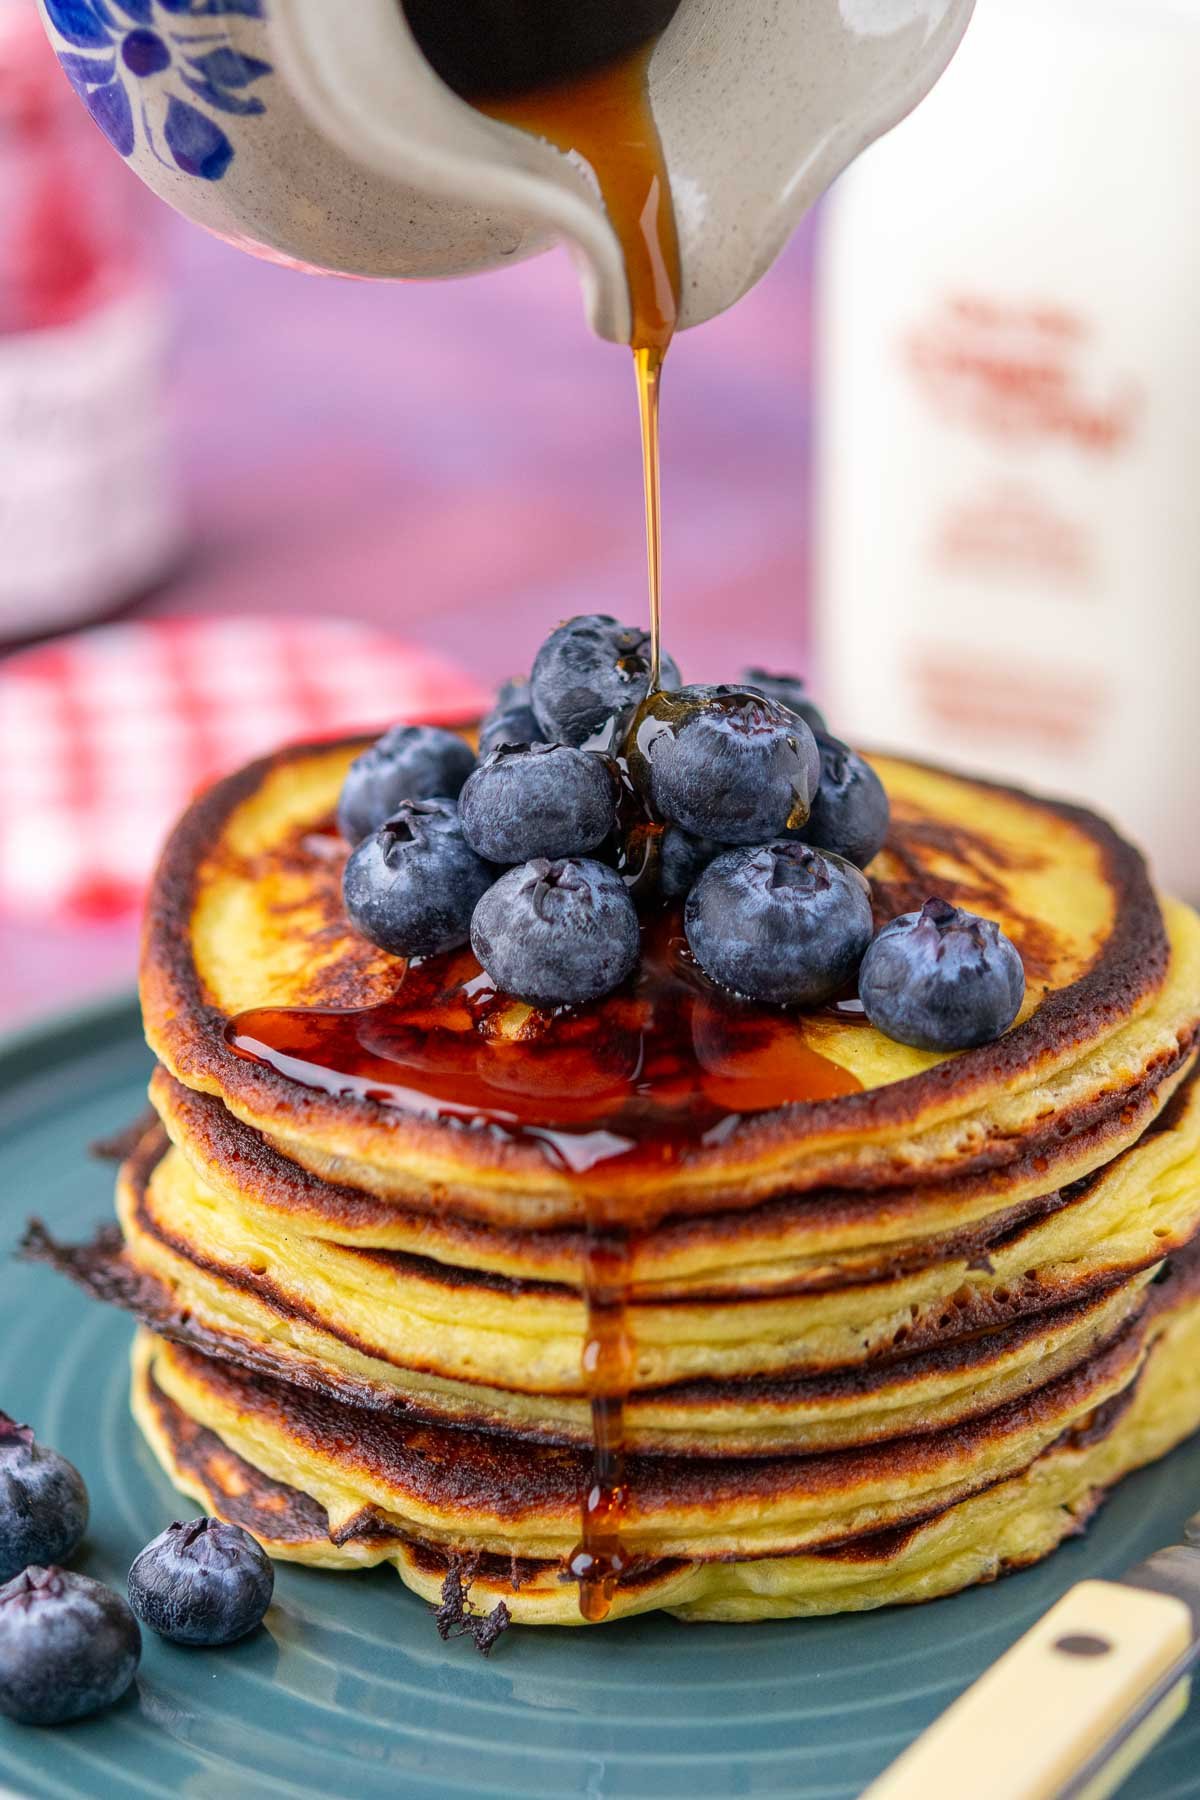
Finally, maple syrup is the perfect drizzle for breakfast pancakes, waffles, and French toast. Some great recipes to serve your homemade maple syrup include these Sourdough Cottage Cheese Protein Pancakes, Sourdough Pumpkin Pancakes with Pecans, Sourdough Buckwheat Pancakes, Sourdough Pumpkin Waffles, and Sourdough Cinnamon French Toast Sticks.
❓ Frequently Asked Questions
Why is my maple syrup cloudy?
It may have too much “sugar sand” or sediment. Filter more or use filters designed for maple syruping.
What to do if I over-boiled my syrup?
You can water down your syrup and boil again for the right consistency. Alternatively, you can make maple sugar or maple cream.
How dark should my syrup be?
Early-season syrup is light and delicate; late-season syrup is darker and more robust. Both are safe to eat. Color doesn’t always indicate sweetness—it’s mostly about flavor depth.
How do I know if my syrup is spoiled?
Syrup that smells sour, tastes fermented, or shows mold should be discarded. Properly finished syrup stored in sealed containers lasts months.
⭐️⭐️⭐️⭐️⭐️
Please leave a rating, comment or question below! Tag me on Instagram or Facebook @SourdoughBrandon or PIN this recipe on Pinterest to come back to it later!

How to Make Homemade Maple Syrup
Equipment
- 1 Drill, with 5/16" or 7/16" bit
- Collection Buckets, with hooks and lids
- Evaporator Pans or Large Pots
- 1 Hydrometer, optional, but recommended for the best finished product
- Jars, cleaned and sanitized
Ingredients
- 40 gallons Maple Sap, Use any amount of sap you have. The ratio is 40:1 (40 gallons of sap will produce 1 gallon of maple syrup).
Instructions
- Tap sugar maple trees in late winter or early spring when temperatures are consistently below freezing at night and above freezing during the day.Drill a hole about 1.5–2 inches deep at a slight upward angle, around 3–4 feet off the ground.Gently tap the spile or spout into the hole using a hammer until it’s snug.Attach your bucket or container to the spile and cover with a lid.
- Check your buckets daily and transfer sap to a larger storage container like five-gallon buckets.You may notice various amounts of sap dripping depending on the temperature.Keep collected sap cold (like you would milk) and boil it within a few days to prevent spoilage. If it starts to look cloudy or develops an off smell, it’s best to discard it.You can freeze sap if you don’t think you’ll be able to boil it within a few days or keep it refrigerated or packed in snow.
- Pour your collected sap into a large, shallow pan and begin boiling it down.This is best done outdoors, as it creates a lot of steam. Increasing the surface area with larger pans will help it boil faster.Keep the sap at a steady, rolling boil and add more as it reduces. It can take a long time—expect several hours, depending on how much sap you have.As the sap boils, skim off any foam and discard to remove impurities.40 gallons Maple Sap
- When you’re at a point where it can fit in one or two stovetop pans, you can finish boiling it indoors on the stove.Finishing sap indoors makes it easier to control the final temperature, so you don’t overcook the syrup.As the sap thickens and darkens, keep a closer eye on it to prevent scorching. Syrup is finished when it reaches about 219°F (7°F above the boiling point of water) at sea level using a candy thermometer. At higher elevations, the finishing temperature decreases.
- Boiled maple syrup is extremely hot, so always use caution and wear liquid-safe heat gloves when handling.Remove the completed syrup from the heat and filter the syrup over a large pot to remove "sugar sand" or sediment.
- While still hot, pour the filtered syrup into clean and sanitized, heat-safe bottles or jars and seal them. You can use Mason jars, but I prefer real maple syrup containers for easier pouring and for great homemade gifts.Store in the refrigerator for best freshness after opening. Properly sealed syrup can last for months, but always check for signs of spoilage before using.
Notes
- Follow my detailed guide above for more detailed instructions, tips, and photos of making homemade maple syrup.
- I am a hobbyist. Use this guide for informational purposes only and always consult local laws, regulations, and food safety guidelines when making your own homemade products.

Such a great way to connect with nature after a long winter and get excited for warmer weather. Homemade maple syrup is such a reward to make!