Buckwheat Sourdough with Pumpkin Seeds
This post may contain affiliate links for products and ingredients I use and recommend. For more information, see my affiliate disclosures.
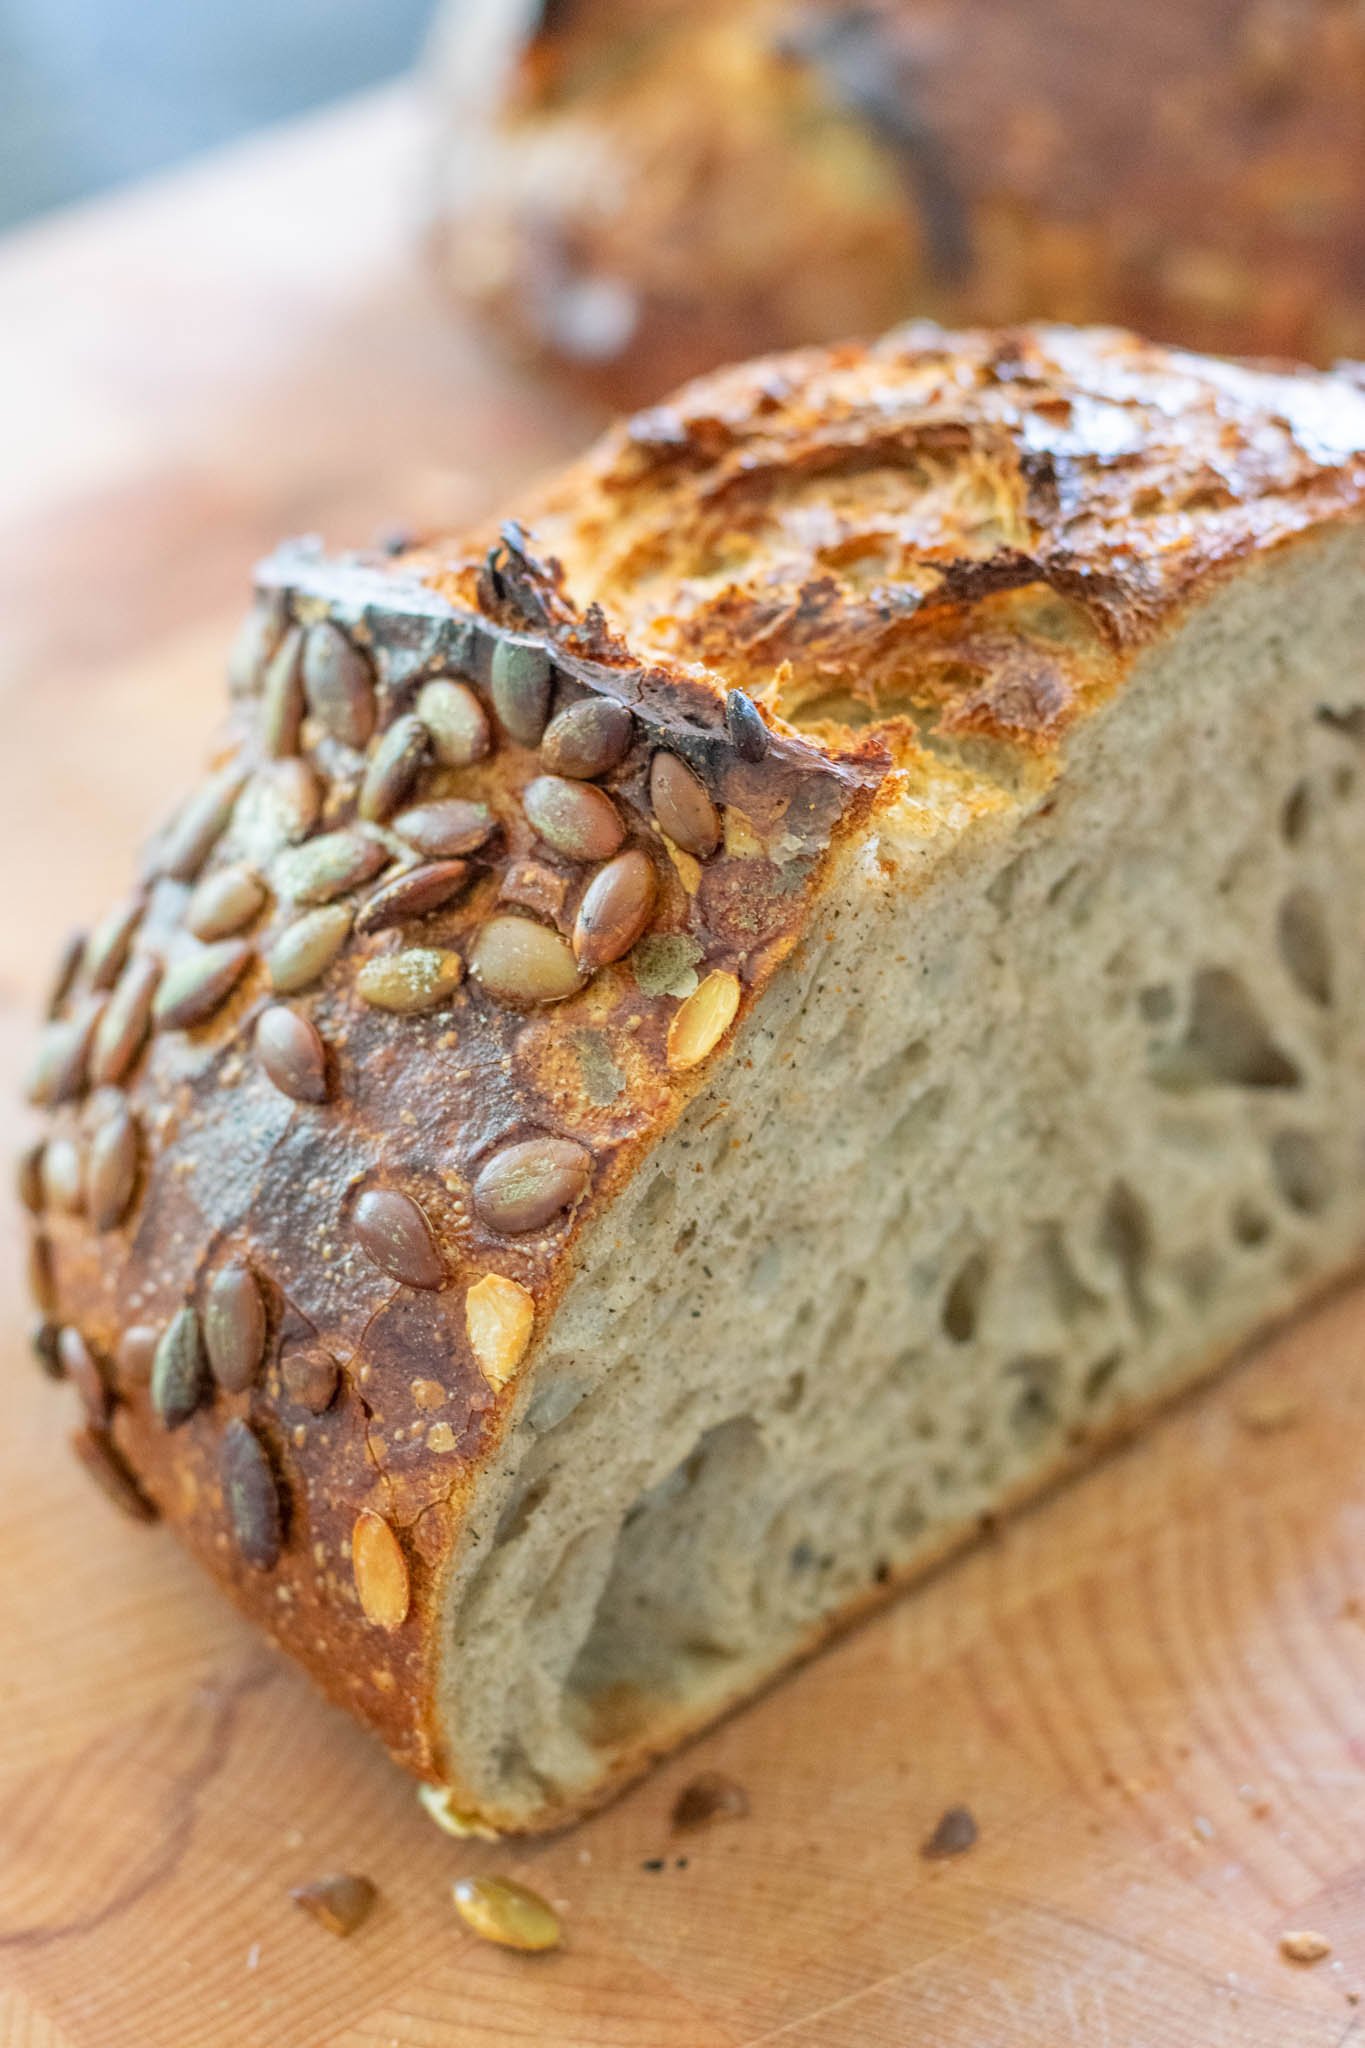
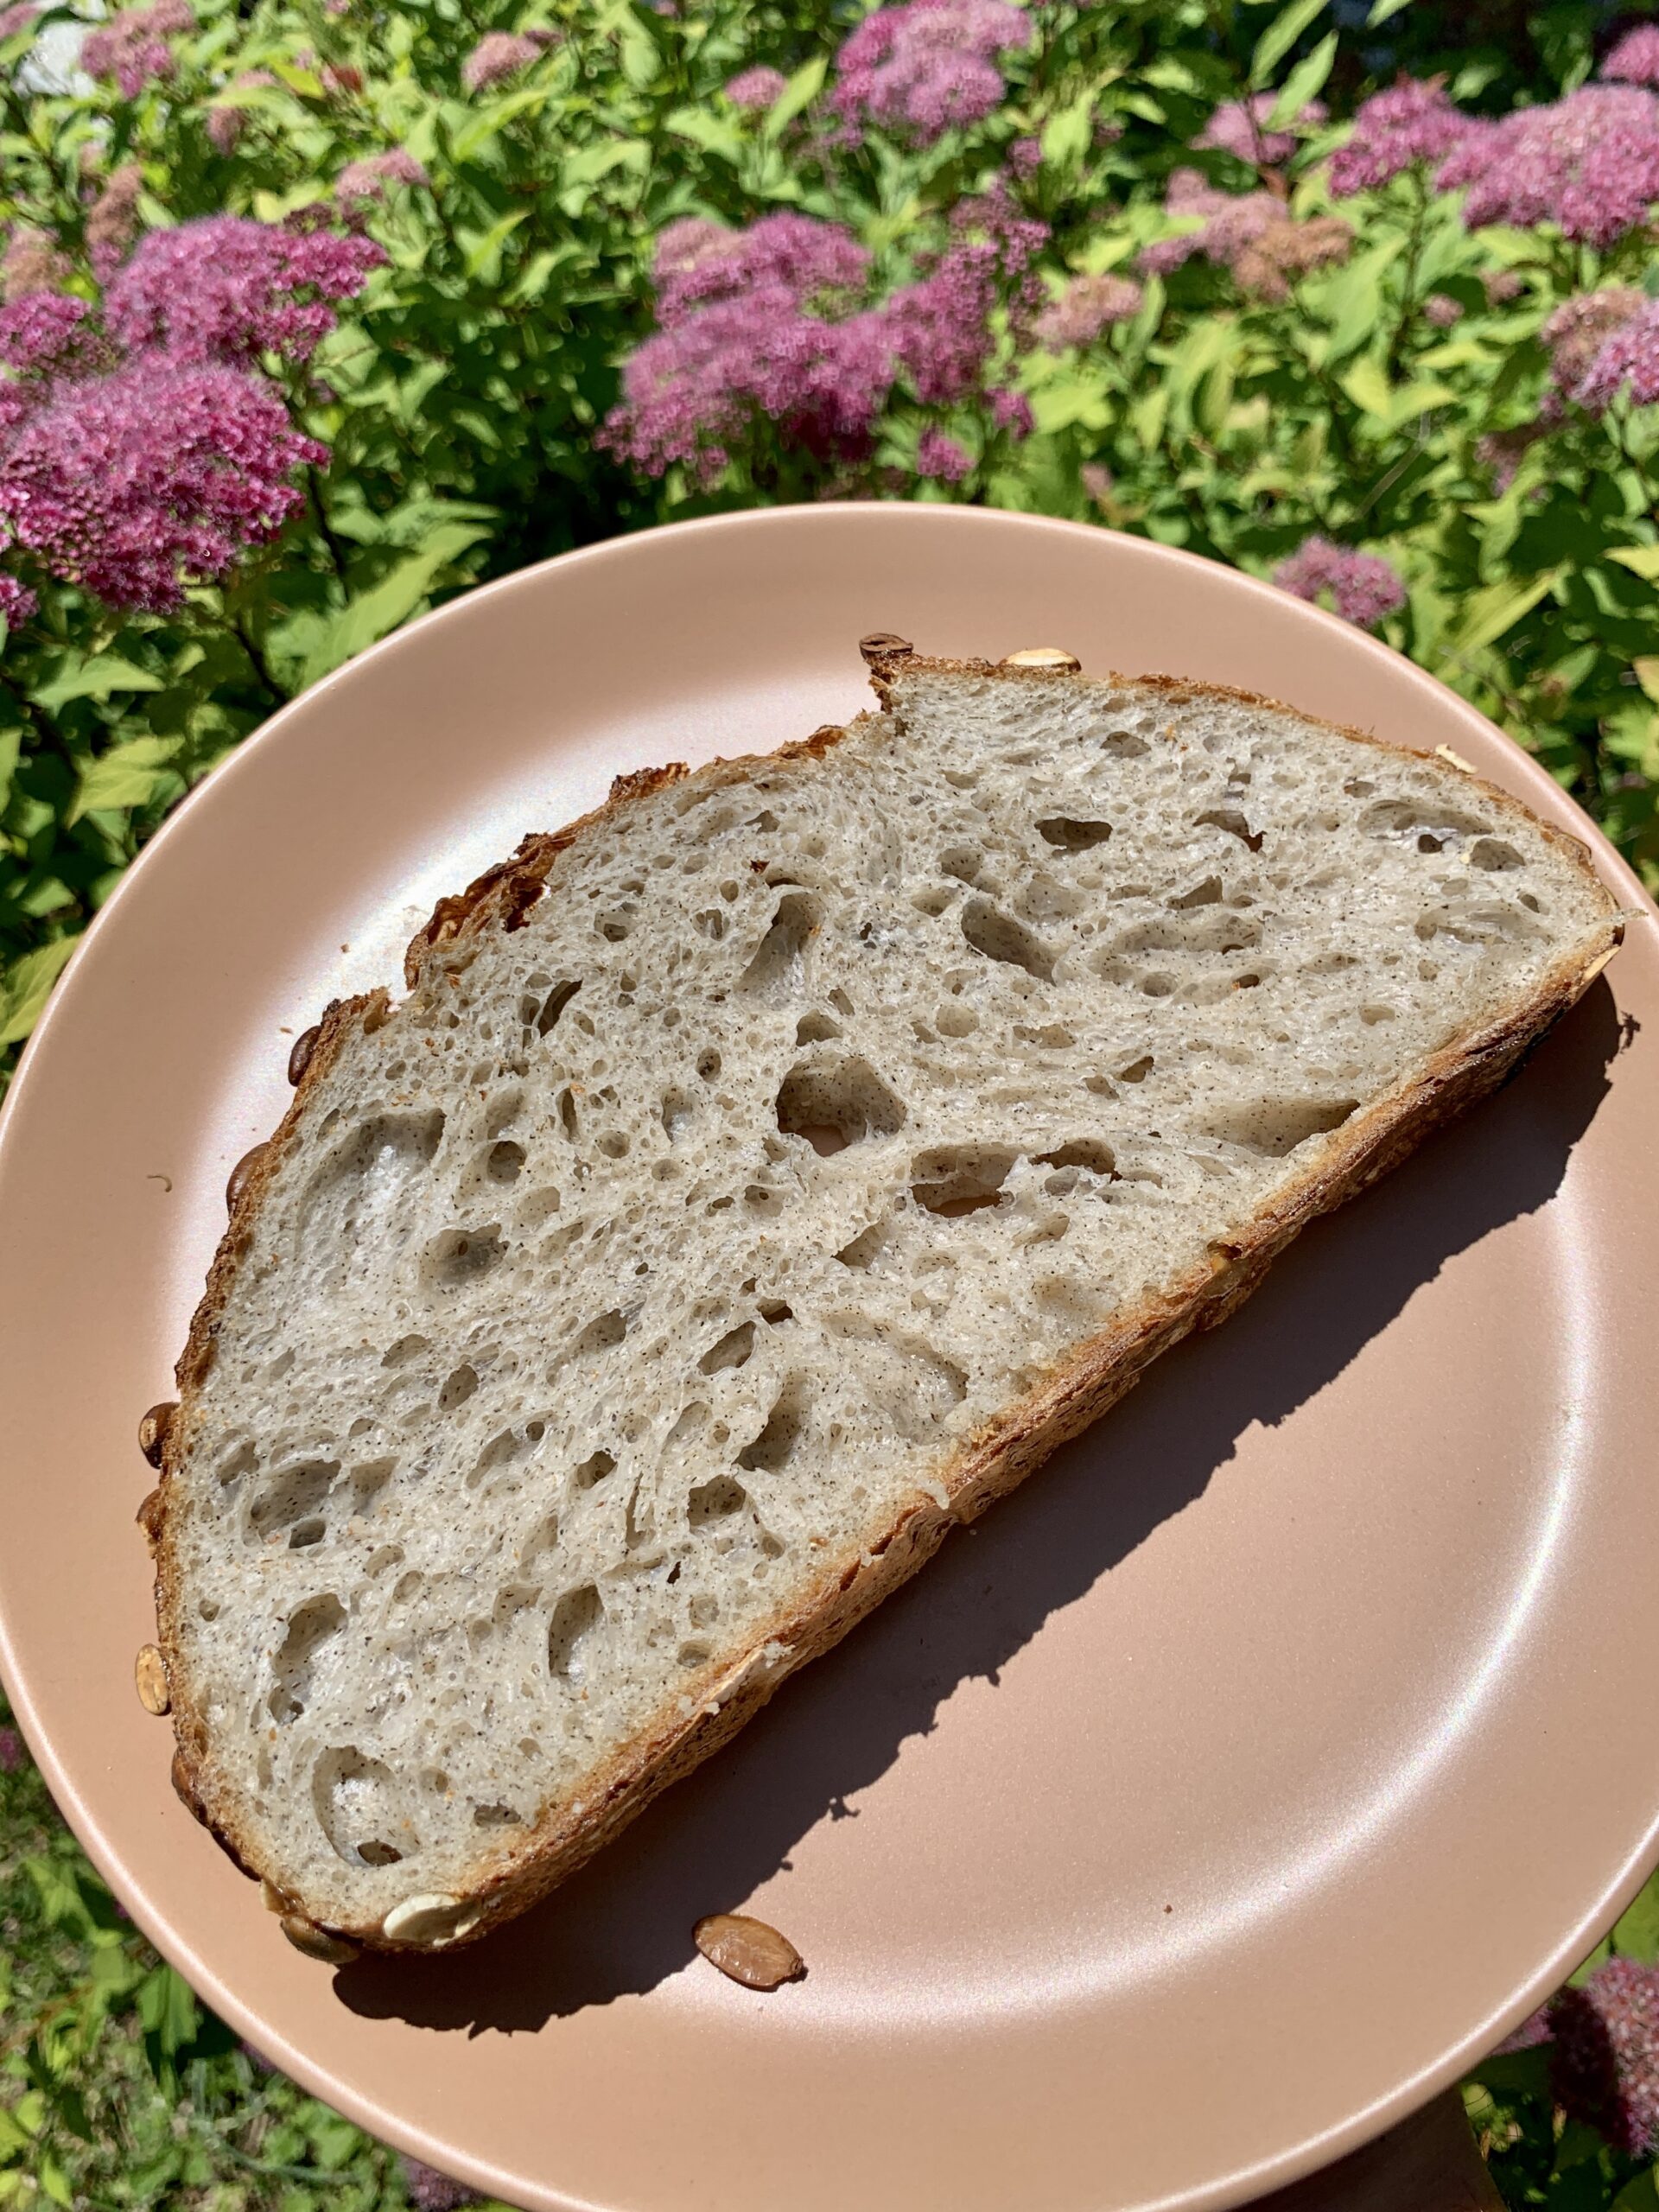
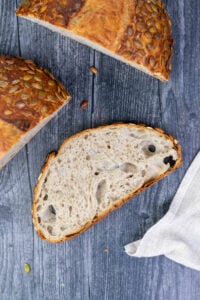
Buckwheat Sourdough with Pumpkin Seeds is one of my favorite sourdough breads I’ve been making recently. With a mosaic crust of crunchy pumpkin seeds and a flavor unlike other whole wheat breads, buckwheat flour is a unique flour addition to embrace in baking.
In fact, buckwheat flour is unlike other whole wheat flours because it’s actually not related to wheat and is naturally gluten-free. Buckwheat flour contributes a nutty, earthy, and slightly bitter flavor to sourdough bread.
A little buckwheat flour can go a long way and I often add a touch of buckwheat flour to pancakes or other baked goods for an interesting flavor. Here, the seemingly small percentage of buckwheat and toasted pumpkin seeds gives the bread a somewhat savory quality that pairs well with soups or a sweetened butter.
Slicing into this buckwheat sourdough, the crumb reveal is totally surprising with its gray hue, black specks, and creamy texture. I can’t wait for you to try it!
Other whole wheat sourdough recipes you may enjoy include: Beginner’s Einkorn Sourdough Bread, Emmer Sourdough Bread, Seeded Whole Wheat Sourdough Sandwich Bread, and Einkorn Sourdough Sandwich Bread.
Baking with Buckwheat Flour
Buckwheat flour is a gluten-free flour. When adding gluten-free flours to sourdough bread, you have to consider the different effects that individual flours will have on a recipe.
I tested this sourdough recipe with various percentages of buckwheat flour and found that more than 10% buckwheat starts to negatively affect the integrity of the dough and taste during baking.
A large amount of buckwheat can leave a strong bitter taste once baked that some may find unappetizing in sourdough.
And because buckwheat is gluten-free, the sourdough bread can bake somewhat flat and have a tight crumb structure not unlike a rye bread or Einkorn Sourdough Bread when used in high percentages.
Gluten-free flours can also make doughs harder to shape. I hand mix this dough longer than My Everyday Sourdough Bread Recipe to develop more gluten up front before bulk fermentation.
I complete six coil fold sets during bulk fermentation as well as a preshape. All of these additional measures, including a lower hydration, before shaping give this buckwheat sourdough a little more structure to make it easier to handle.
👨🏫 Baker’s Percentage Chart
I include a baker’s percentage chart so you can easily scale a recipe up or down. With baker’s percentages, the total weight of all flour in the recipe is 100%. I include the prefermented flour from the levain in this flour weight as well. The other ingredients are noted in relation to the total weight of flour (in this case, 430g total flour). This is why the percentages below will add up to over 100%.
The King Arthur website has a more detailed reference page on why and how baker’s percentages are calculated if you’re interested and would like to learn more.
| Ingredients | Weight | Percentage |
|---|---|---|
| Bread Flour | 399 grams (includes 20g for levain*) | 92.8% |
| Buckwheat Flour | 31 grams (includes 10g for levain) | 7.2% |
| Sea Salt | 8 grams | 1.9% |
| Water | 310 grams (includes 30g for levain) | 72.1% |
| Sourdough starter | 30 grams (all for levain) | 7% |
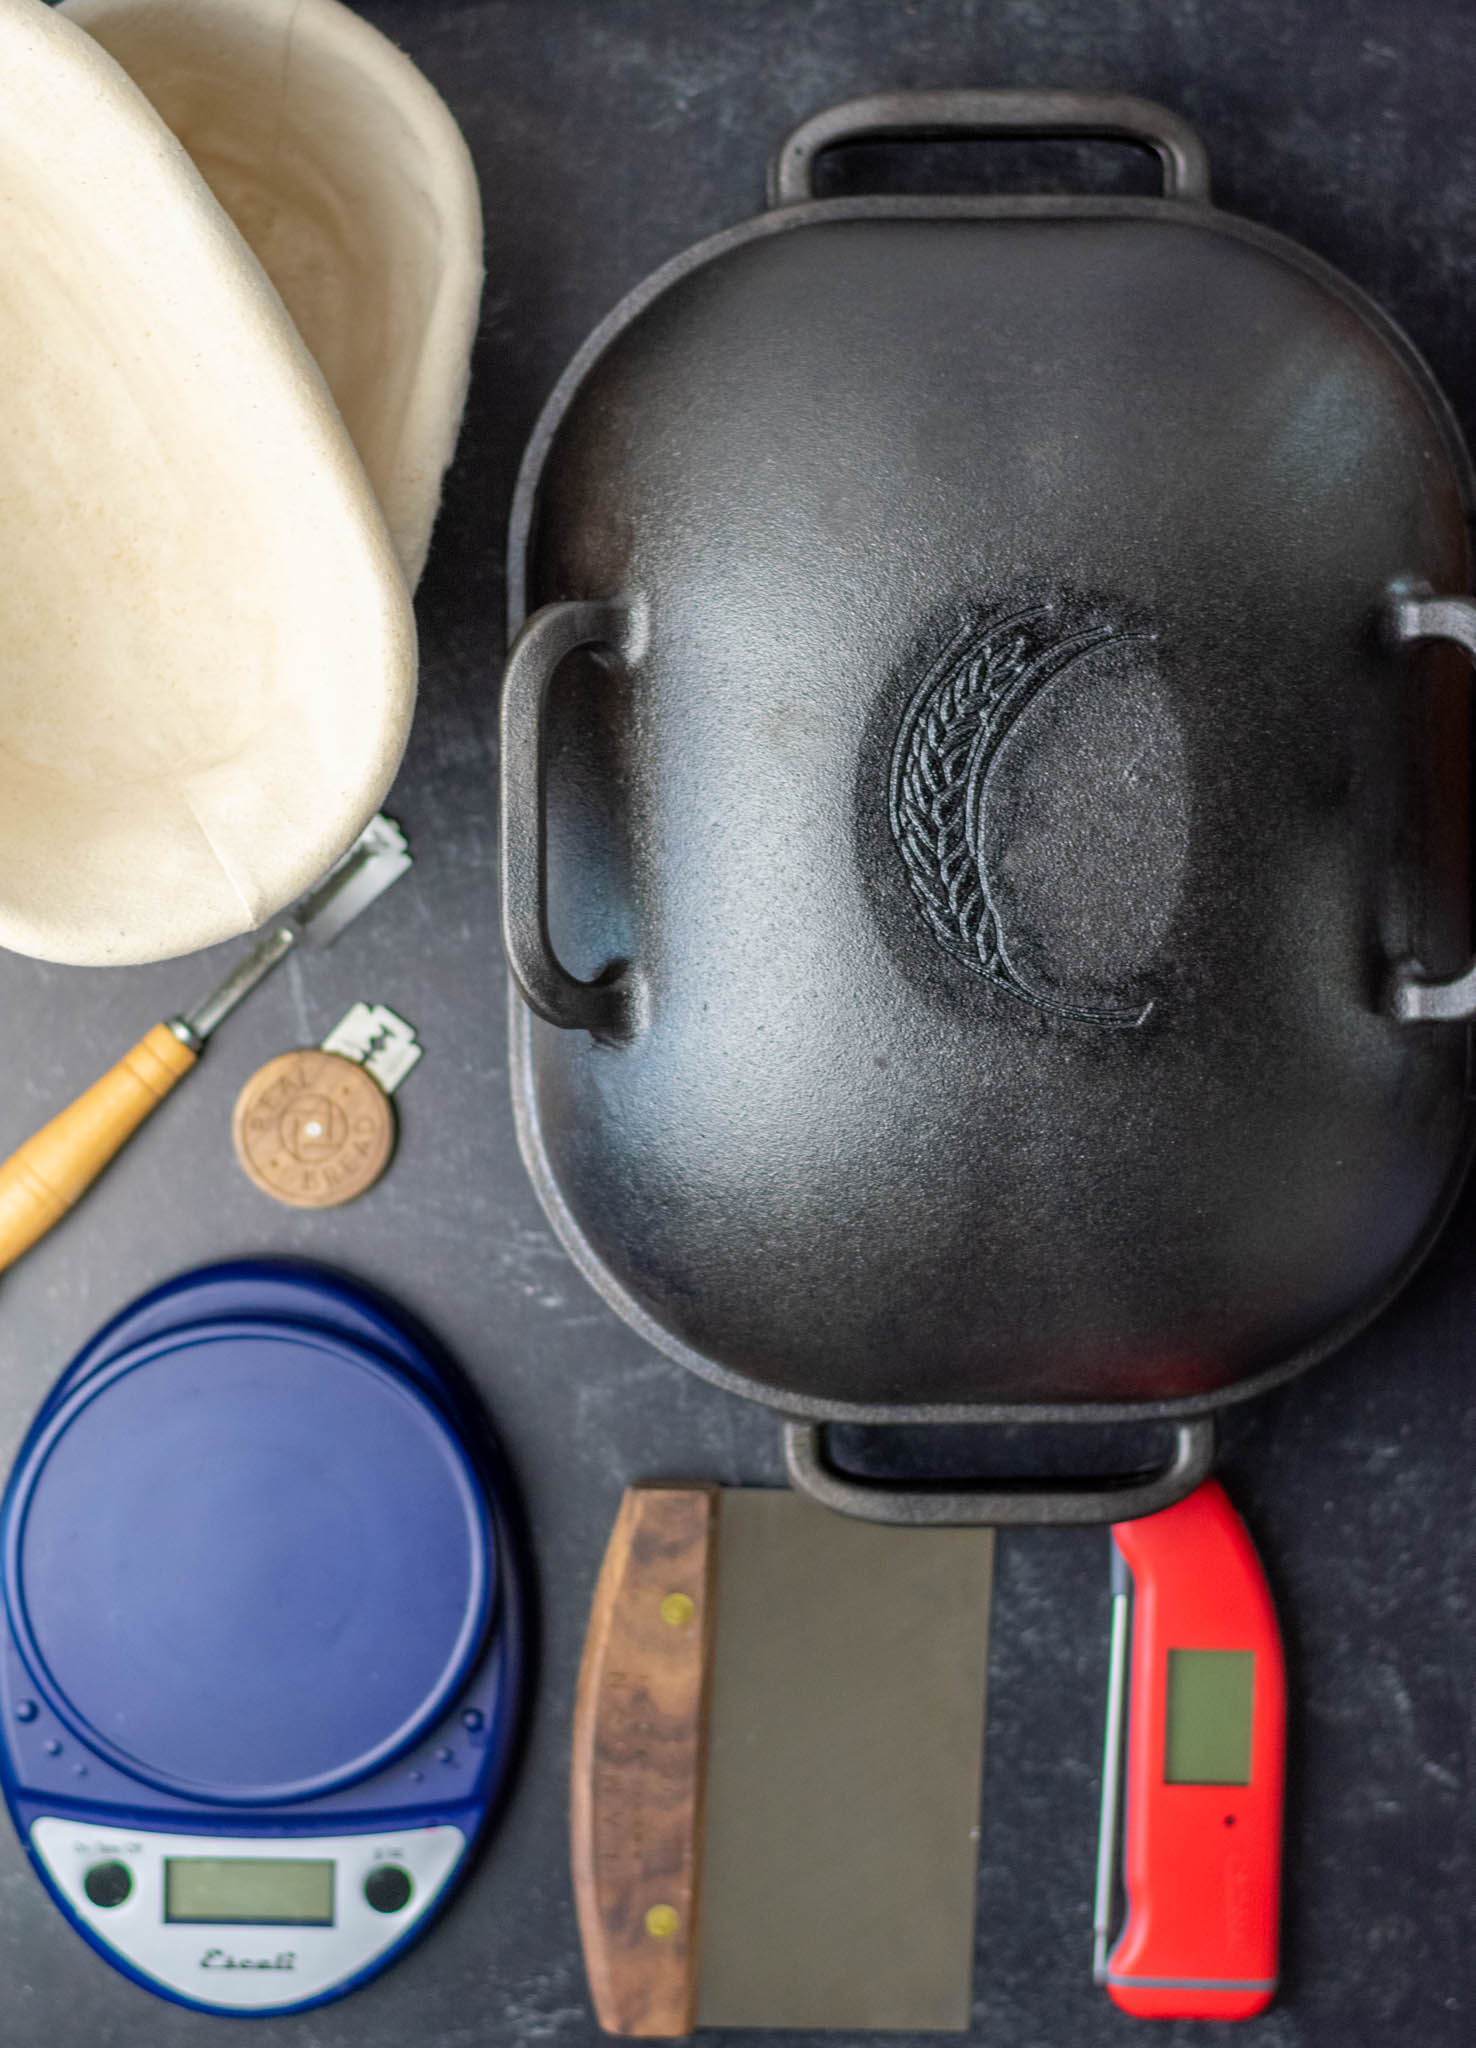
🛠 Tools Needed for Buckwheat Sourdough
Click on the toggles below for more information, recommendations, and possible substitutes and my Sourdough Tools guide for more options and recommendations.
Cast Iron Dutch Oven
I’m in love with my Challenger Bread Pan. It bakes the highest quality sourdough bread possible. The Challenger Bread Pan is made from extremely heavy duty cast iron and is designed by a sourdough bread baker himself. It’s large enough for a baking different shapes and even fits a couple demi-baguettes. I couldn’t recommend this pan enough to elevate your sourdough baking.
The Lodge Double Dutch Oven is a smaller, economical option that will also produce a great loaf. I’ve used Lodge’s enameled dutch oven with success as well. These pans are circular and will only fit boules.
Baking Scale
I always list ingredients by weight in grams because it is the most accurate way to measure baking ingredients. Use a scale and your baking will immediately be better!
I love my Escali baking scale and use it every day. The batteries last a long time, it’s accurate, and it comes in many different colors.
Bread Lame
My favorite bread lame for scoring sourdough is the UFO Bread Lame from Wire Monkey. It’s easy to handle, sleek, and has a sharp blade to easily cut through dough.
Bench Scraper
I’ve used many bench scrapers but my favorite and highest-quality one is this Lamson bench scraper. It’s sturdy, has a beautiful walnut handle, and is handcrafted near me in Massachusetts (even better!).
Banneton Proofing Basket
I use this 10″ oval proofing banneton for baking batards and a 9″ round banneton for boules. A proofing basket will help keep your dough shaped while it proofs overnight and removes easily from the basket with a liner.
Optional but helpful: Brød & Taylor Folding Proofer
This folding proofing box by Brød & Taylor is a game changer to keep your sourdough starter and doughs at the perfect temperature while proofing.
My sourdough baking immediately improved when I got my proofer.
The proofer folds up easily, includes a humidity tray, is multifunctional, and can even be used as a slow cooker.
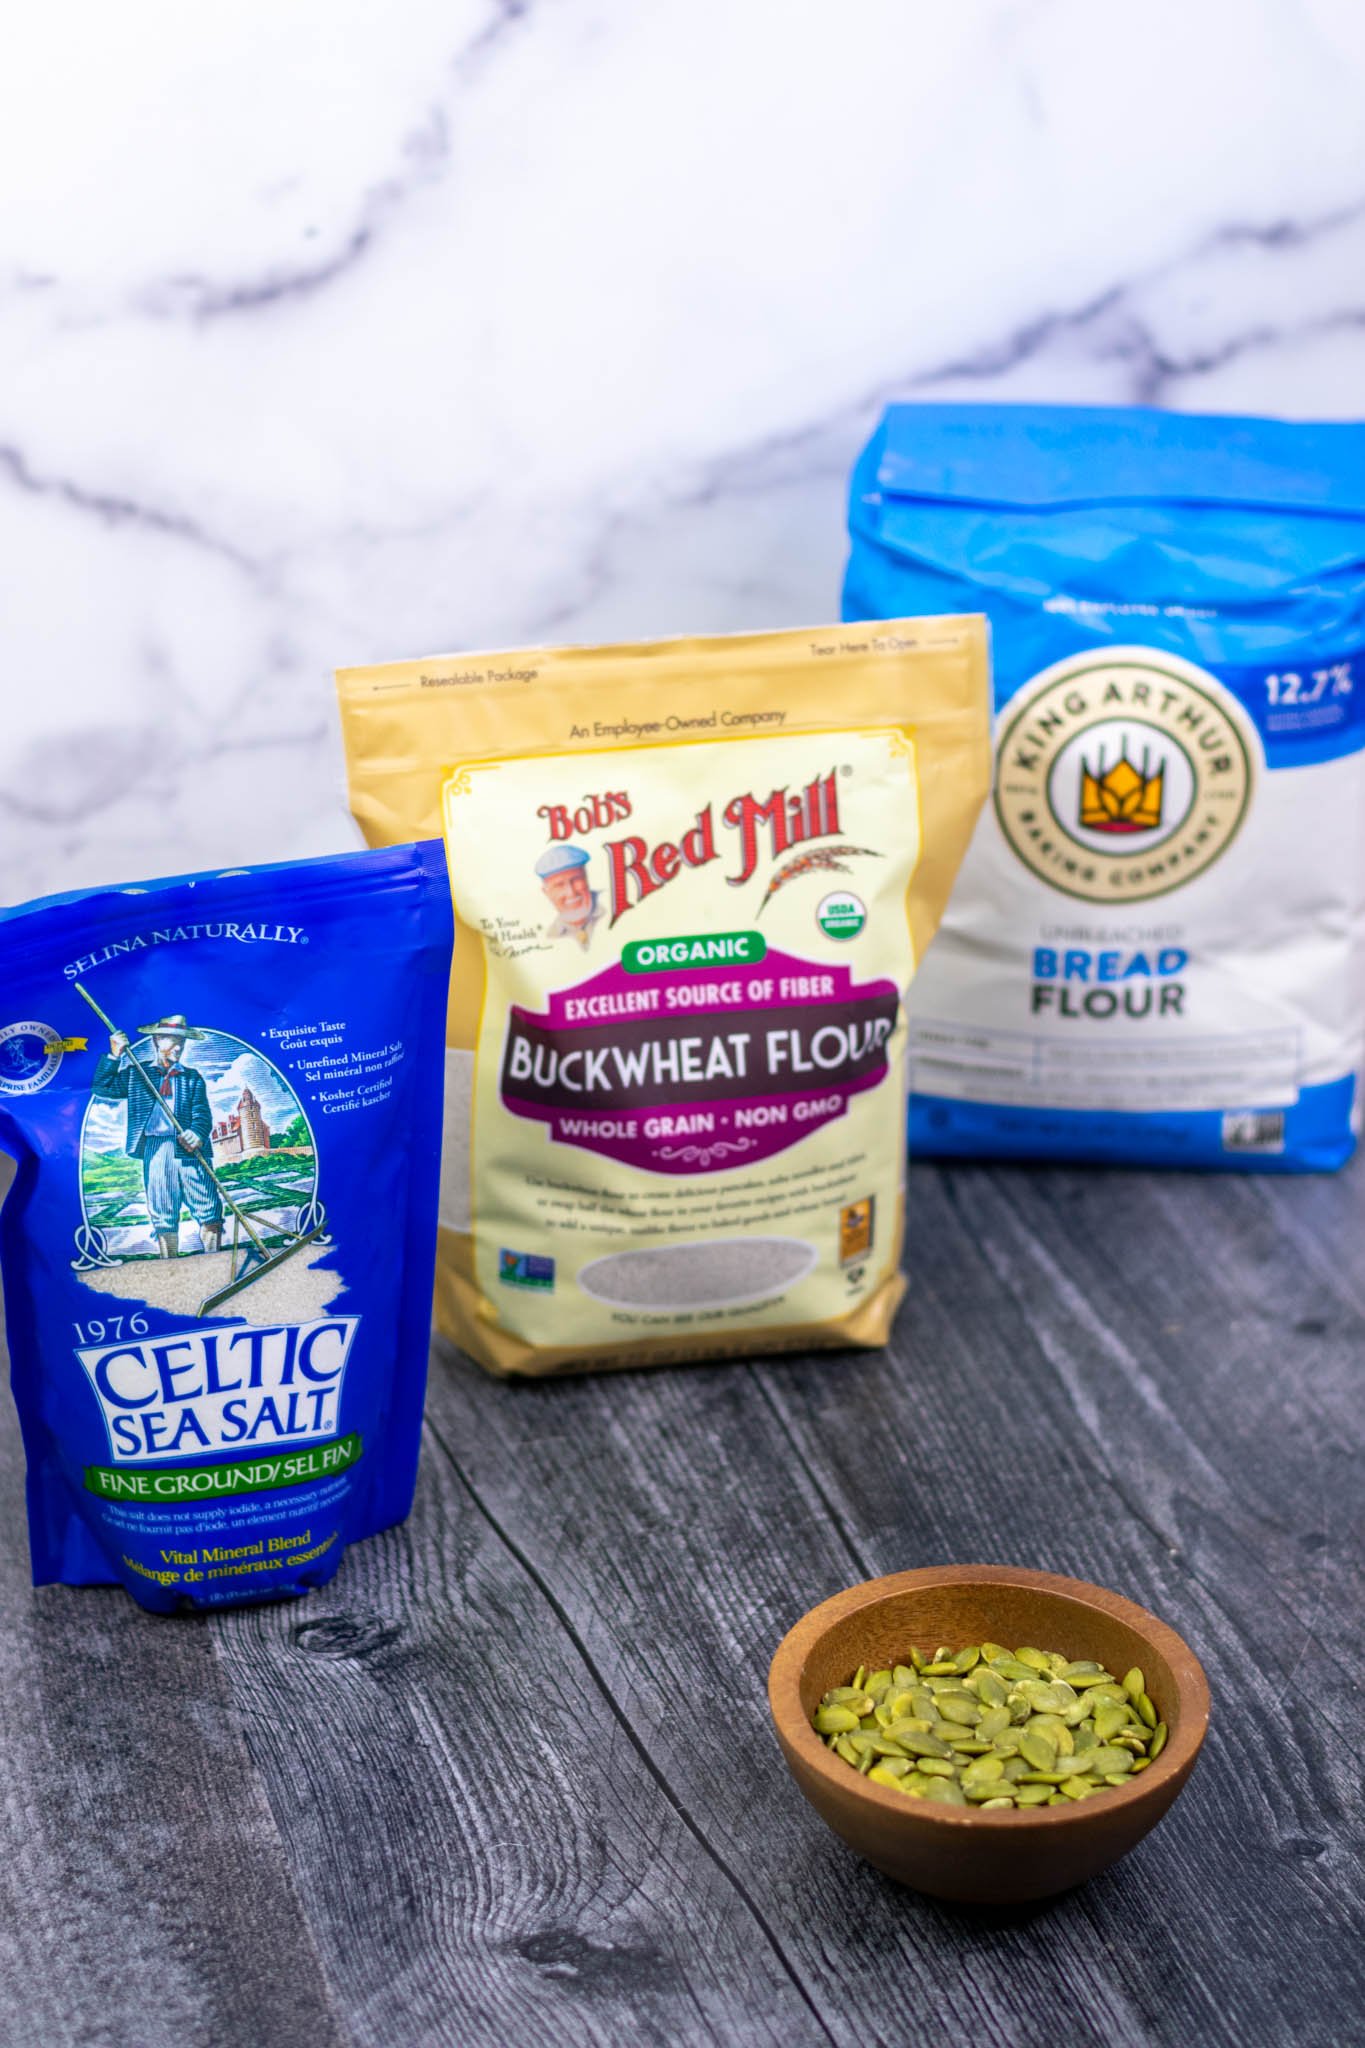
🛒 Ingredients Needed for Buckwheat Sourdough
Click on the toggles below for more information, recommendations, and possible substitutes.
Bread Flour
King Arthur Bread Flour has a high protein content and is the brand of bread flour I use for most recipes. Another high-quality and high-protein content bread flour would work as well.
Sourdough Starter
Don’t have a sourdough starter? Be sure to follow my How to Make a Sourdough Starter guide to learn how to make and maintain your own in just a week.
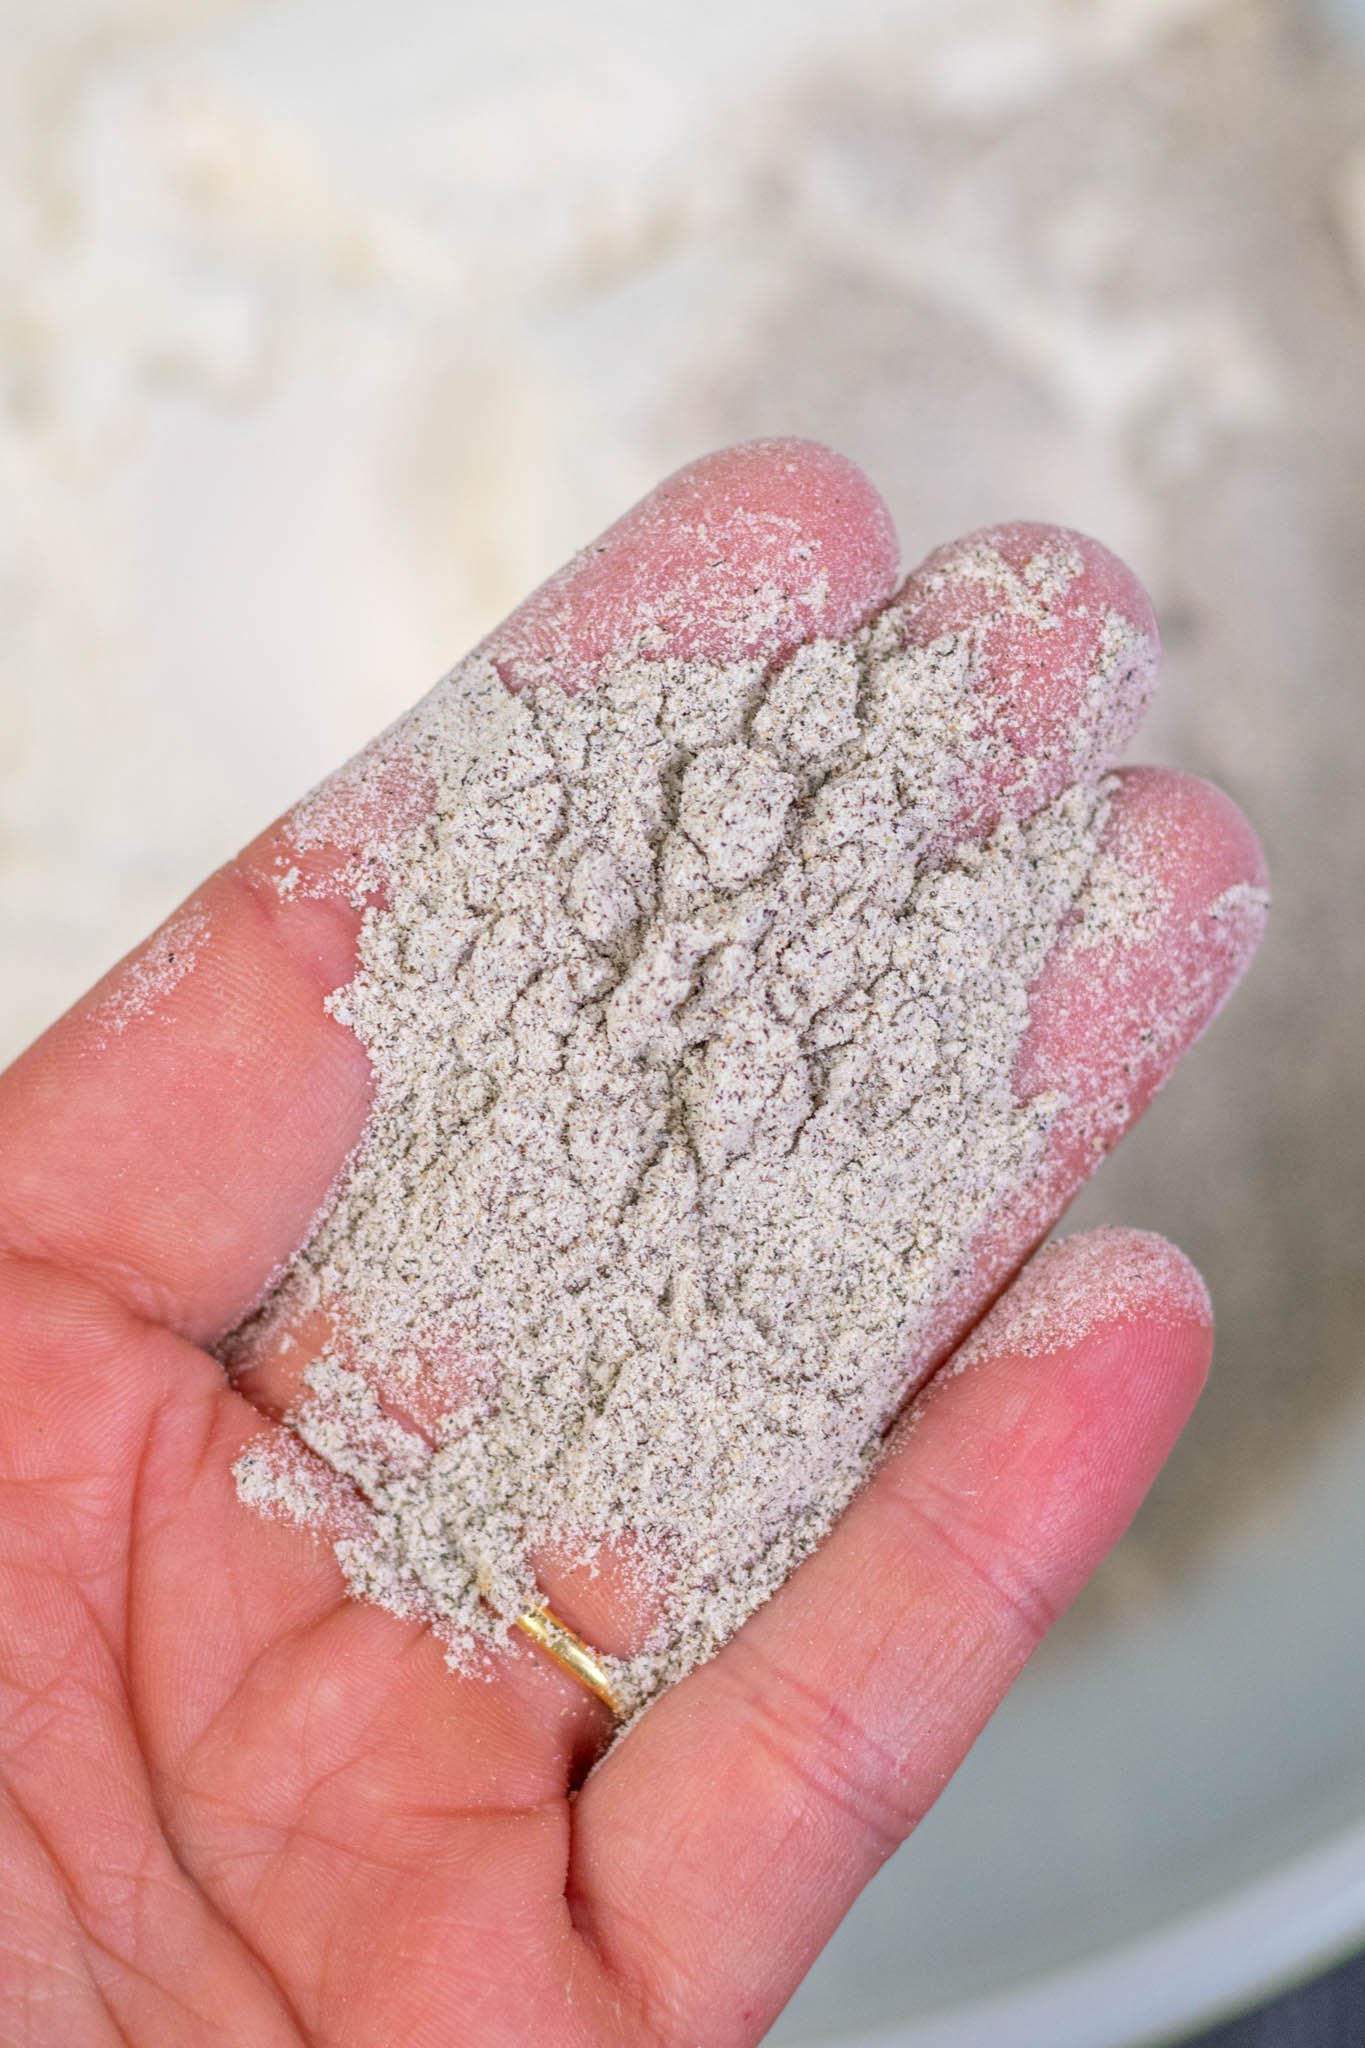
Buckwheat Flour
I use Bob’s Red Mill Buckwheat Flour for this recipe. If you can find freshly milled buckwheat flour, even better!
Fine Ground Sea Salt
Find Ground Sea Salt is the best salt for sourdough bread. While you only need a little to bake with, salt makes a big difference for flavor and dough structure of your bread. Sea salt absorbs more easily than Kosher Salt and does not have a metallic flavor like table salt.
Raw Pumpkin Seeds
You can find raw pumpkin seeds in many bulk sections of grocery stores or near nuts and other seeds in most stores.
I think pumpkin seeds look and work best for this buckwheat loaf but you’re welcome to use sunflower, sesame, or another crunchy seed for topping.
- Water
👨🍳 How to Make Buckwheat Sourdough with Pumpkin Seeds
Follow along this visual and detailed guide to help you bake this Buckwheat Sourdough recipe. As always, adjust as necessary to fit your own schedule, ambient temperature, and rate of fermentation.
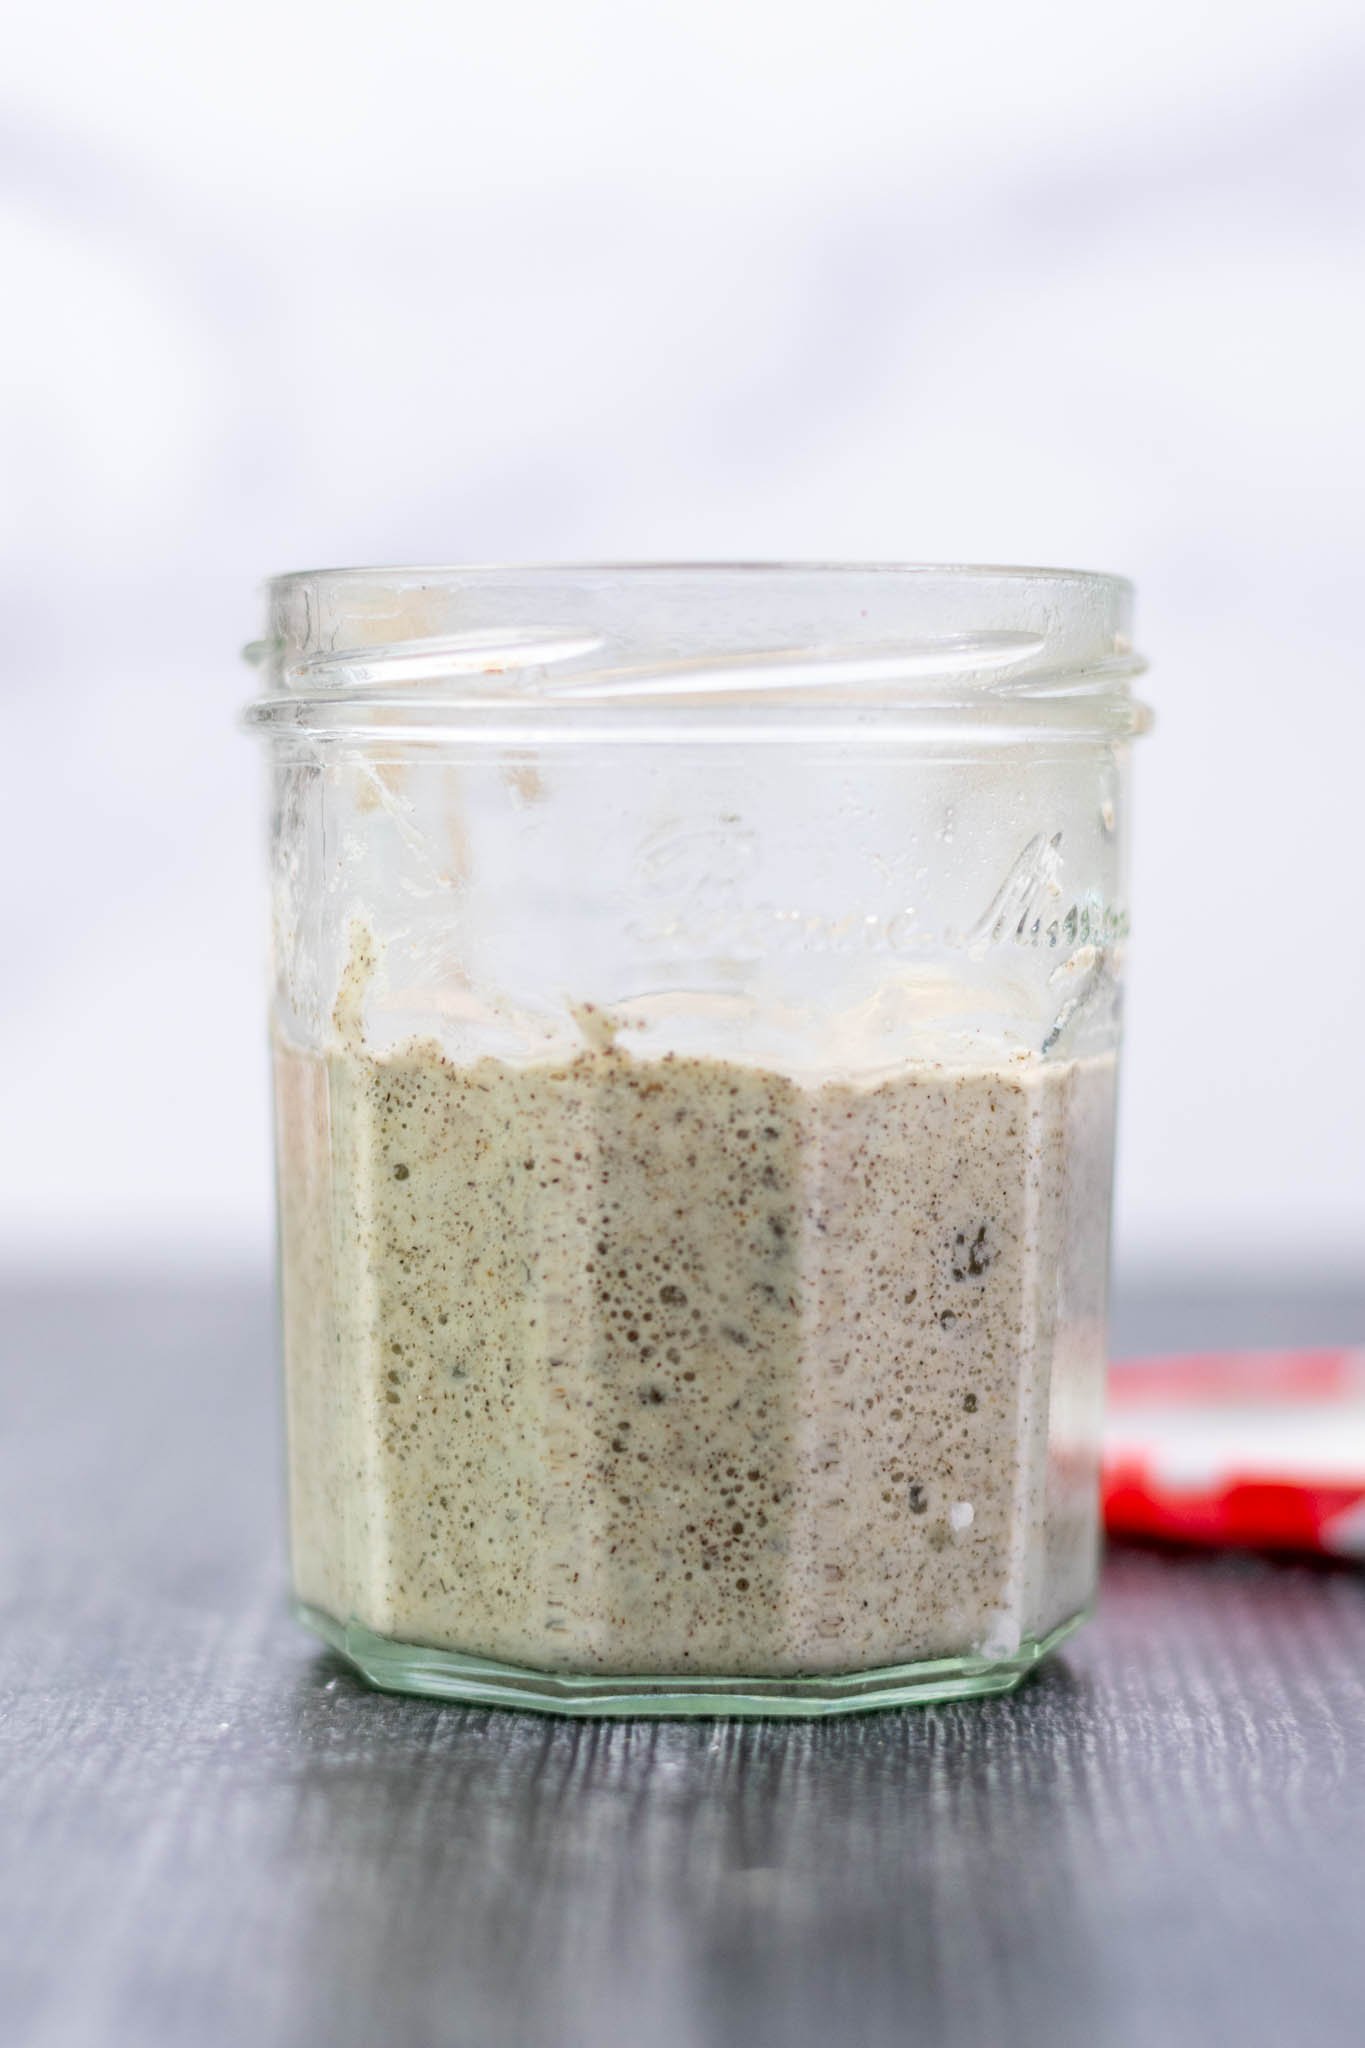
1. Build the Levain
Mix together 30g sourdough starter, 20g bread flour, 10g buckwheat flour and 30g water in an empty jar.
Cover and let set in a warm location (between 75-80ºF) for about five hours until bubbly and ripe. The levain should at least double in size during this time.
Note: Please refer to my guide on How To Make A Sourdough Starter if you do not have an active sourdough starter and the FAQ section on that page where I explain the difference between a starter and a levain. See my Top 10 Sourdough Starter Tips for Success for extra tips to make a stronger sourdough starter.
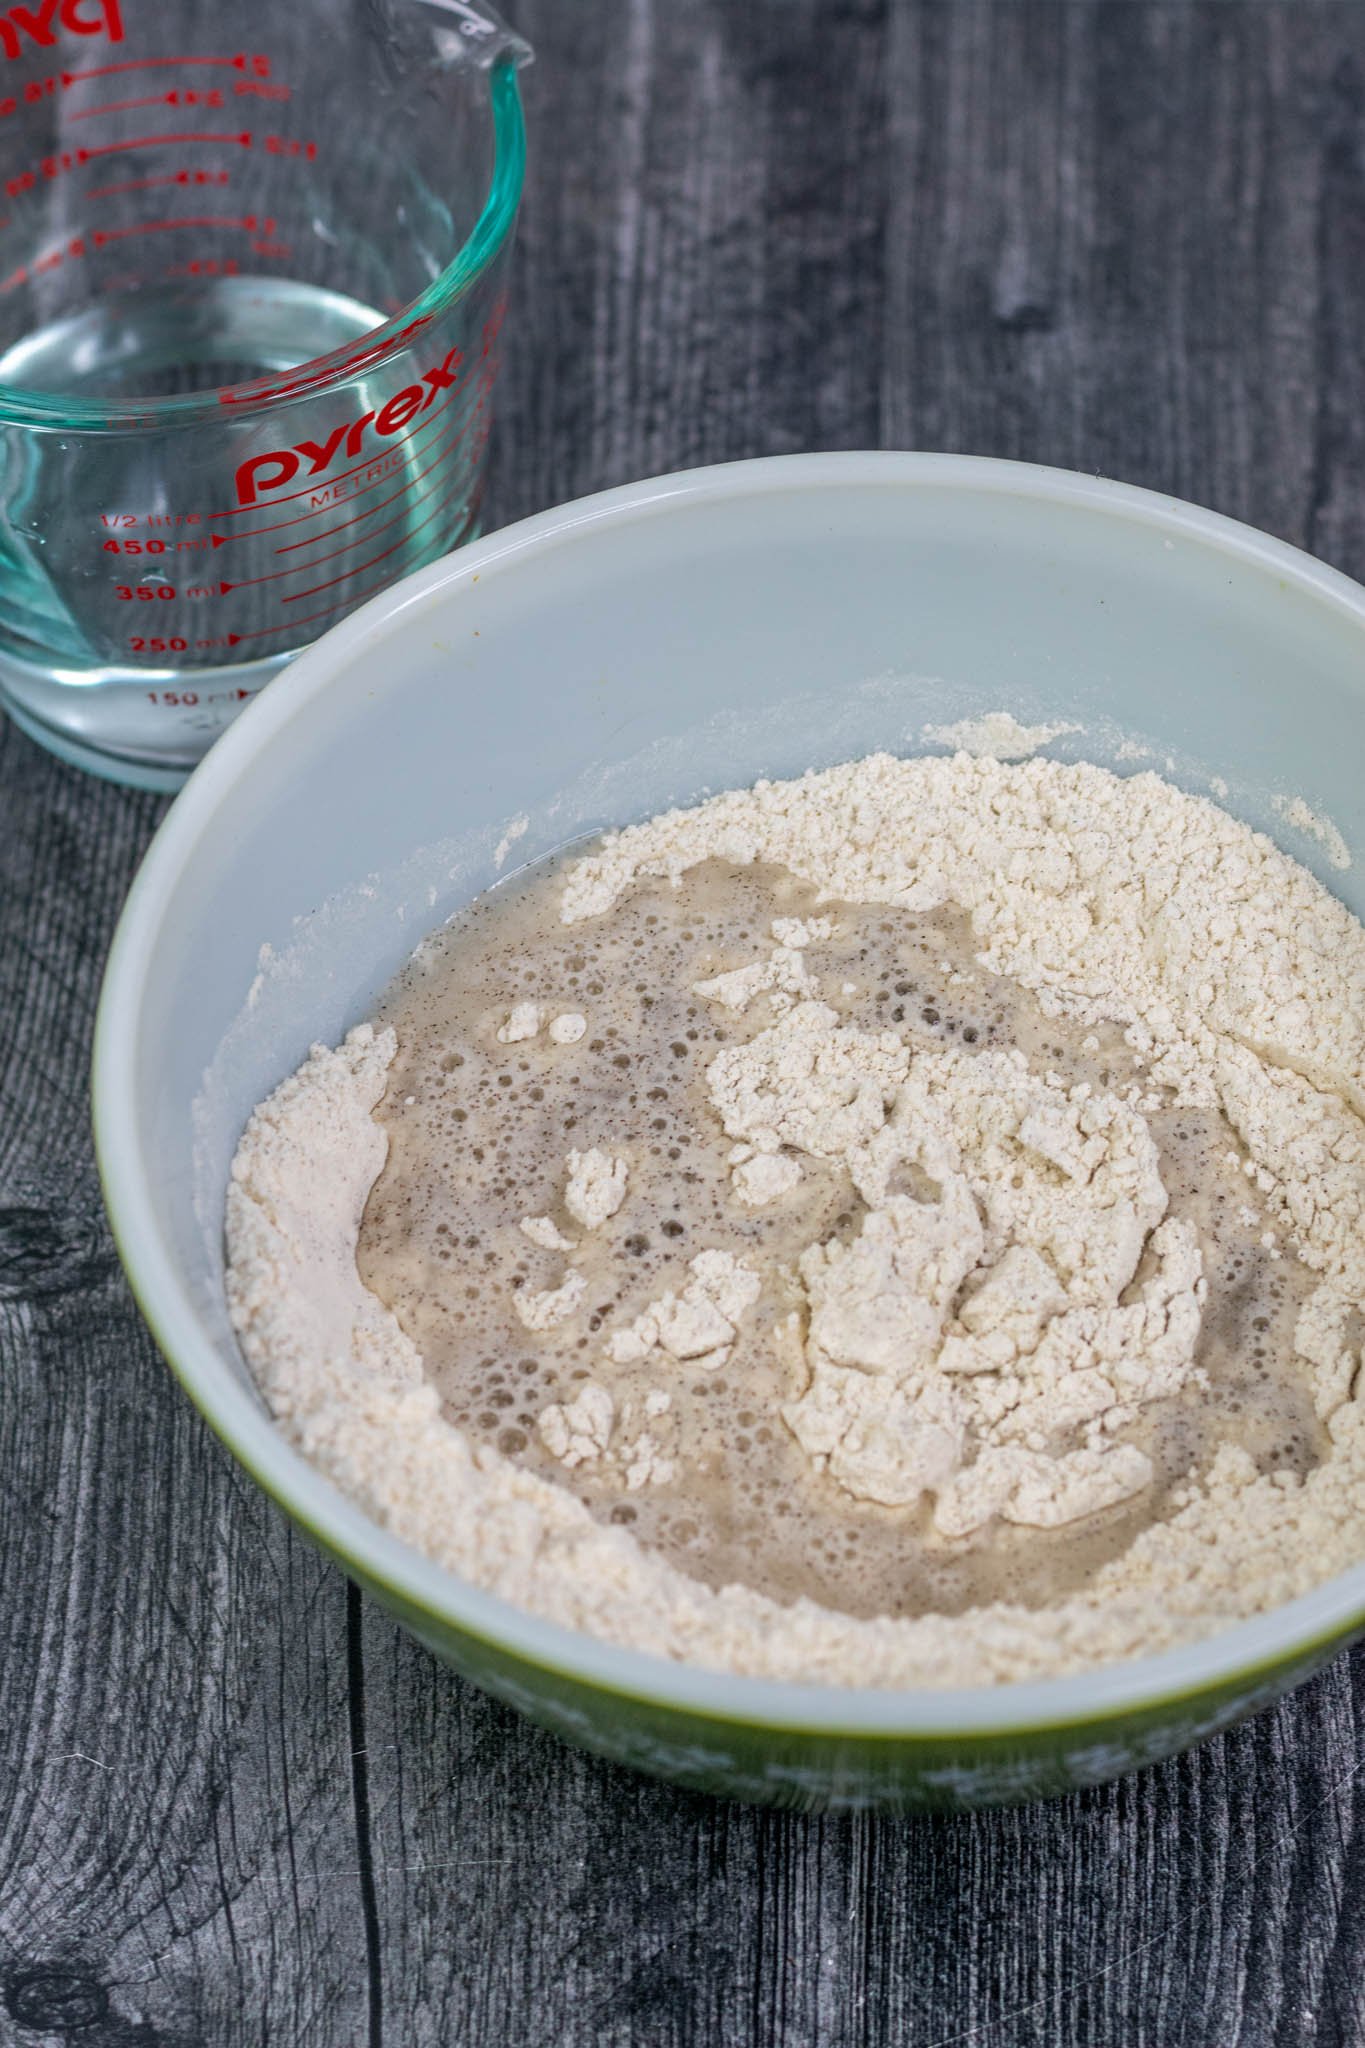
2. Autolyse
Autolyse helps kickstart gluten development for sourdough and only consists of flour and water. No salt or levain/sourdough starter is added during autolyse. I typically autolyse for at least an hour and up to three hours.
At least an hour before the levain is ripe, mix together 379 grams bread flour, 21 grams buckwheat flour, and 280 grams room temperature water in a medium bowl.
The dough will be extremely sticky. Use your hands, a silicone spatula, or a flexible bench scraper to mix the flour for a few minutes until it is hydrated.
Cover the bowl and set aside in a warm location until the levain is ready.
Note: For more information about autolyse, read my detailed sourdough Autolyse guide that details what autolyse is, when you can skip it, and more information.
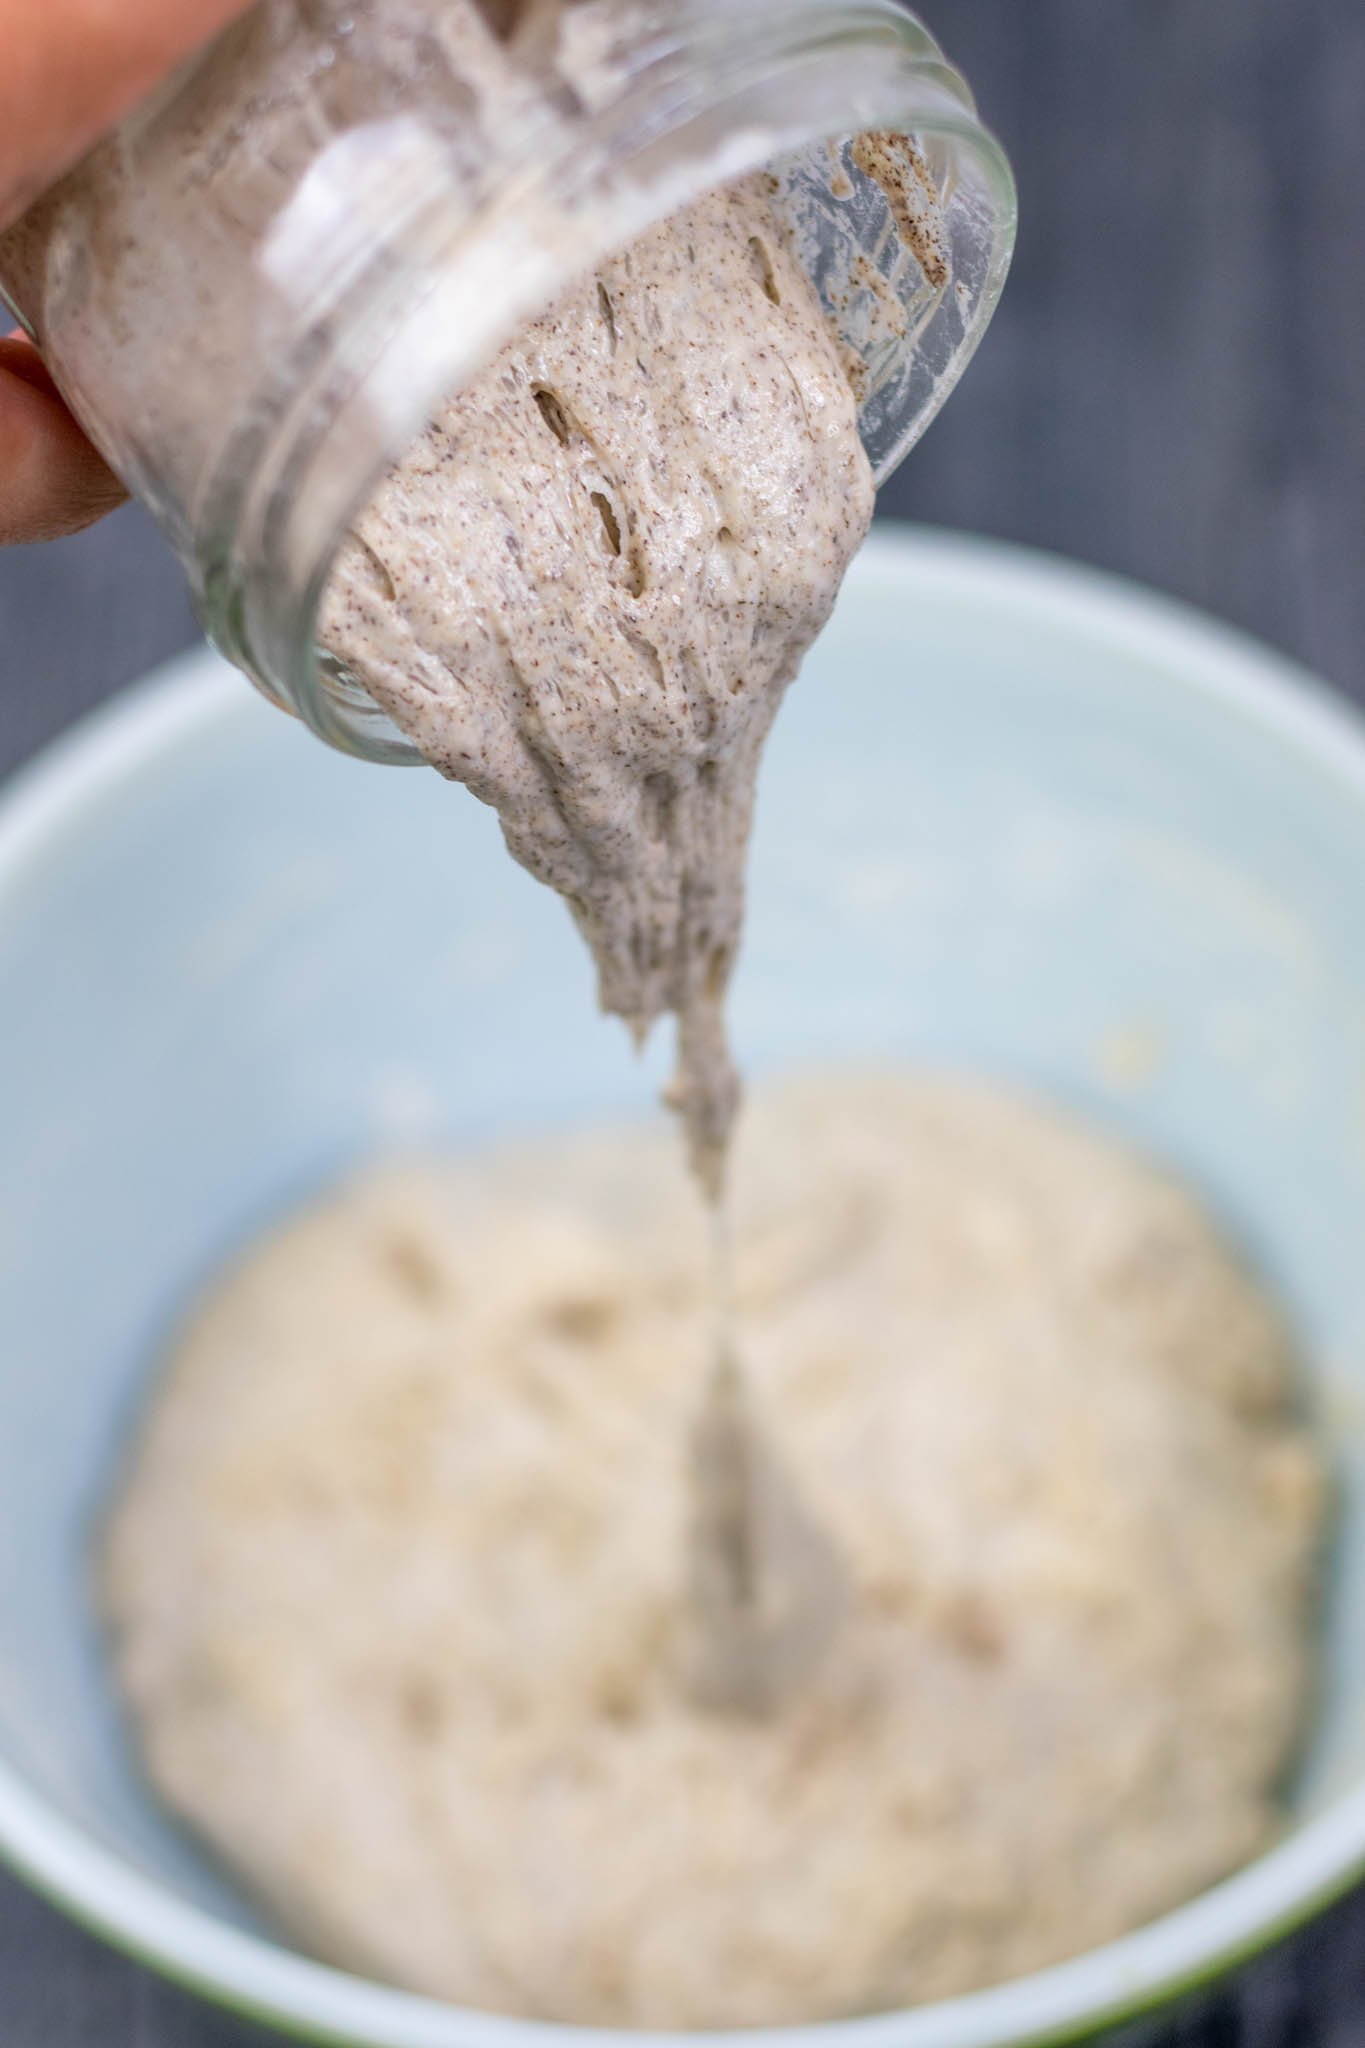
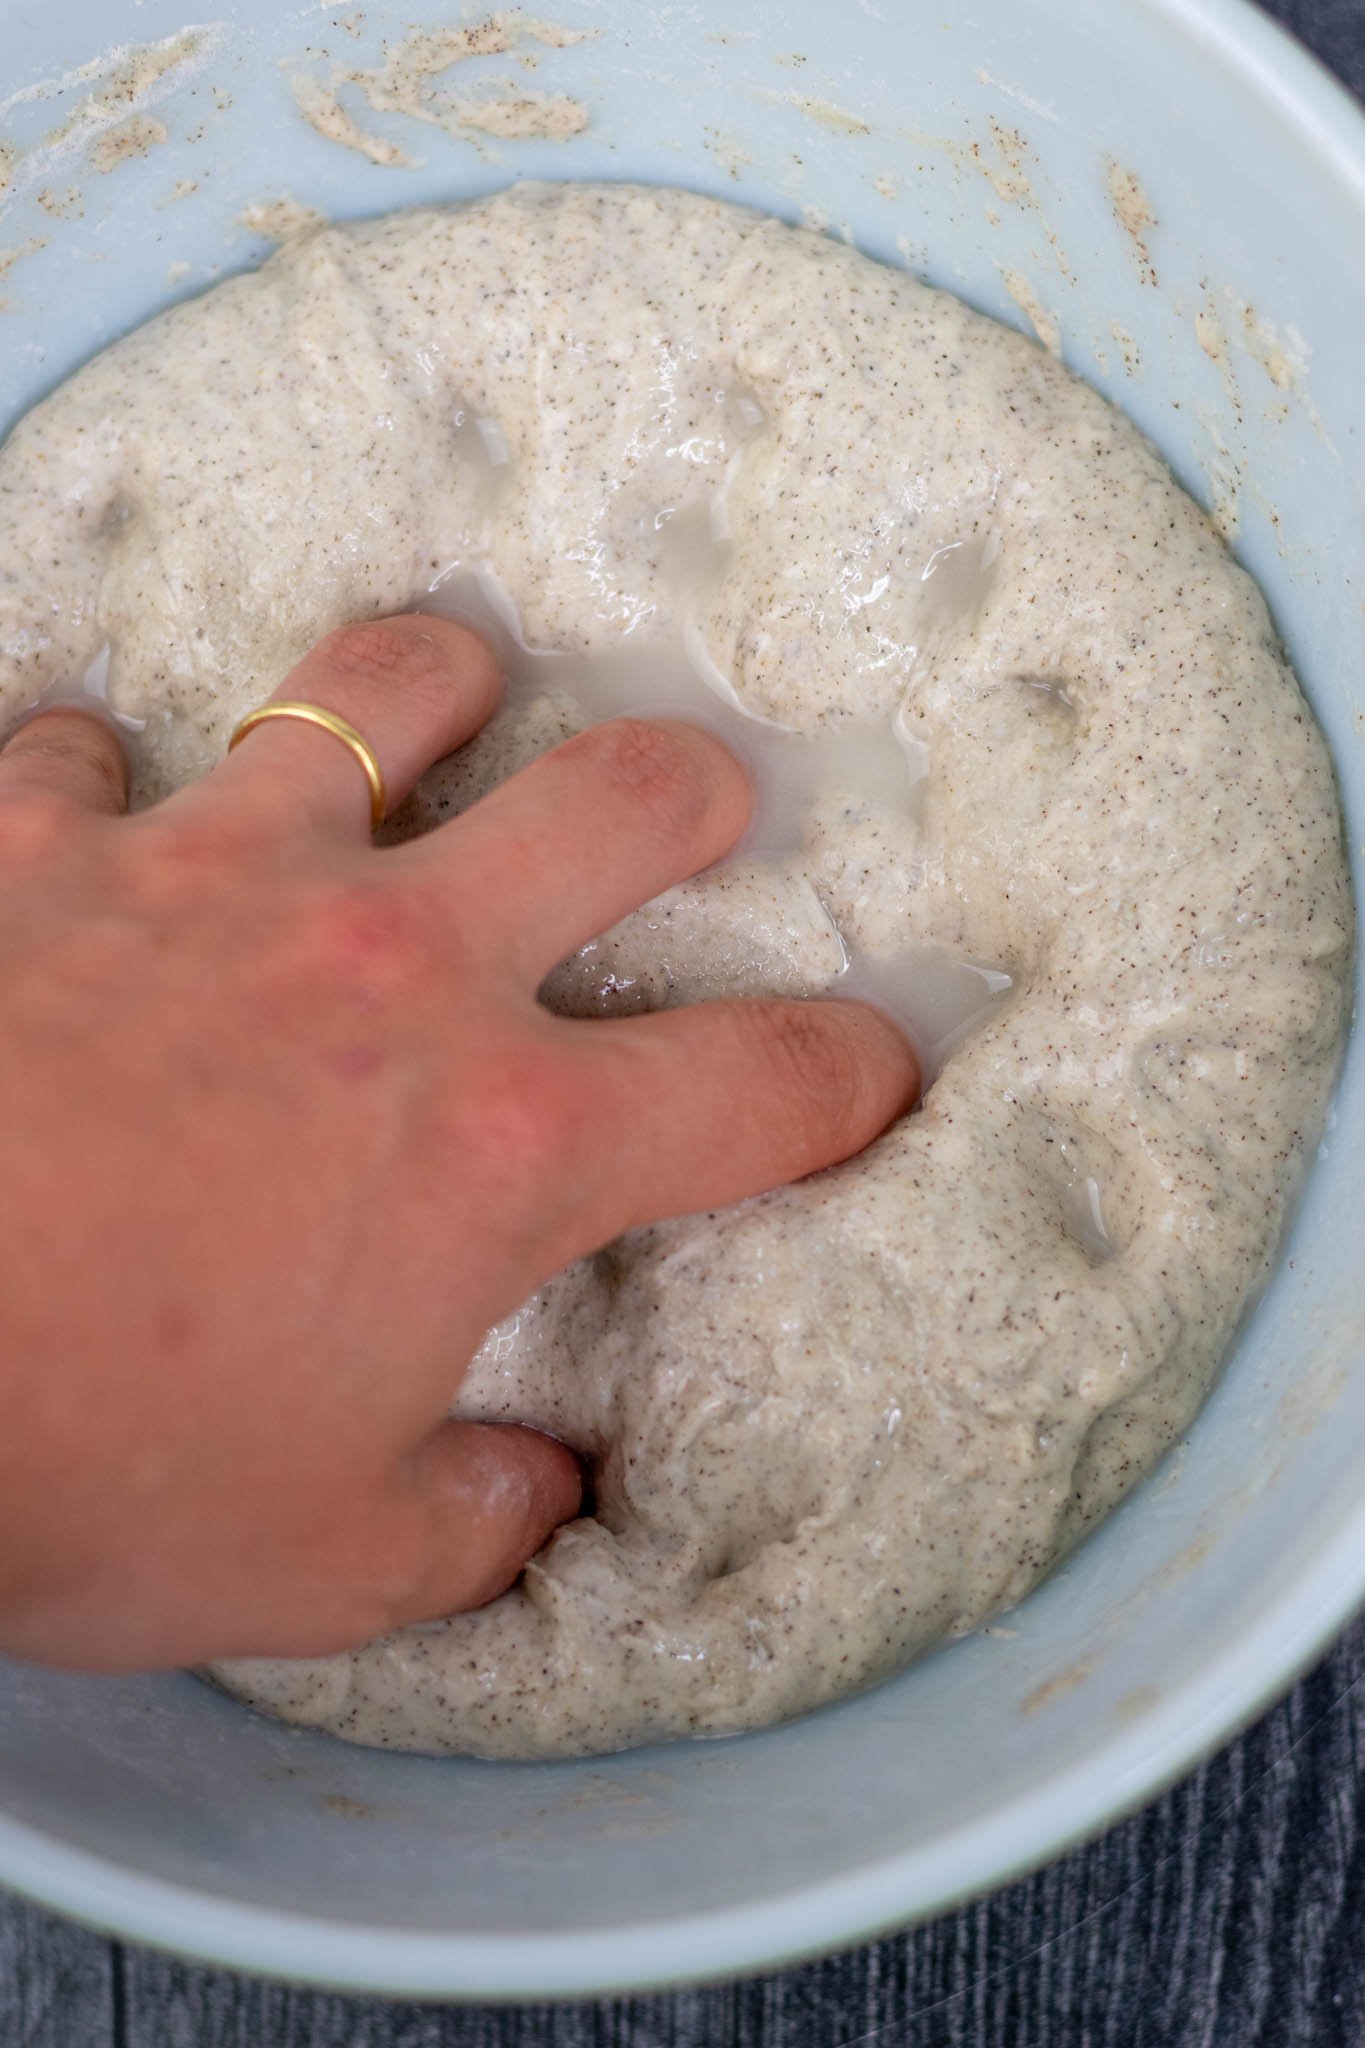
3. Add Levain
When the levain is bubbly and ripe, add all of the levain (or 80-90 grams sourdough starter) on top of the autolysed dough.
Use your hands to dimple the levain into the dough. Stretch and fold the dough onto itself for a few minutes until the levain is well incorporated in the dough.
To stretch and fold, use your hand as pincers to pull up a portion of the dough. Lift up the dough to stretch it and then fold it down upon itself in the middle of the bowl. Rotate the bowl and repeat this motion.
Cover the bowl and rest in a warm location for 30 minutes.

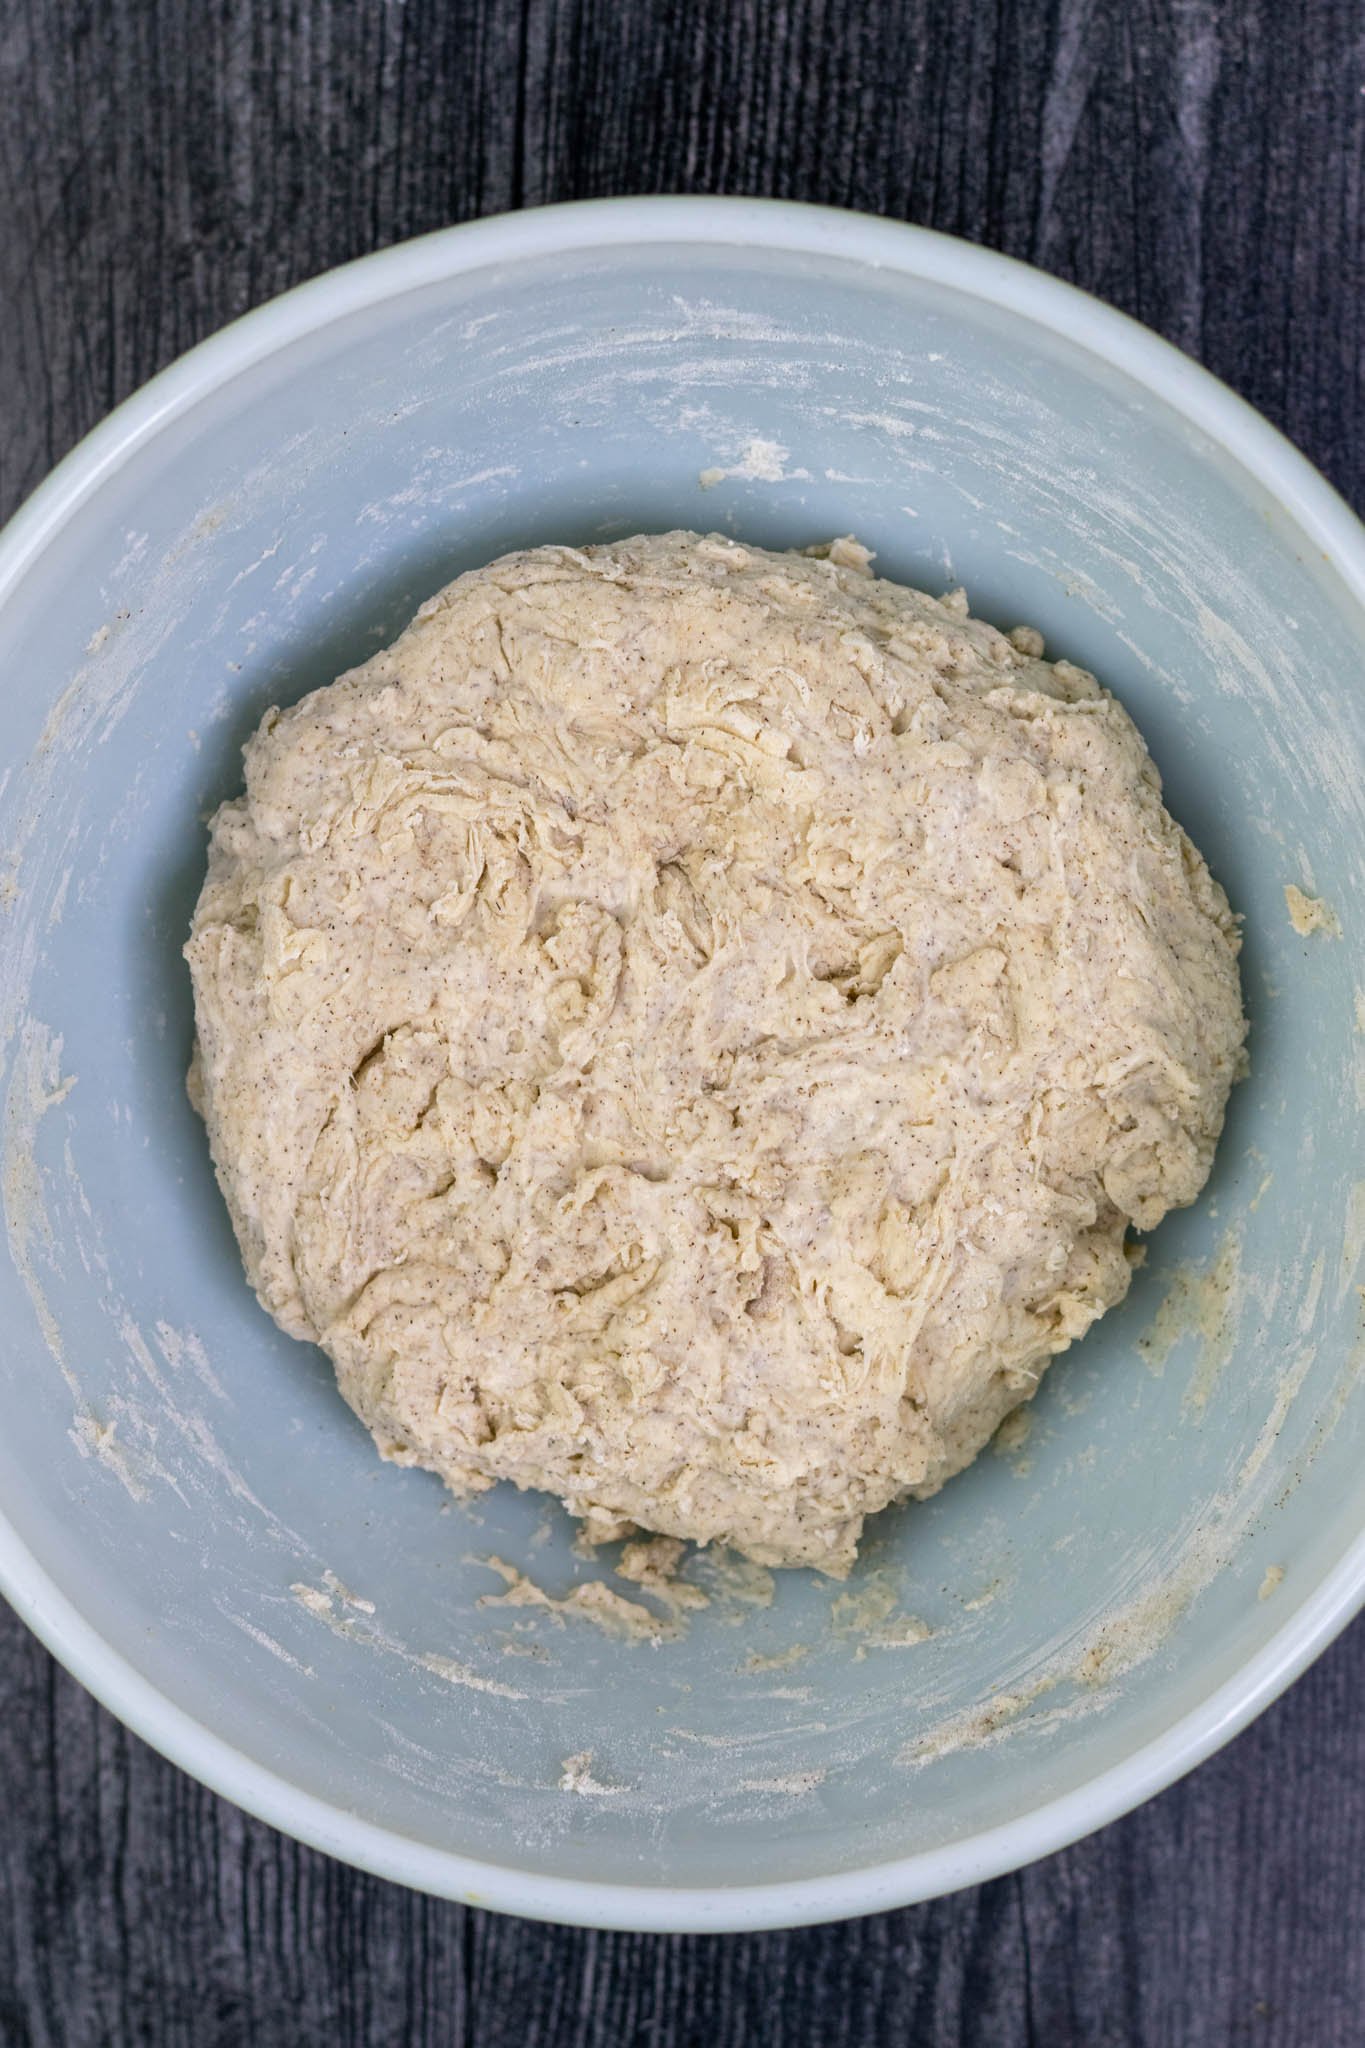
4. Add Salt & Mix
After 30 minutes, sprinkle 8 grams of fine ground sea salt on top of the dough. I typically add a few grams of water here as well.
Dimple in the sea salt and begin mixing the dough.
Stretch and fold the dough for at least 10 minutes. (It can be an arm workout FYI!). It’s important that the dough is mixed this long because it needs additional mixing strength added to compensate for the gluten-free buckwheat flour.
At the end of mixing, the dough should be smoother, you shouldn’t feel any salt granules in the dough, and it should be much stronger. We will continue to add strength to the dough during bulk fermentation and shaping.
Cover and rest for 15 minutes.


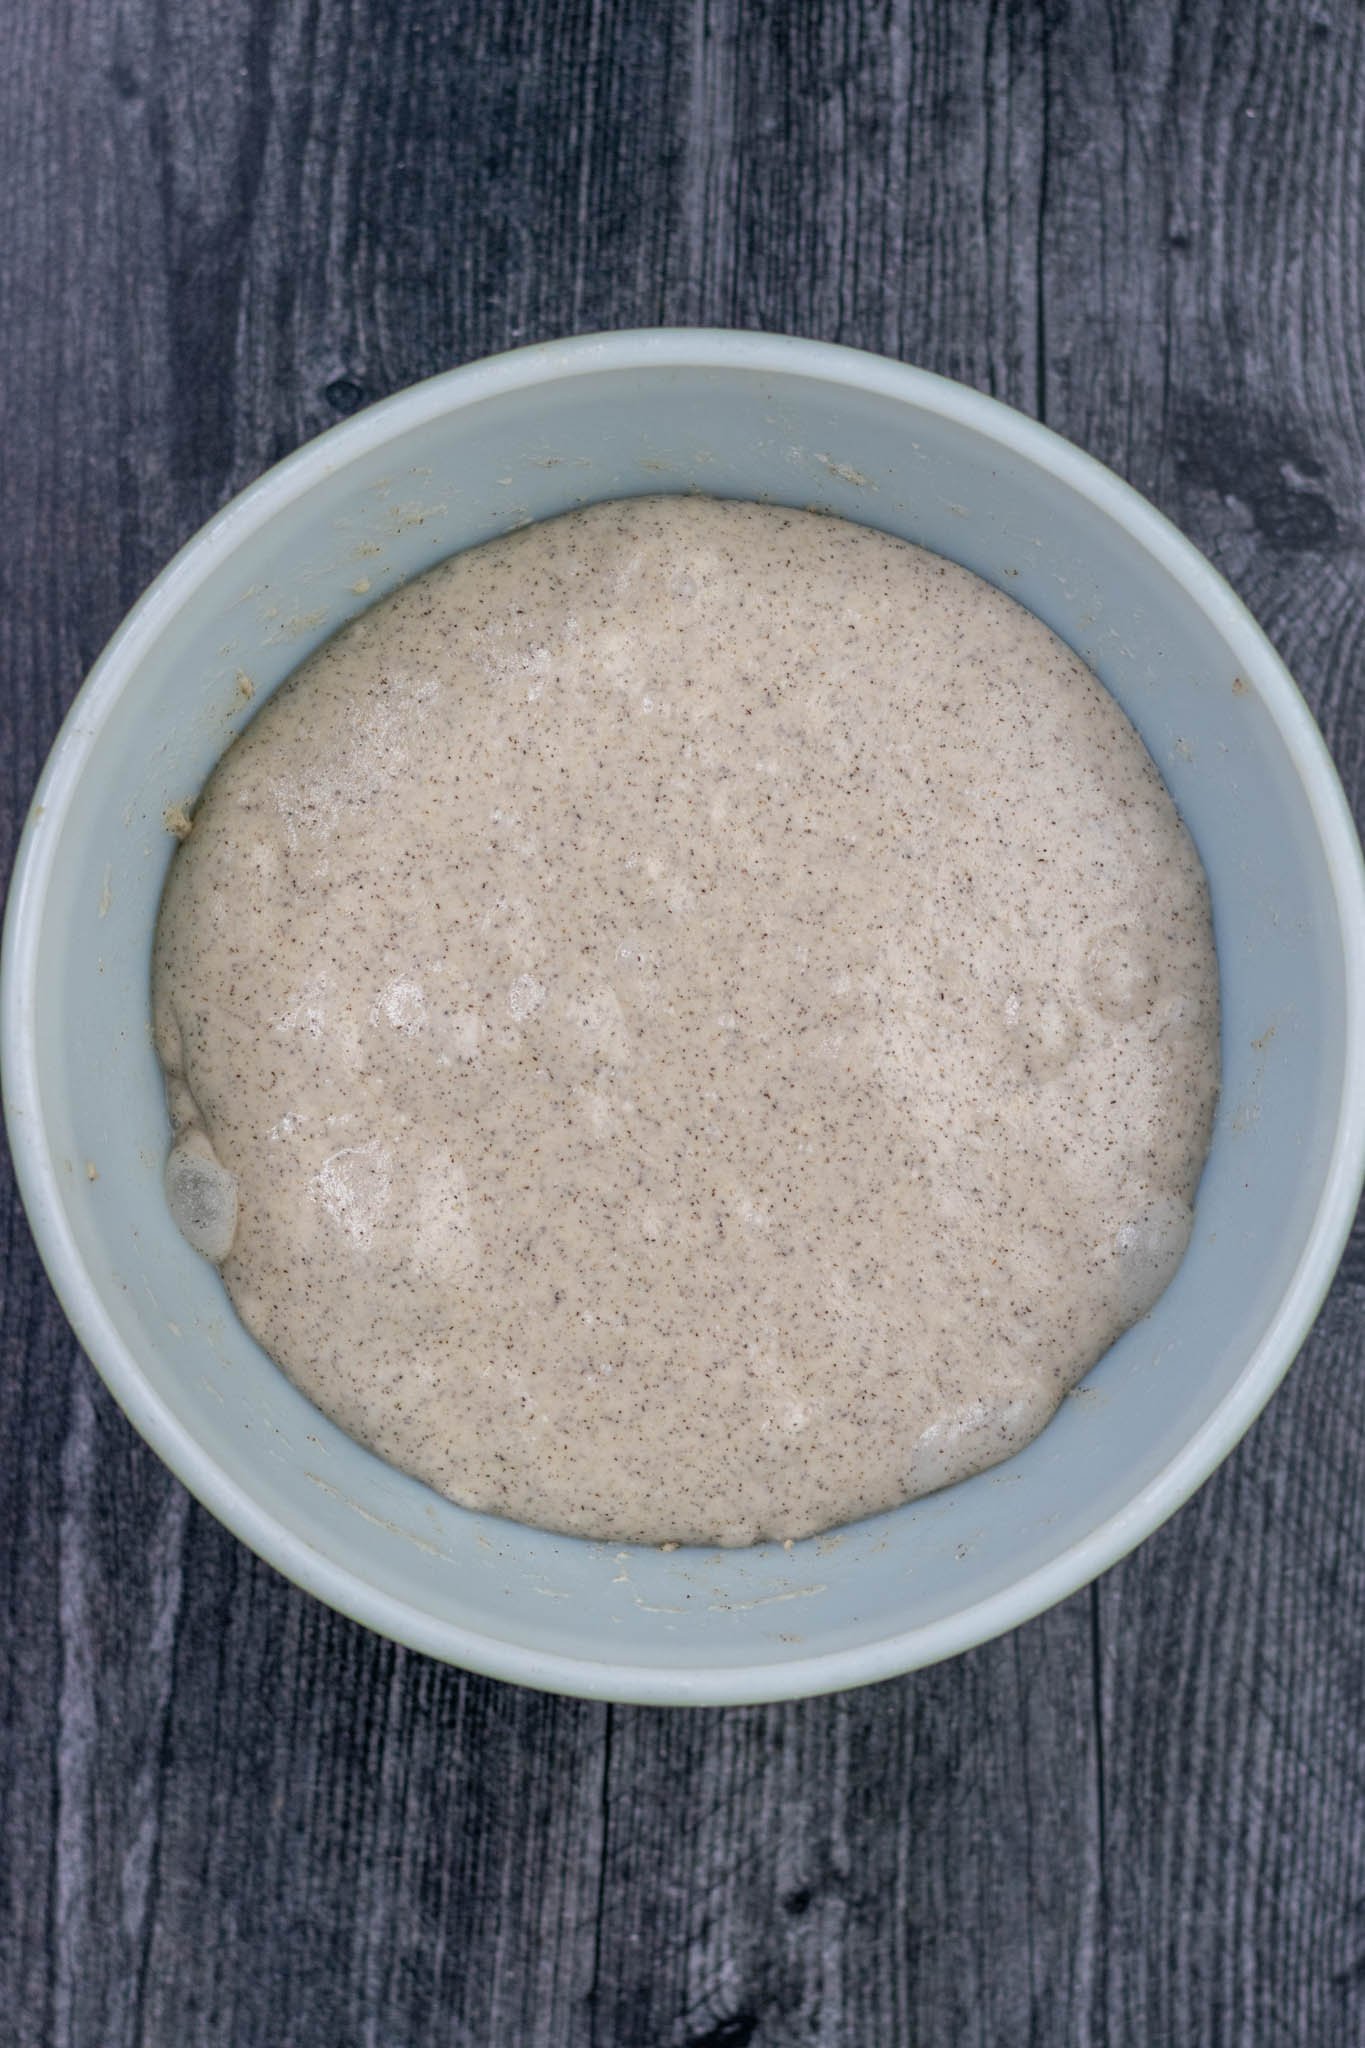
5. Bulk Fermentation
At 78ºF, bulk fermentation (first proof) takes about 4.5 hours. If your dough and environment is cooler, expect for bulk fermentation to take longer. In warmer environments, bulk fermentation might be shorter.
An instant-read thermometer like the Thermapen is a great tool to check your dough temperature throughout bulk fermentation.

Buckwheat sourdough is strengthened during bulk fermentation with six coil folds spaced throughout the bulk stage. Perform the first two coil folds in 15 minute intervals, the second two in 30 minute intervals, and the last two in one hour intervals. The dough finishes bulk fermentation for the remainder of time until preshaping.
Of course, these six coil folds don’t have to be timed perfectly. The main idea is to front load the coil folds and not disturb the gasses built up in the dough as much towards the end of bulk fermentation.
Bulk fermentation is complete when the dough is risen about 50%, feels full of air, and there are visible bubbles on top of and around the dough.
Note: See my Bulk Fermentation 101 guide for a detailed analysis and more clues on how to know bulk fermentation is complete.

6. Preshaping, Shaping, and Topping with Pumpkin Seeds
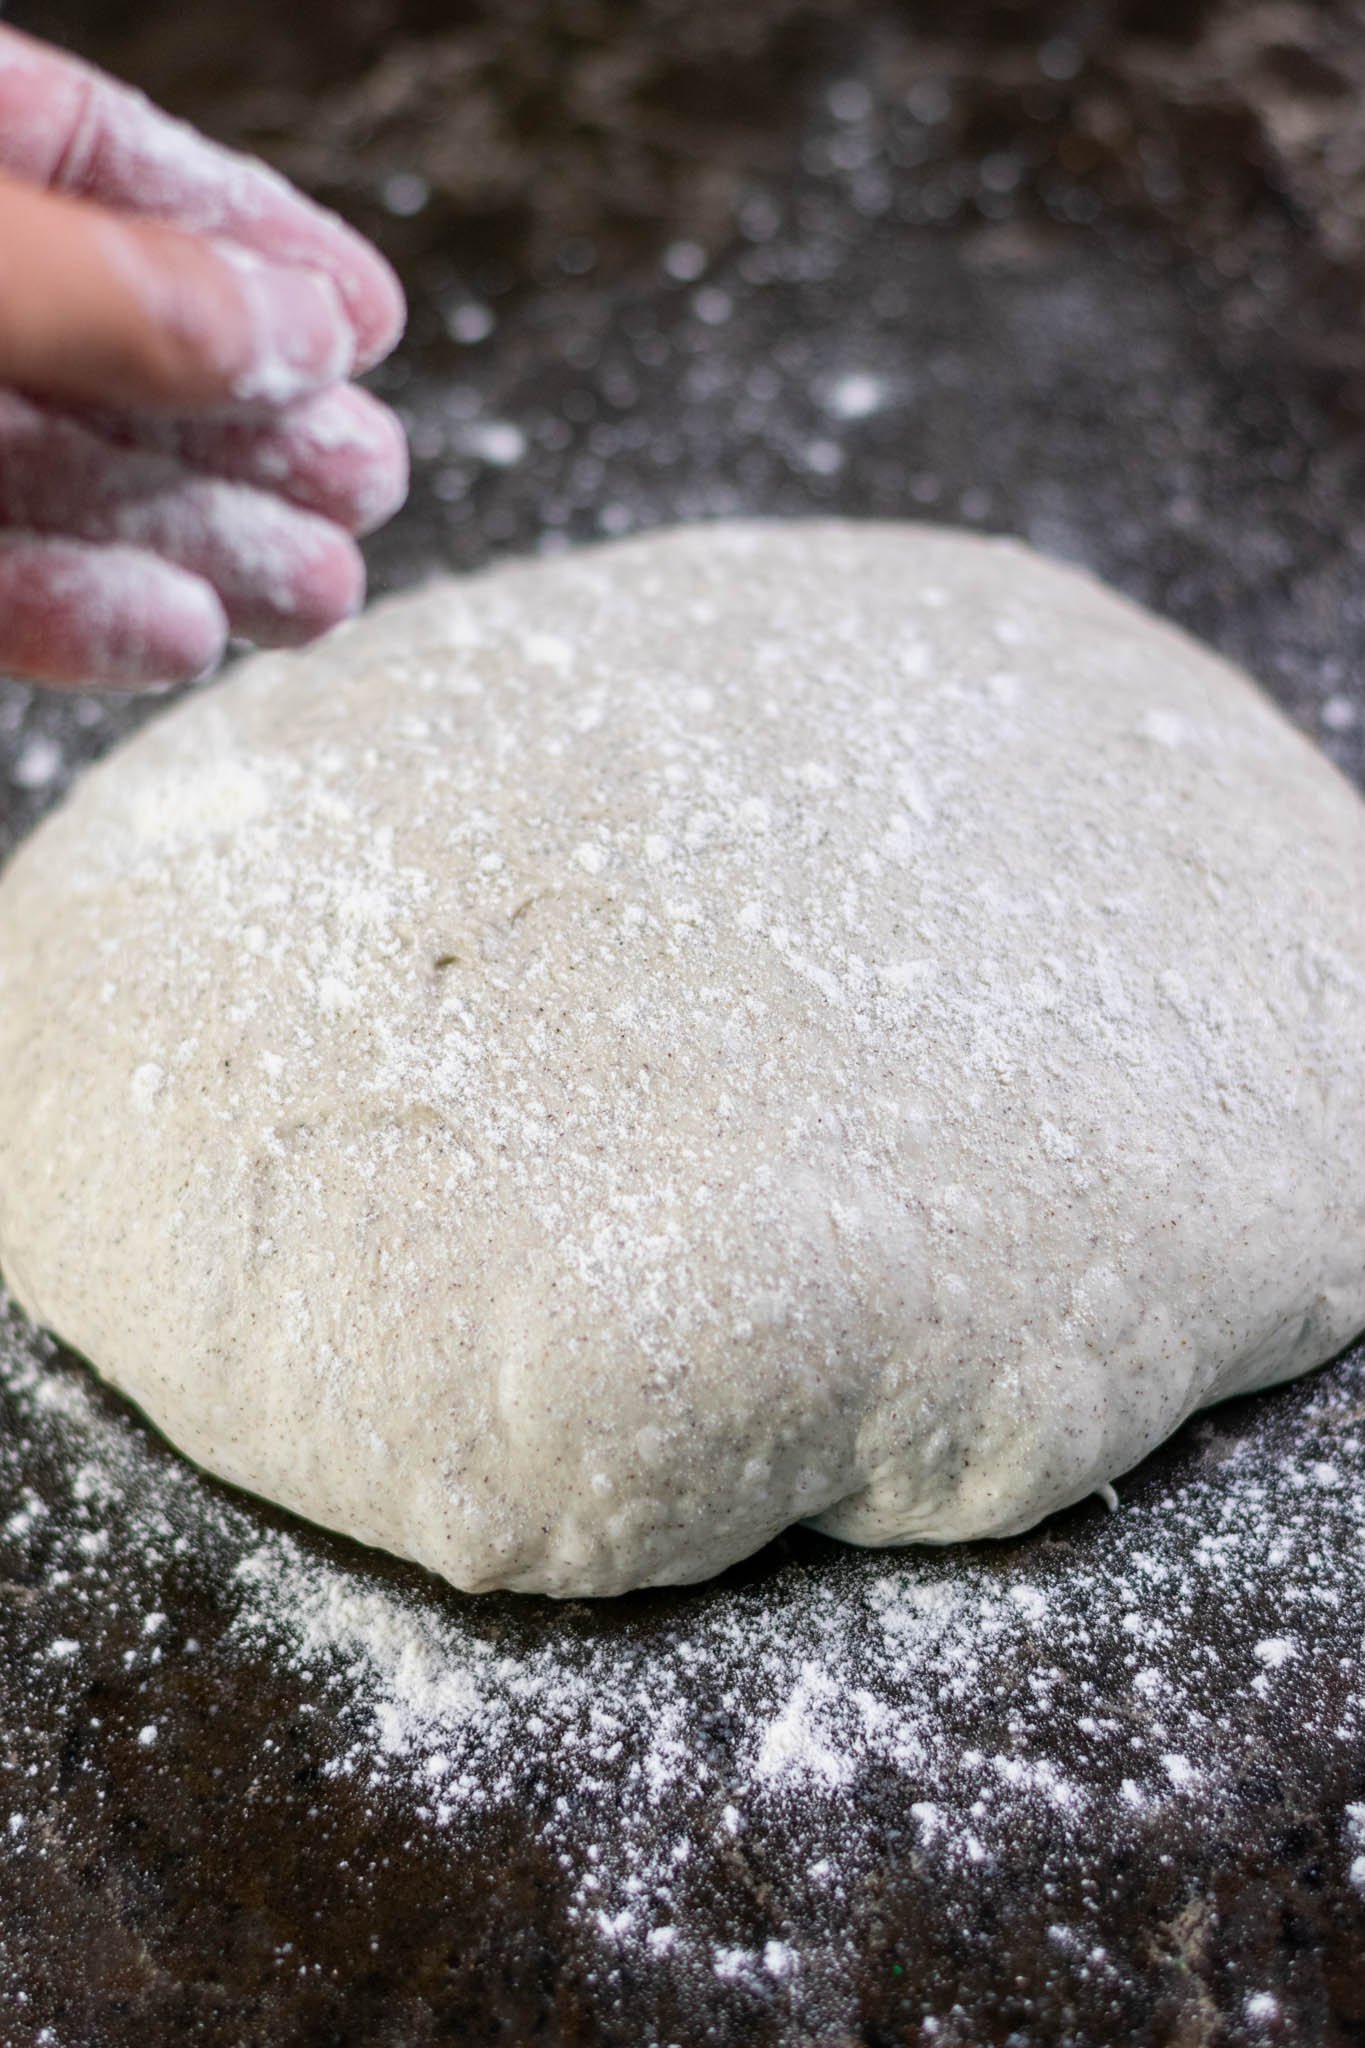
Preshape the dough into a taut round to provide extra dough strength to the dough.
To preshape, dump the dough out onto a lightly floured surface. Using a bench scraper in one hand almost parallel to the work surface, push and rotate the dough to create tension on the dough surface. Use your other hand to guide the dough and rotate it. This tucks in the dough and creates a round in only a few movements.
Flour the surface of the dough and let it rest for about 20-30 minutes. During this time, the dough will flatten slightly which is normal.
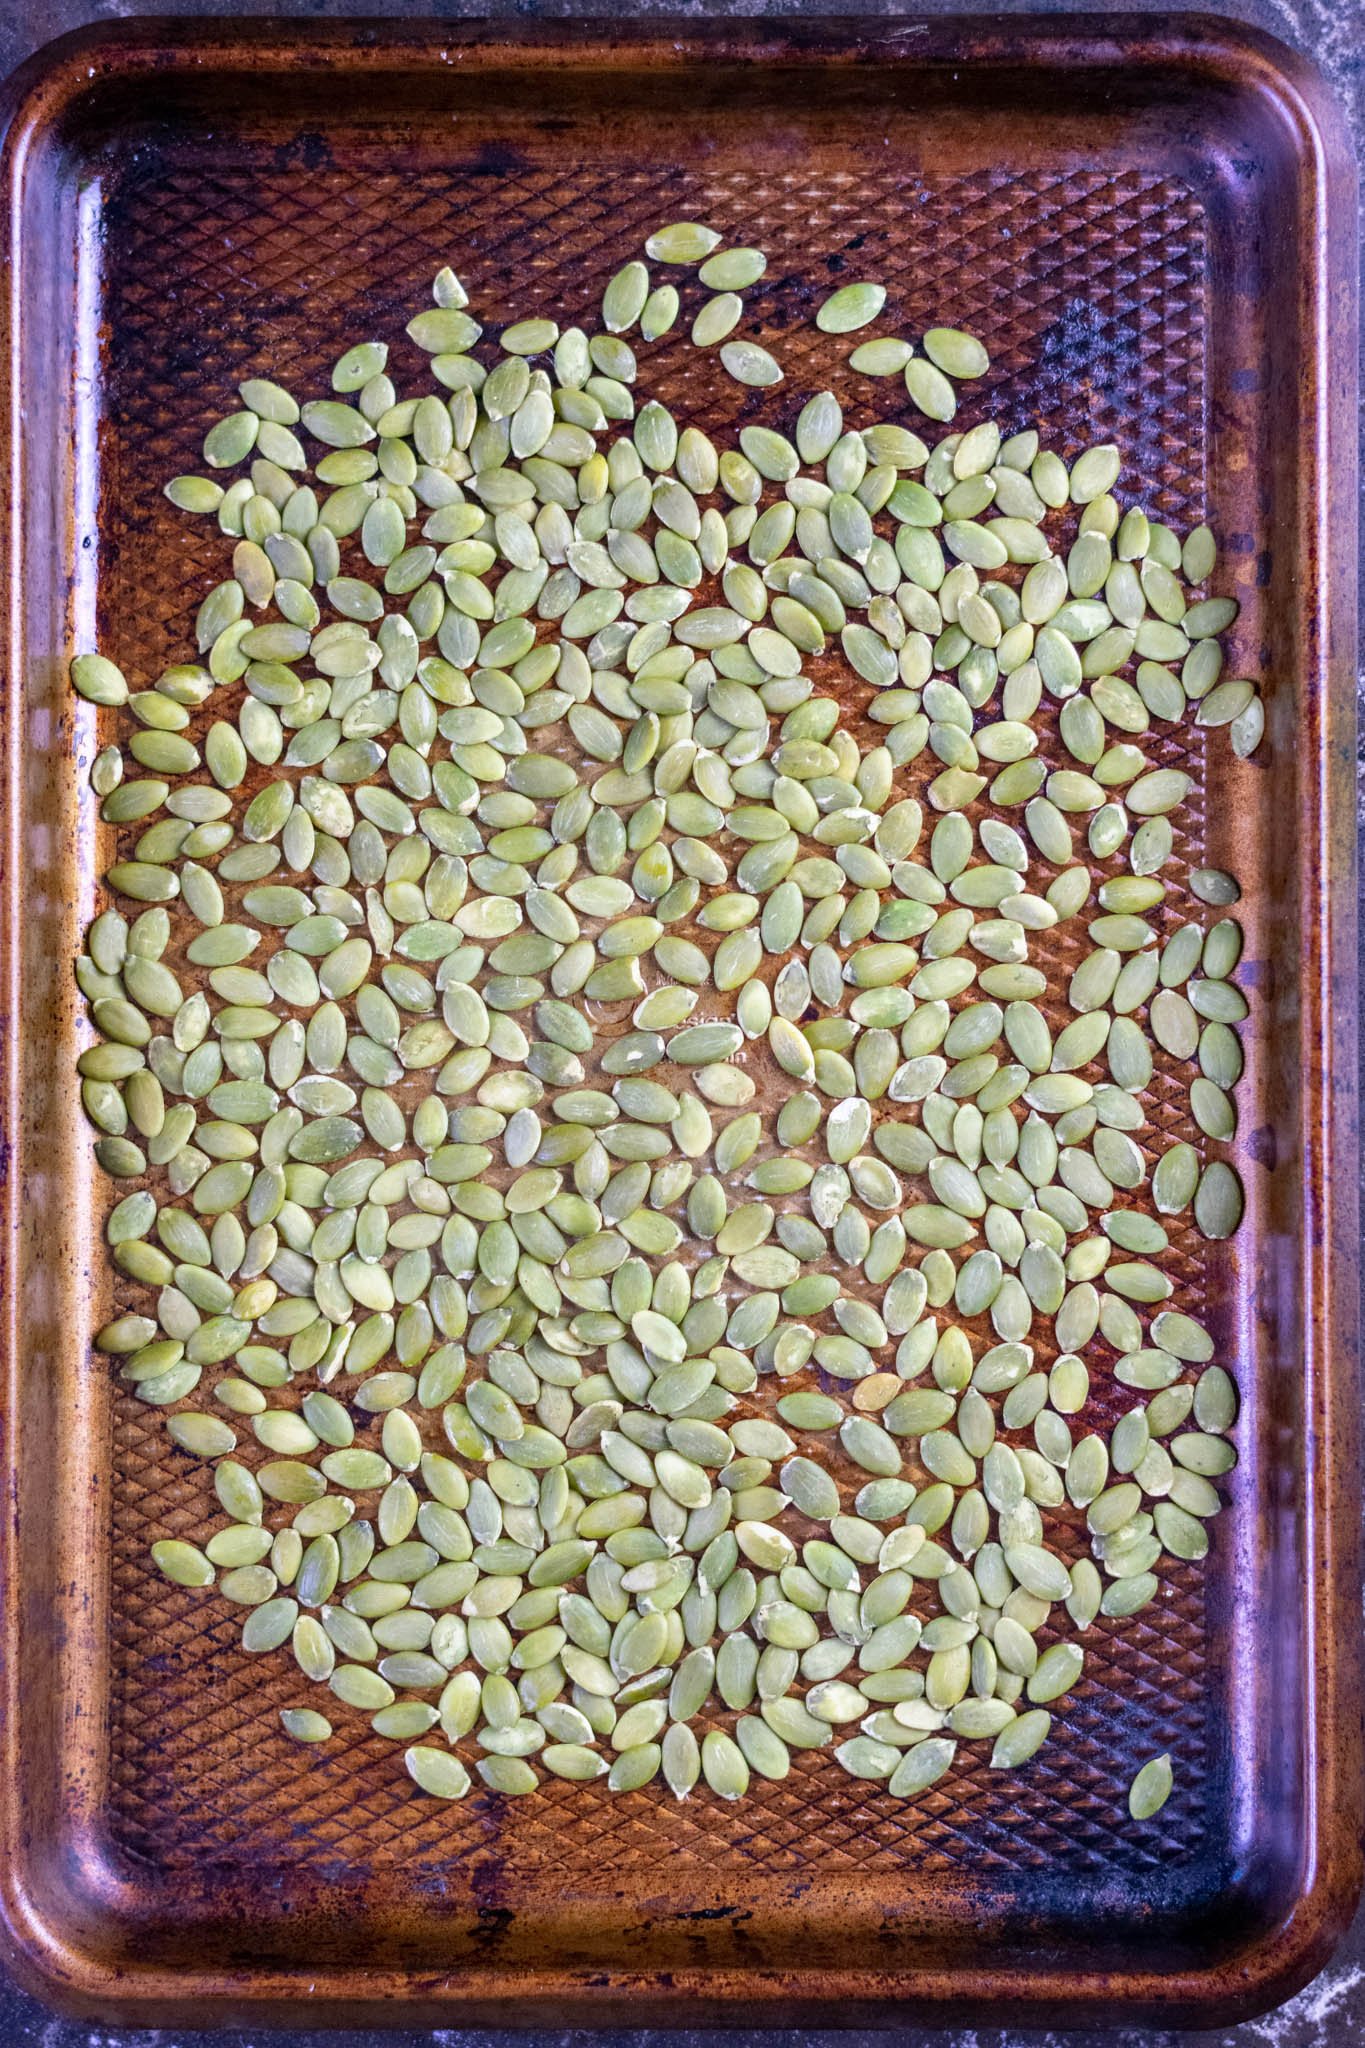
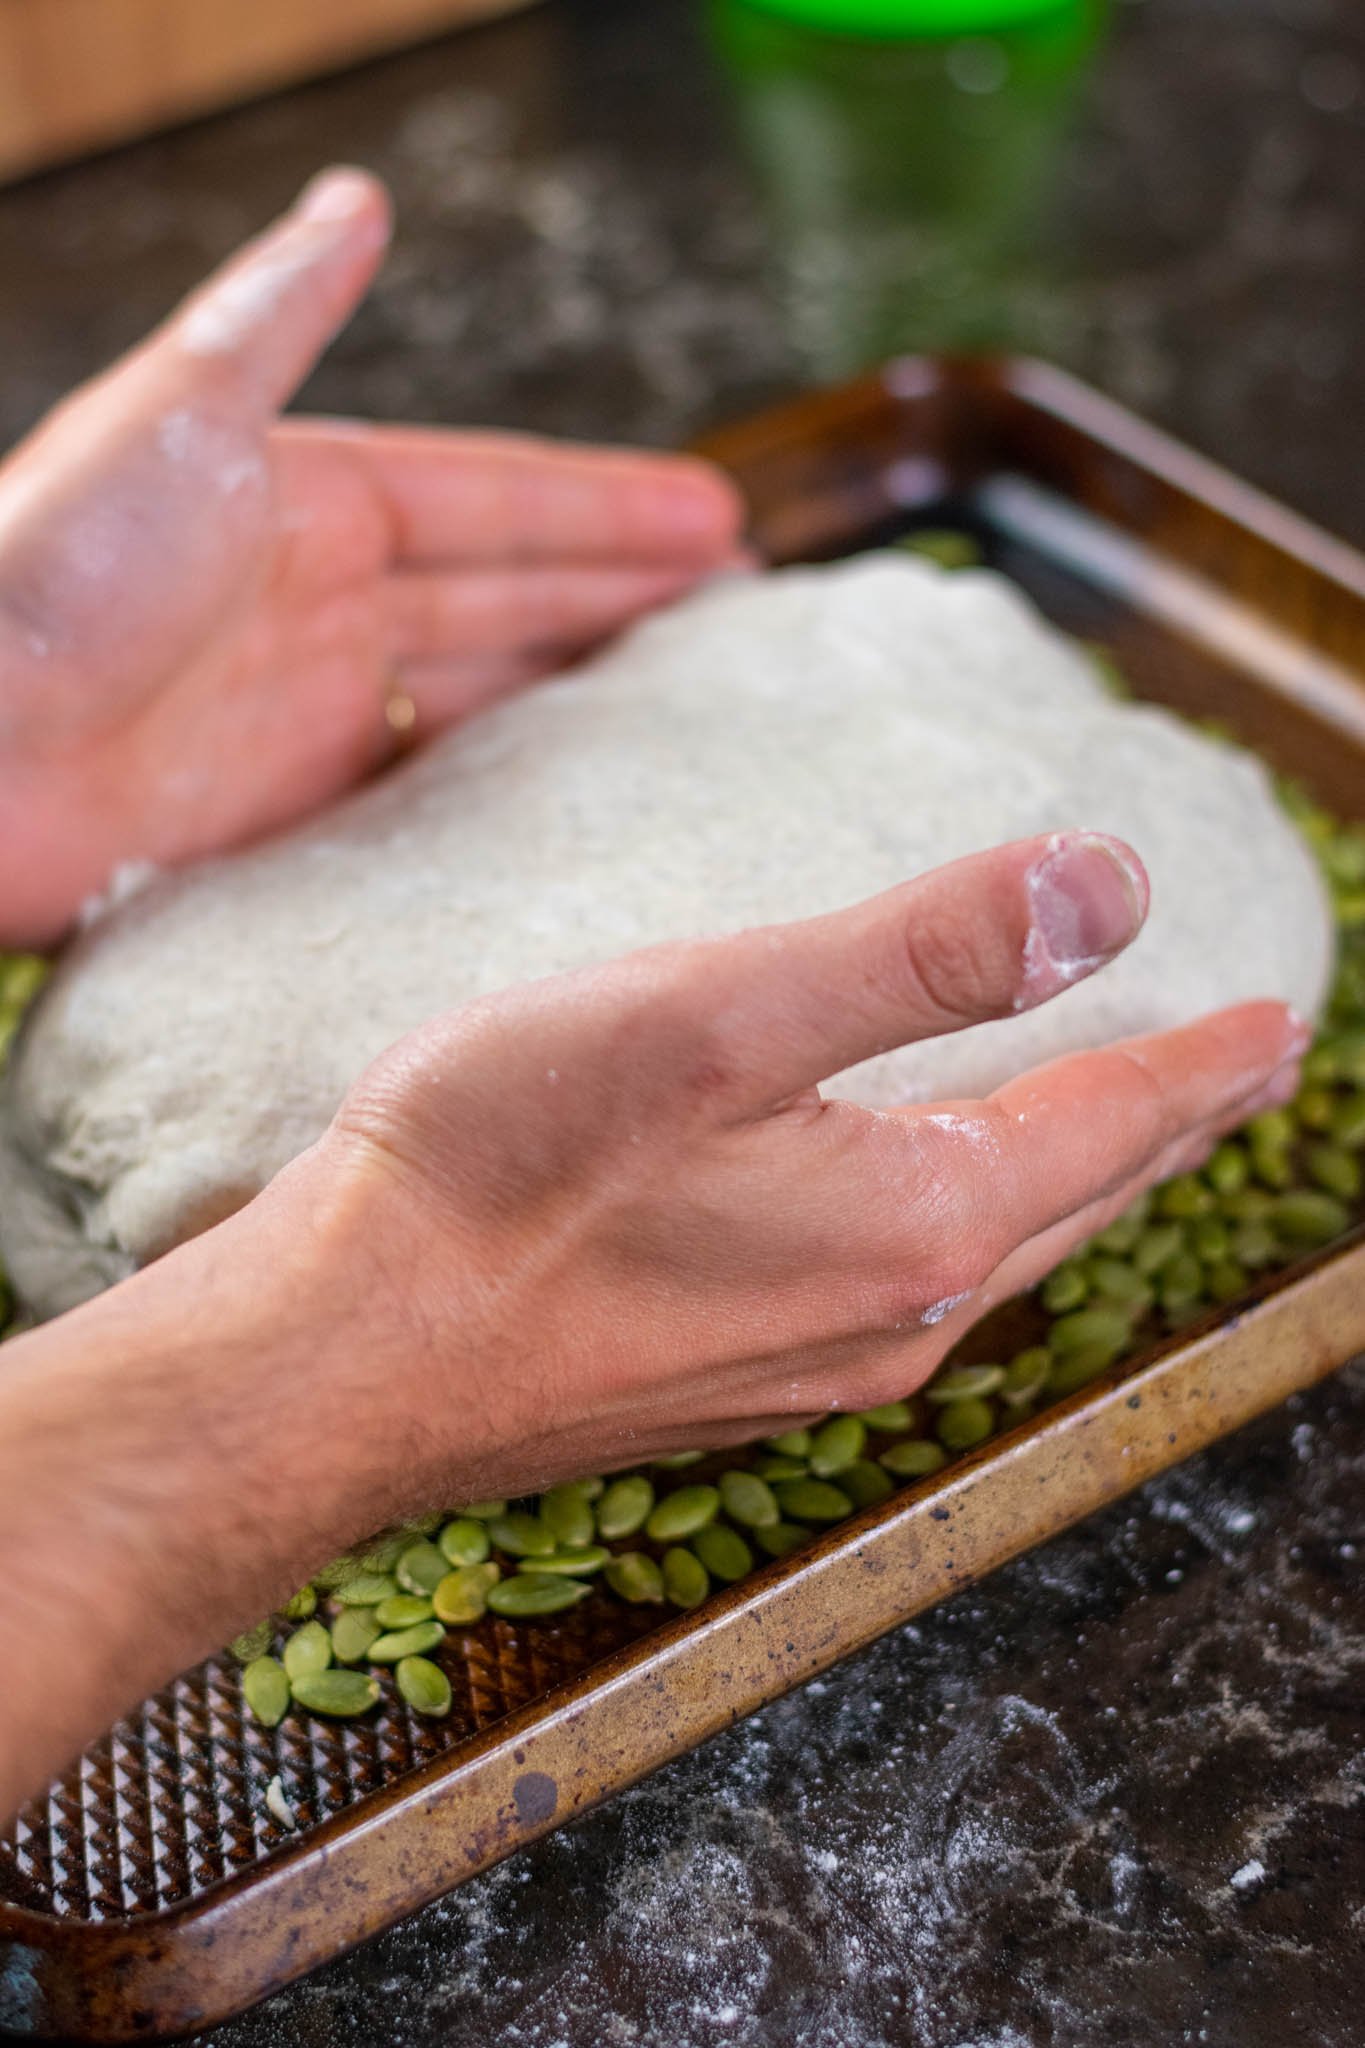
How to Top Sourdough Bread with Seeds:
As the dough rests, add 75 grams raw pumpkin seeds to a small sheet pan, flat plate, serving platter, or clean towel. The seeds should mostly be in a single layer in whatever shape you will be shaping the dough in (round or oval).
Lightly flour a banneton to prevent sticking.
Prepare your work station so you will be able to move efficiently and quickly from shaping, seeding, and placing into the banneton. I shape on my left, seed the dough in the middle, and keep the banneton on the right and this works well for me.
Shape the dough into a boule (round) or batard (oval) and keep right side up (seam on bottom) on work station.
Once the dough is shaped, spritz the top of the dough with a couple spritzes of water. This will help the seeds stick to the dough.
Moving quickly and using the bench scraper if needed, invert the dough and gently lay the spritzed side down onto the seeded surface area. Keep your hands on the dough the entire time to keep its shape and slightly roll or see-saw the dough on the seeds to ensure the dough is covered evenly in seeds.
Lift the seeded dough and place into its floured banneton seeded-side down.
If the dough is still slack in its banneton or lost shape, stitch the dough to add additional strength.

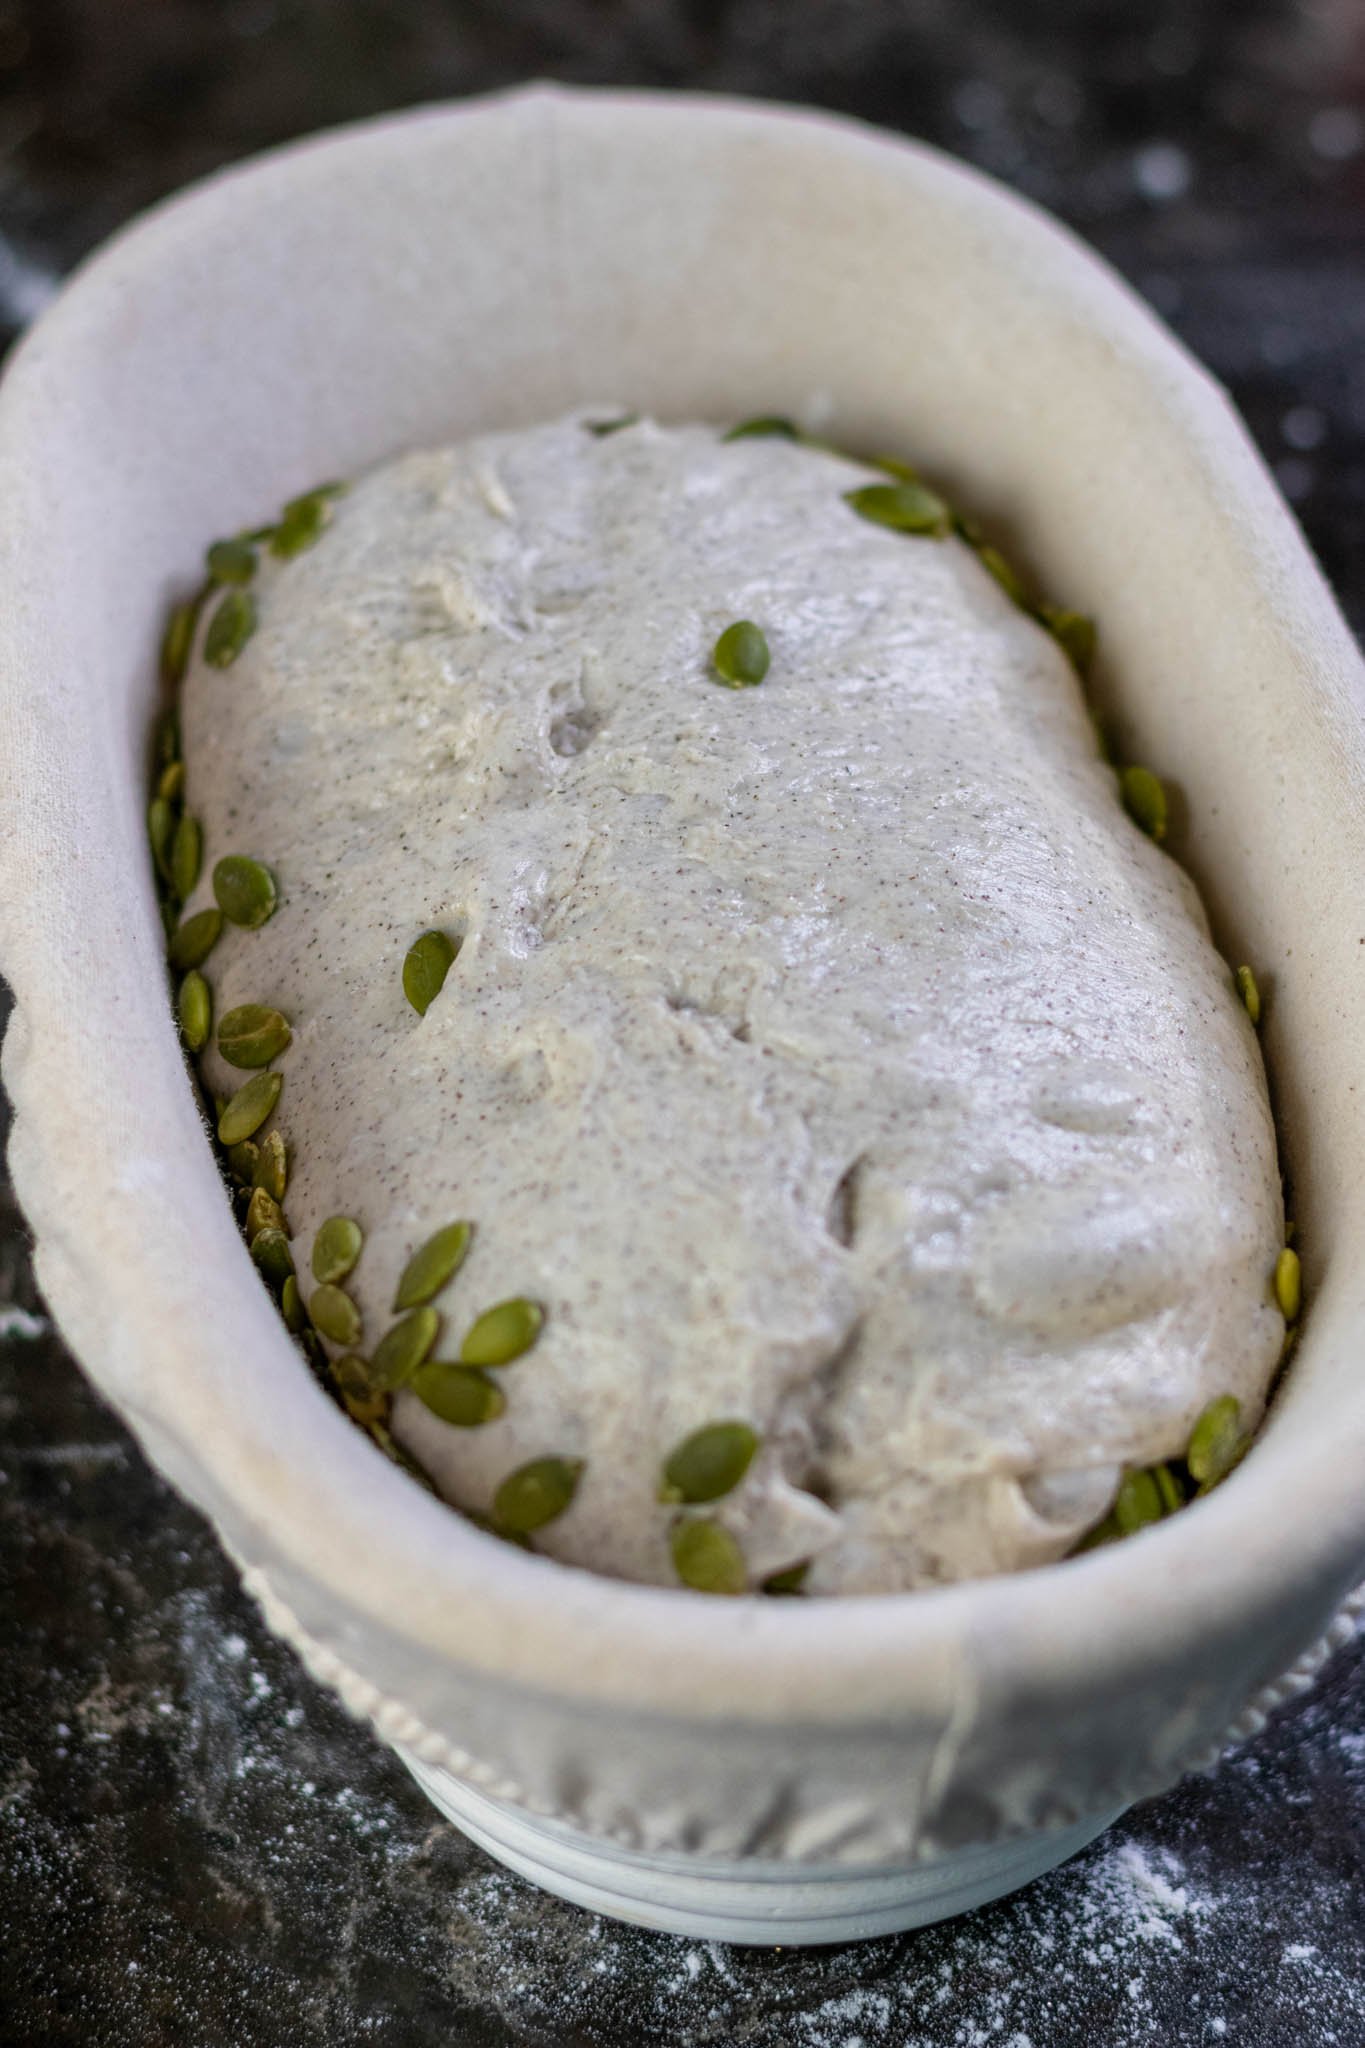
7. Overnight Proof
Cover the banneton and place in a refrigerator overnight and up to 48 hours.
The overnight proof, or retard, will give additional flavor to the dough and slow down fermentation.
8. Score & Bake
Place an empty cast iron dutch oven in the oven and preheat at 500ºF (260ºC) for an hour.
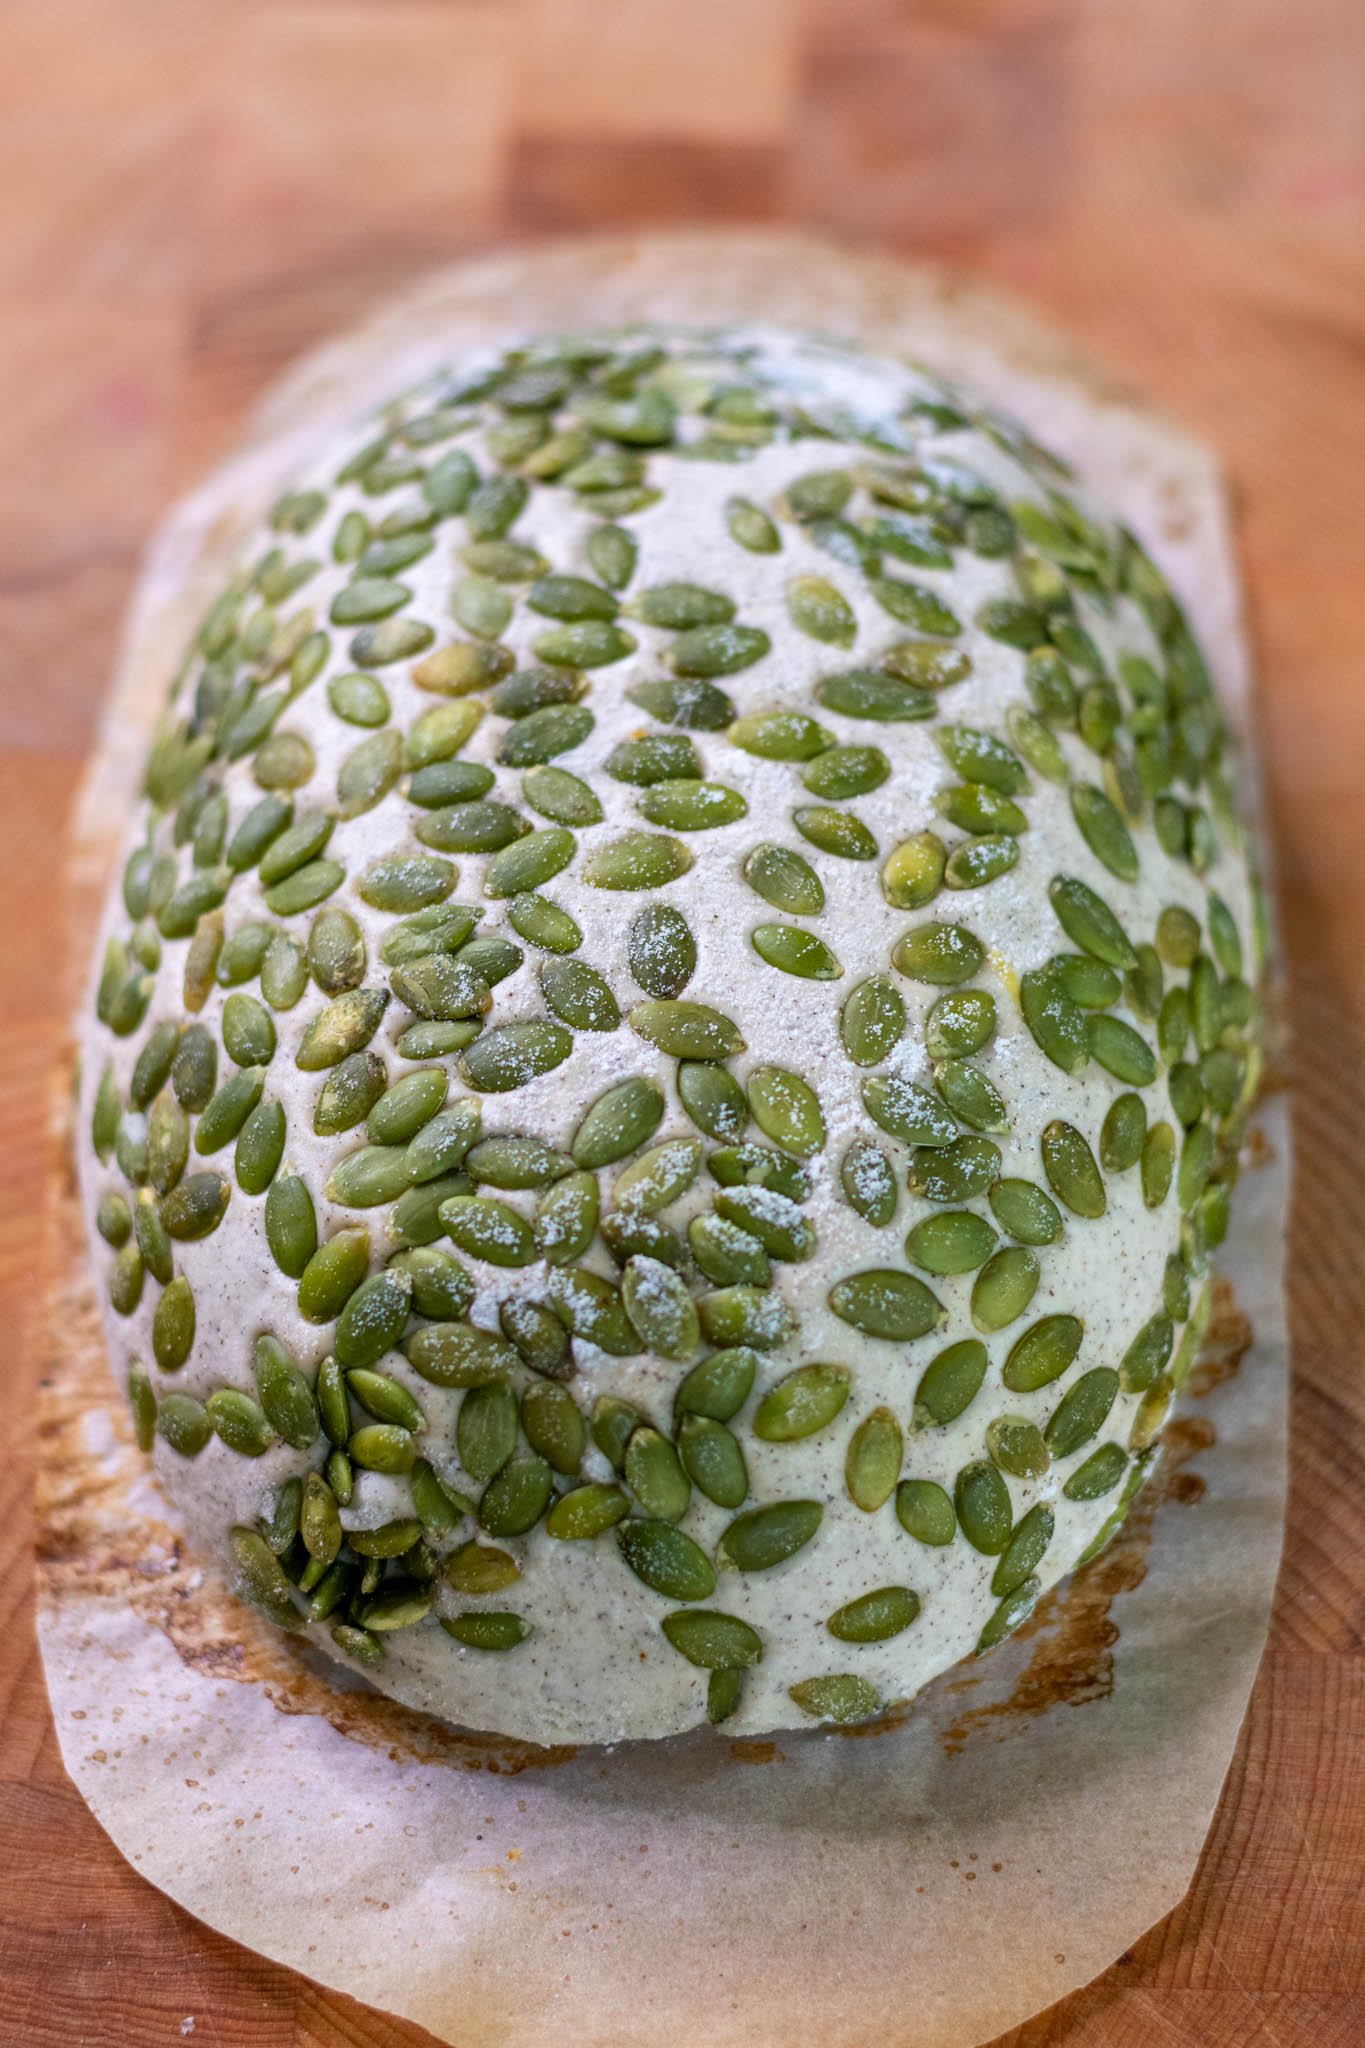
After an hour, remove the cold dough from the refrigerator and turn it out onto a small piece of parchment paper in the shape of the banneton.
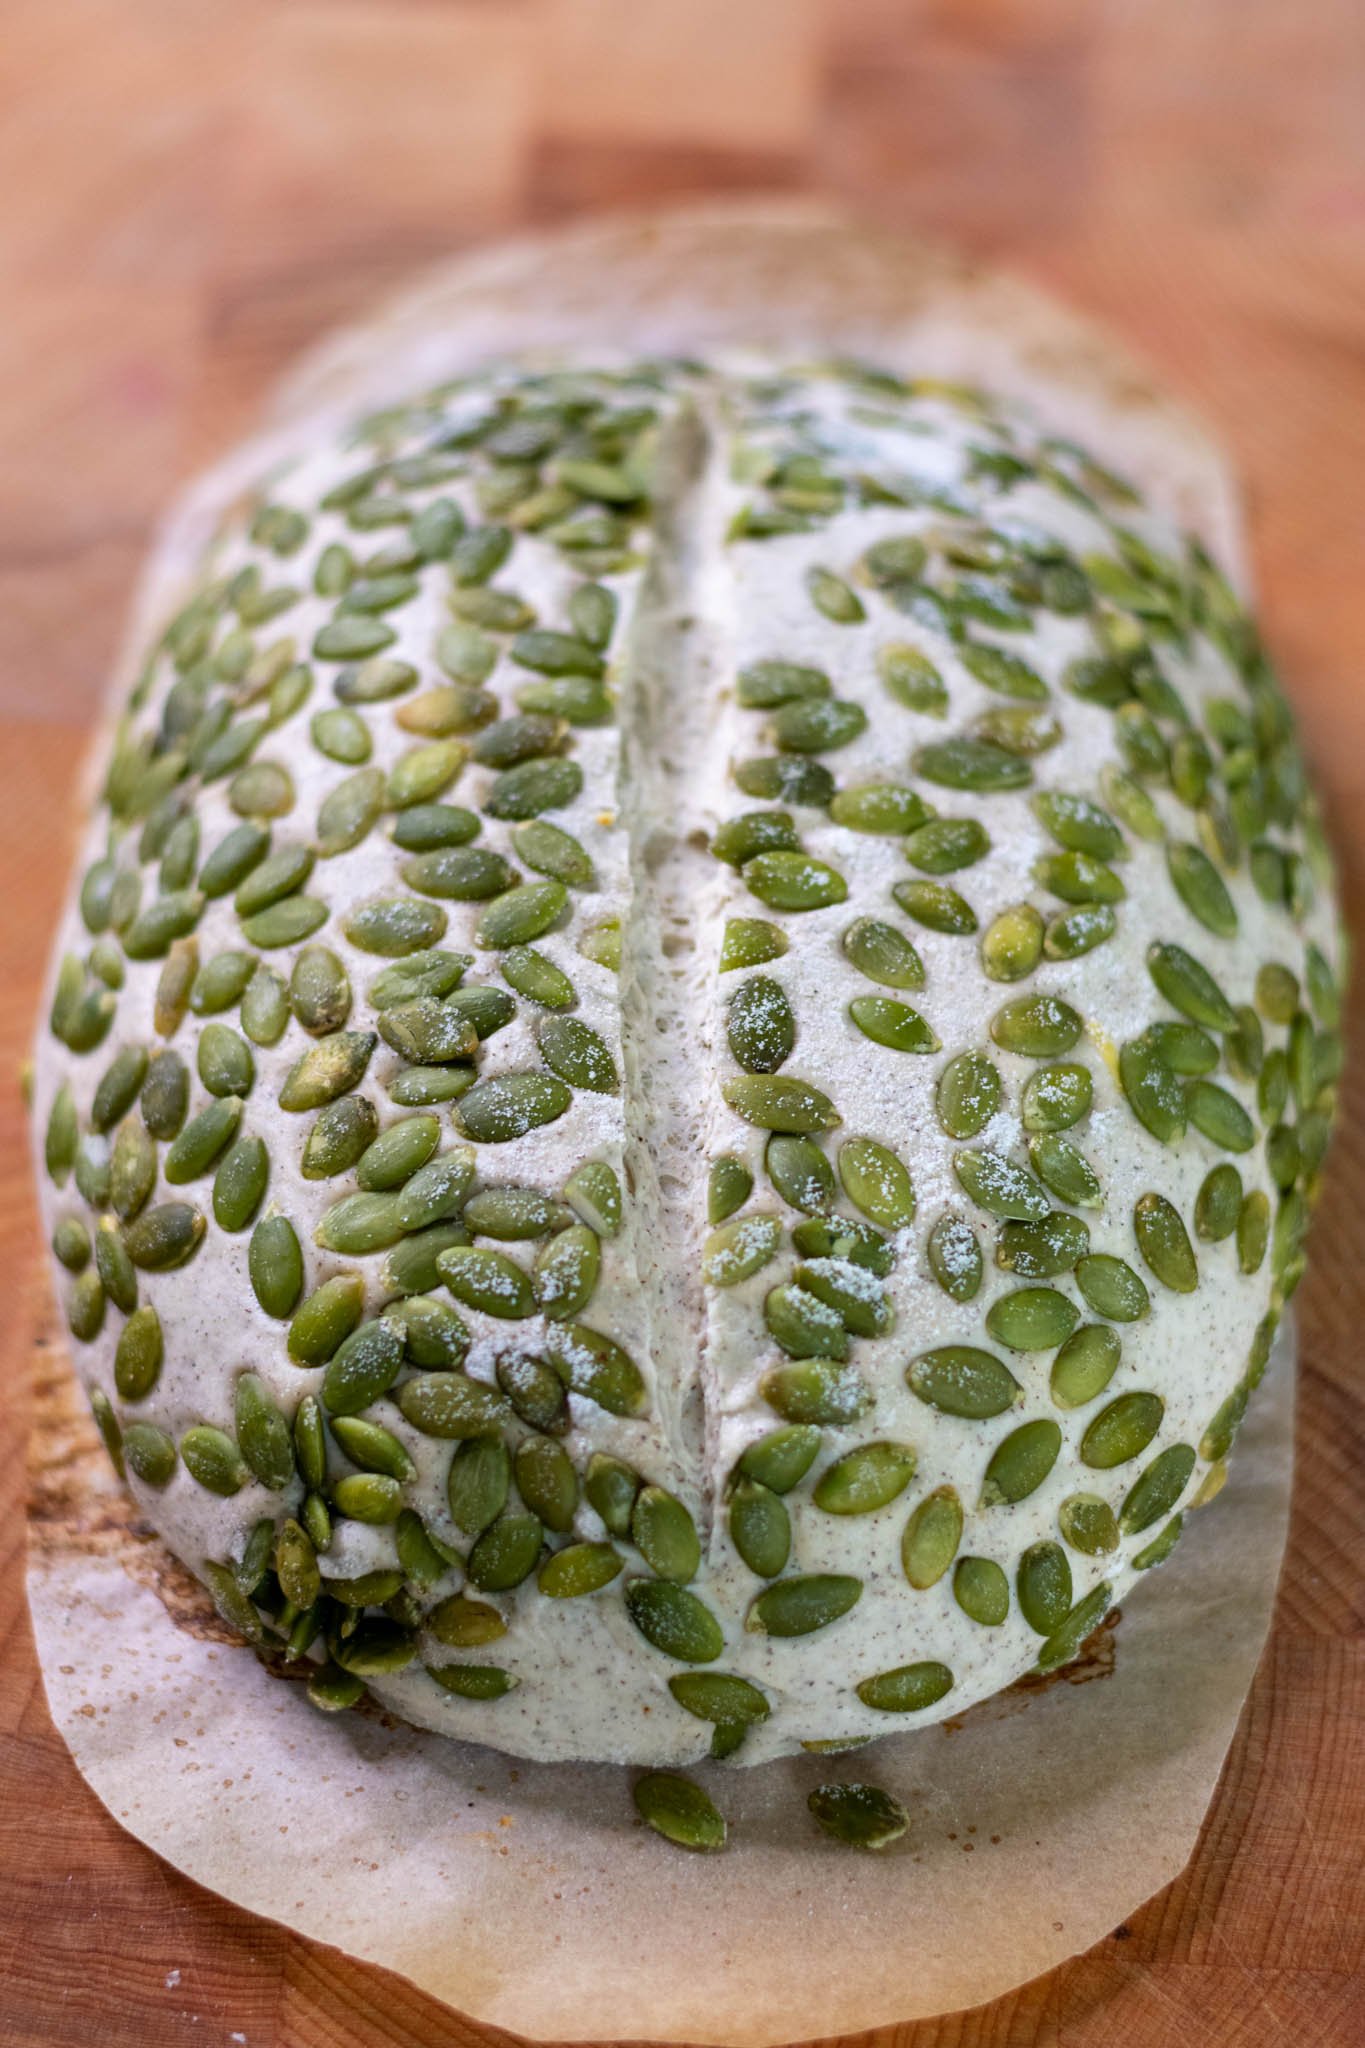
Using a sharp bread lame, score the dough.
For a batard, I score this buckwheat sourdough with one, vertical slash down the middle. For a boule, score the dough with a cross pattern in the middle of the dough. The score should be about ¼”-½” deep.

Carefully place the scored dough with parchment into the dutch oven, add two ice cubes in the oven for additional steam if using a cast iron pan, and immediately cover with the lid.
Bake at 500ºF (260ºC) for 20 minutes.
Remove the lid, turn down the oven to 450ºF (232ºC) and bake with the lid off for 15 minutes or until the pumpkin seeds are toasted and the bread is dark brown.


Let the bread cool for at least an hour on a wire rack before slicing.
Enjoy!

How to Serve Buckwheat Sourdough
Buckwheat sourdough has a nutty and earthy flavor to it that’s unique and delicious. There’s a slight bitterness to buckwheat and with the crunchy and toasted pumpkin seeds, it somewhat reminds me of pumpernickel bread without the denseness from molasses or rye.
The crust of this buckwheat sourdough is covered in toasted pumpkin seeds which adds a nice crunch in each slice. If you like a crunchy crust with a soft interior, this is a dream bread!
To balance some of the bitterness, I think it’s especially good with a sweetened butter like honey butter or maple butter. It also pairs well with fruit jams or dipped in a squash or pumpkin soup. Use it to make a great Sourdough Grilled Cheese!
How to Store
Sourdough bread contains no preservatives except salt and the natural sourdough yeast itself. However, sourdough bread can last for many days at room temperature.
To store sliced sourdough bread, wrap in a tea towel and keep in a paper bag or bread bag. Keep any sliced portion turned down towards the counter to prevent loss of moisture. Sourdough can be kept like this for multiple days.
If it begins to stale, slice all of the bread and store in the freezer indefinitely to warm up and toast later.

❓FAQs
Can I double this recipe?
This recipe makes one buckwheat sourdough loaf. You’re welcome to double the recipe. The only change you’ll need to make is to divide the dough in half at the end of bulk fermentation and to have two bannetons for each loaf to proof in overnight.
Why did my buckwheat sourdough not rise tall?
Buckwheat flour is a gluten-free flour. Thus, when baking, there is less gluten structure for the dough to rise tall and to get a tall oven spring. As followed in the recipe with additional mixing and folds, you should still get a tall sourdough loaf. It just might not be as prominent as a traditional sourdough bread.
Can I add whole wheat flour to this recipe?
The buckwheat flour in this recipe essentially replaces any whole wheat flour in the recipe as it adds great flavor, nutrition, and color to this loaf. You could add a little bit of whole wheat flour but much more will compromise the dough structure and you will need to alter the hydration of the loaf quite a bit to accommodate the whole grains.
For other whole wheat recipes, check out my Seeded Whole Wheat Sourdough Sandwich Bread, my Spelt Sourdough Bread, or my Spelt Sourdough Focaccia.
What other seeds can I top sourdough with?
You can top sourdough bread with many different types of seeds. Pumpkin seeds work best with this loaf in my opinion but sunflower or sesame seeds would be good too.
My dough is taking too long to rise or didn’t double during bulk fermentation. What do I do?
Sourdough yeasts do best in a slightly warmer than room temperature range (between 75-80ºF is ideal). Check your dough temperature throughout with an instant-read thermometer to ensure the dough is in a comfortable range for the yeasts to multiply.
Also, make sure your sourdough starter is active and healthy. Follow my tips to make a stronger sourdough starter.
Is this Buckwheat Sourdough recipe vegan?
Buckwheat Sourdough is vegan! The only recipe ingredients are bread flour, buckwheat flour, salt, water, sourdough starter, and pumpkin seeds.
Is this Buckwheat Sourdough recipe gluten-free?
This recipe is not gluten-free. Buckwheat flour is gluten-free but bread flour is used for the majority of flour in this recipe.


⭐️⭐️⭐️⭐️⭐️
Please leave a rating, comment or question below! Tag me on Instagram or Facebook @SourdoughBrandon or PIN this recipe on Pinterest to come back to it later!
Buckwheat Sourdough with Pumpkin Seeds
Equipment
- 1 Cast Iron Dutch Oven, I use the Challenger Bread Pan linked here with fantastic results, but a Lodge Double Dutch Oven another cast iron dutch oven works well too
- 1 Brød and Taylor Folding Proofer, optional but helpful
Ingredients
Levain:
- 30 grams Sourdough Starter
- 20 grams Bread Flour
- 10 grams Buckwheat Flour
- 30 grams Water, room temperature
Buckwheat Sourdough Bread:
- 379 grams Bread Flour
- 21 grams Buckwheat Flour
- 280 grams Water, room temperature
- 80-90 grams Levain, see above, or replace with sourdough starter
- 8 grams Sea Salt
- 75 grams Pumpkin Seeds/Pepitas, raw
Instructions
- Build the Levain:In a clean jar, mix together the sourdough starter, bread flour, buckwheat flour, and water for the levain.Cover and set the jar in a warm location (between 75-80ºF) for about five hours until it is ripe. The ripe levain should at least double in size and be full of bubbles and gases.30 grams Sourdough Starter, 20 grams Bread Flour, 10 grams Buckwheat Flour, 30 grams Water
- Autolyse:About an hour before the levain is ripe, begin autolyse. In a medium mixing bowl, mix together the bread flour and buckwheat flour. Create a well in the center of the flour and pour in the water.Mix together the flour and water just until it comes together and there are minimal dry bits of flour left. The dough will be very sticky during mixing.Cover and rest an hour or more until the levain is ripe.379 grams Bread Flour, 21 grams Buckwheat Flour, 280 grams Water
- Add Levain, Salt, and Mix:Add all of the levain to the mixing bowl. Dimple the levain into the dough and stretch and fold the dough upon itself for a few minutes to combine.Cover and rest 30 minutes.Sprinkle sea salt on top of the dough along with a few grams of water. Dimple the salt and water into the dough. Stretch and fold the dough upon itself for 10 minutes or more until thoroughly mixed. At the end of mixing, the dough will be smooth, you should not feel any individual salt granules between your fingers, and the dough will be much stronger.Cover and rest 15 minutes.8 grams Sea Salt, 80-90 grams Levain
- Bulk Fermentation:At 78ºF (26ºC), bulk fermentation typically takes about 4.5 hours.Perform six coil folds during bulk fermentation with the first two in 15 minute intervals, the second two in 30 minute intervals, and the last two in one hour intervals. Cover the dough and place in a warm location in between folds and until the end of bulk fermentation. It's okay if they're not timed perfectly but these folds will make the dough stronger throughout bulk fermentation.At the end of bulk fermentation, the dough should be smooth, rounded, feel full of air, have visible bubbles, and should wobble/jiggle if shaken. The dough should rise about 50%.
- Preshaping, Shaping, and Topping:Lightly flour the top of the dough in the mixing bowl and the bench/counter. Gently loosen the dough from the sides of the mixing bowl to turn the dough out onto the counter.With the help of a bench scraper, preshape the dough into a taut round. To preshape, use the bench scraper in one hand and your other hand to push and rotate the dough to create surface tension.Lightly dust the top of the shaped dough with flour and rest for 20-30 minutes.As the dough rests, evenly distribute the pumpkin seeds to a flat sheet pan, plate, platter, or towel where you will top the dough. Lightly flour your banneton to prevent sticking.Shape the dough into a batard (oval) or boule (round) and place seam side down on the counter. Spritz the top of the dough with water to help the seeds stick to the top of the dough.Invert the dough and lay gently onto the pumpkin seeds. Slightly roll the wet top of the dough on the pumpkin seeds until the dough is seeded. Lift the dough and place directly into the floured banneton. If the dough is still slack or lost some shape during topping, stitch the dough to add additional strength.75 grams Pumpkin Seeds/Pepitas
- Cold Overnight Proof:Cover the banneton and place in a cold refrigerator to proof overnight and up to 48 hours.
- Bake:Place empty dutch oven with lid in oven and preheat for an hour at 500°F (260ºC).When the dutch oven has preheated for an hour, remove the banneton from the refrigerator. Turn the dough out onto a piece of parchment paper. Using a bread lame or sharp knife, score the dough with one slash down the middle for a batard (oval) or a cross section for a boule (round). The score should be ¼-½" deep.Transfer the scored dough into the baking vessel and cover with the lid.Bake at 500°F (260ºC) for 20 minutes. Remove the lid, lower the oven temperature to 450ºF (232ºC) and bake for 15 minutes with the lid off.The bread is done when the crust is dark brown and the pumpkin seeds are toasted. Remove from the oven and let cool on a wire rack at least an hour before slicing.Slice and enjoy!
Notes
- Try to keep the dough at a constant, warm temperature (between 75-80ºF) as much as possible throughout fermentation. I use the Brød and Taylor bread proofer to keep my dough at a constant 78ºF. The colder it is, the longer it will take for the dough to ferment. The warmer it is, the faster it will ferment.


I’m in love with this bread. It’s very easy to make and delicious. The buckwheat flour is a nice addition.
So this is not gluten free?
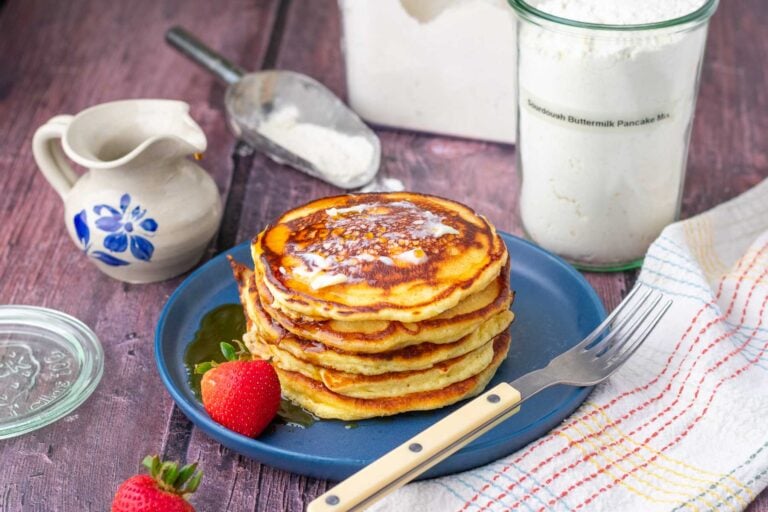
It’s not 100% buckwheat, so it’s not a gluten-free loaf unfortunately. However, check out my Sourdough Buckwheat Pancakes, as they’re 100% gluten-free with a gluten-free sourdough starter.
This is truly one of the most delicious sourdough recipes I’ve ever tried! Thank you so much for sharing it—I really appreciate it!
Thanks so much for the kind comment!